Make these cute DIY felt cloud bookmarks for yourself, to give as gifts, or to sell at your next craft fair. This easy kawaii-style ribbon bookmark craft comes together in about 20 minutes — simply gather the supplies below and download the free felt cloud template to get started.
Follow the simple steps below to make your own felt cloud bookmarks.
Supplies
- Thick Felt
- Freezer Paper
- Fine-point black marker (or fabric marker)
- Fine-point pink marker (or fabric marker)
- Satin ribbon (3/16″ was used in this tutorial)
- Scissors
- A precision knife (X-Acto knife)
- Download the free printable felt cloud template here.
How To Make Felt Bookmarks – 4 Easy Steps
STEP 1:
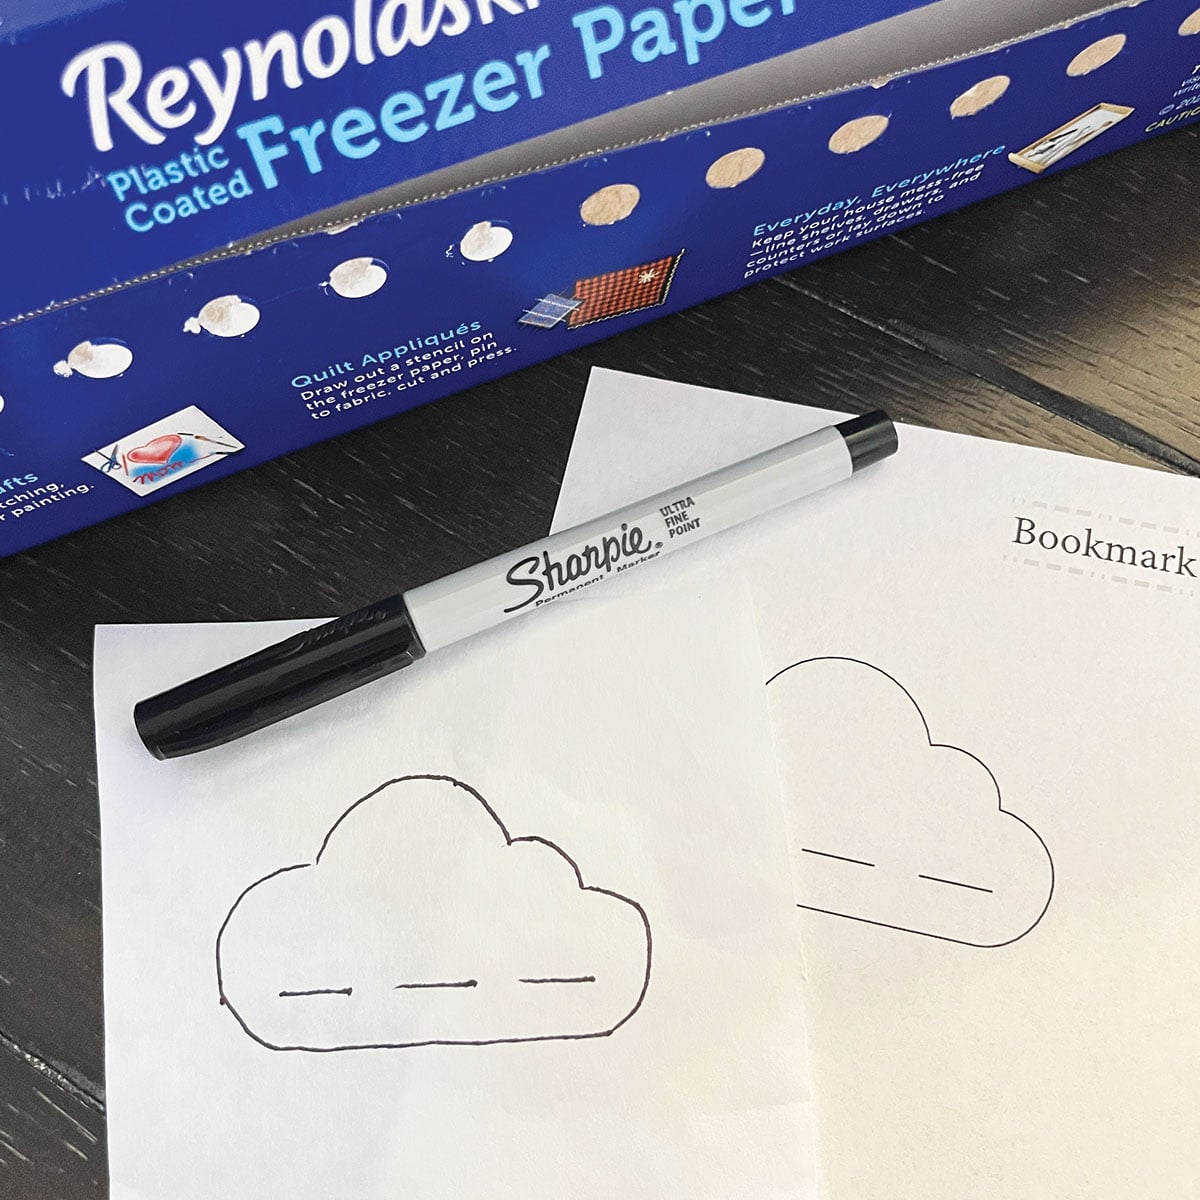
Download and print the cloud template from the supplies list above and transfer the design to freezer paper using one of the two techniques below.
Option 1 – Print the Template onto Freezer Paper
Print the PDF template directly onto the matte side of freezer paper. Cut around the cloud shape and iron it onto the felt.
Option 2 – Trace the Template onto Freezer Paper
Print the PDF template on regular paper and trace the cloud shapes onto the matte side of freezer paper using a fine-point marker. Cut out the shapes and iron them onto the felt.
STEP 2:

Iron the shiny side of the freezer paper template onto the felt using medium, dry heat. You only need to press for a few seconds.
STEP 3:

Cut out the pattern shapes using sharp fabric scissors or embroidery scissors. Use a precision knife to cut the three slits into the felt.
STEP 4:

To finish, fold the satin ribbon in half and slide the loop through the slit in the cloud. Pull the loose ribbon ends through the loop to create a lark’s head knot, then pull it snug. If you like, add a small dab of hot glue to the back to secure the ribbon, and draw the face on with permanent or fabric markers.


Summer — Handmade & Repurposed
A collection of summer handmade ideas explored through small studio makes,
8 Clever Ways to Upcycle Glass Jars
Upcycle glass jars into something new and useful. Clever ideas to
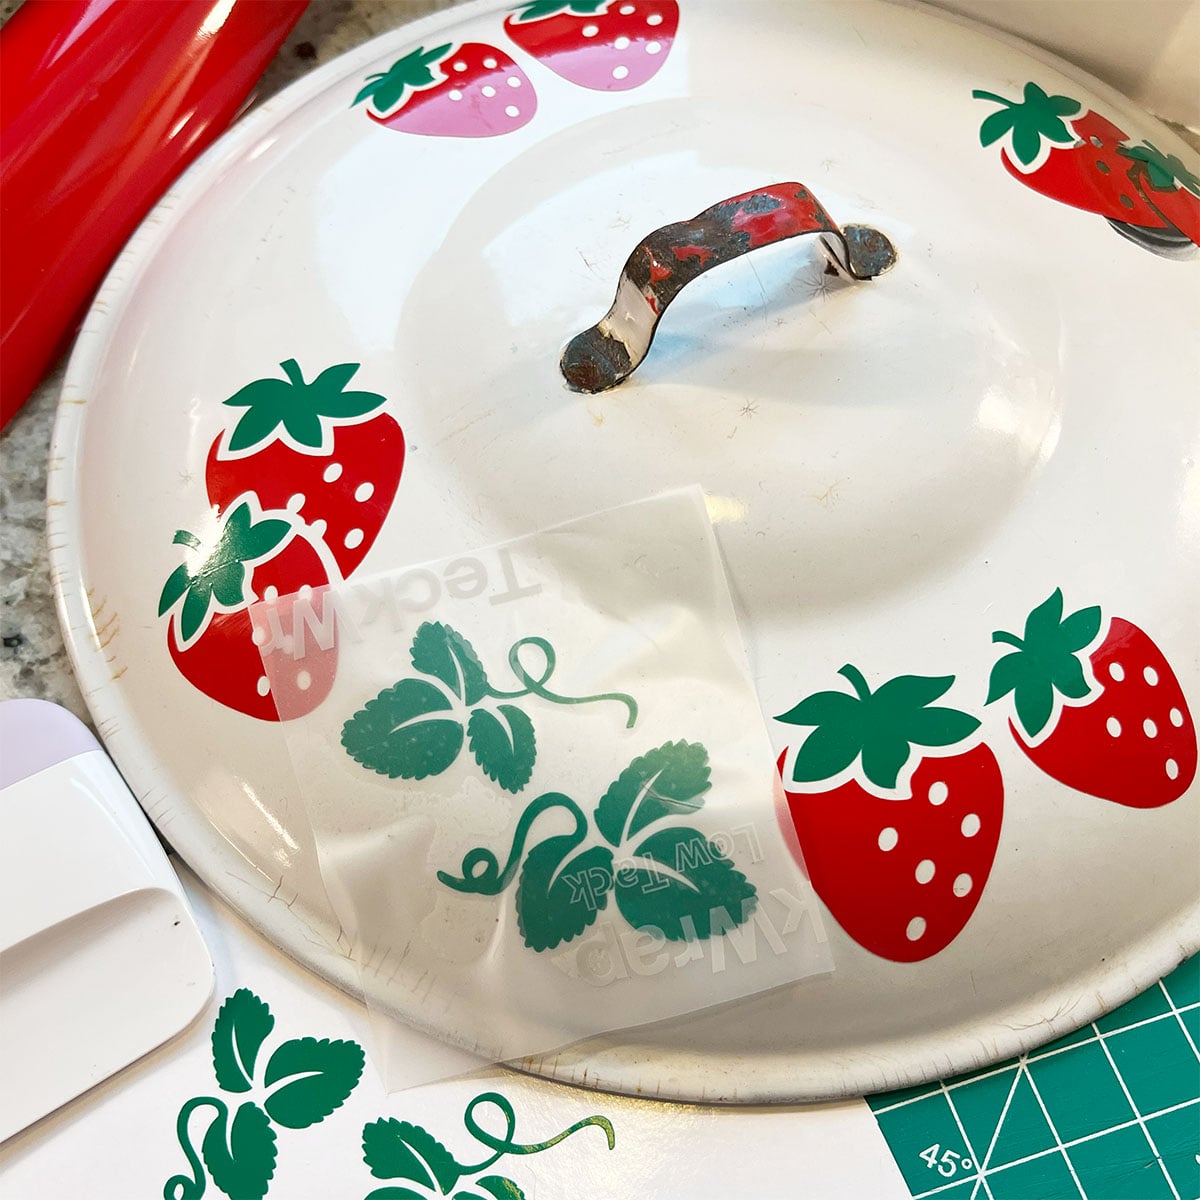
4 Clever Repurposed Pot Lid Projects
Repurpose old pot and pan lids to make these beautiful projects!
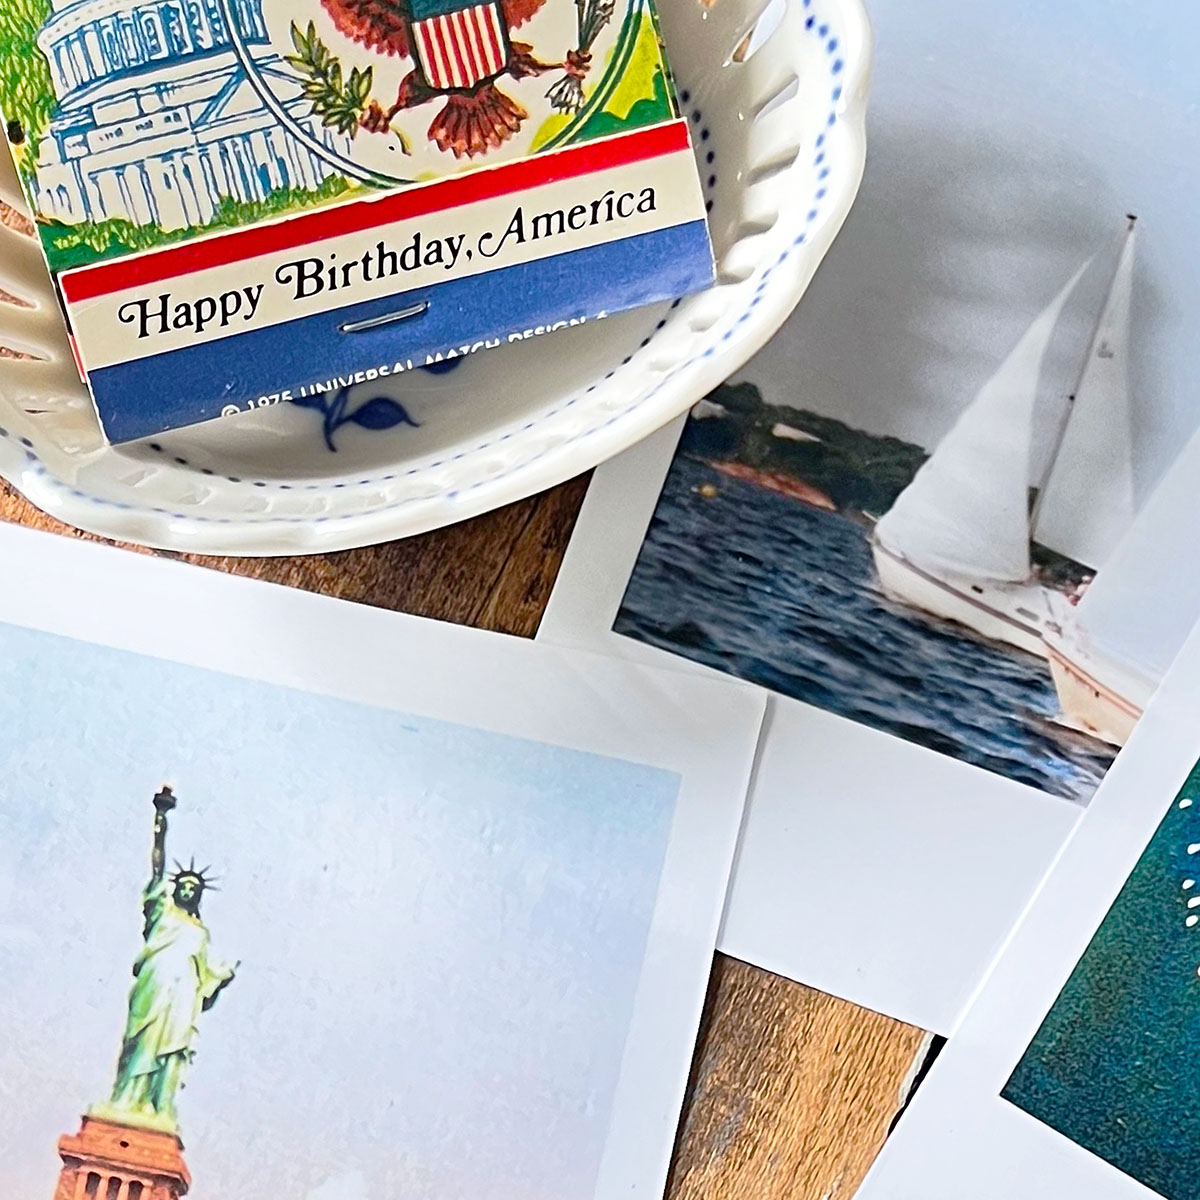
Red, White & Blue — Collected Americana
Americana decor inspired by nostalgia, collected vintage finds, paper ephemera, and
 Hi, I’m Dawn, a graphic designer, mom and weekend crafter! Join me on my adventures! I always have something new and inspiring going on. Learn more about me