Make this DIY Silverware Caddy in minutes with Dollar Store supplies!
This caddy is the perfect size for hosting buffet-style dinner parties or as an all-in-one caddy to take out to the patio table!
I purchased the tumblers and paper towel holders a Dollar Tree, but pretty much any tall plastic cups and paper towel holder will work. You may even have these items already in your cupboard waiting to be repurposed.

Easy DIY Silverware Caddy – Video

Supplies
- 3 Tall Plastic Drinking Glasses (I’m using 22-ounce tumblers from Dollar Tree)
- A Paper Towel Holder
- Wire (I used 28 gauge steel wire)
- A drill, small drill bit (I’m using a 1/8 bit)
- A miter box or a way to hold cups in place while drilling
- Scissors
- Spray paint (optional)
- Spray Varnish or Lacquer (optional)
- Decorations (optional)
How to Make a DIY Silverware Caddy – 3 Easy Steps
STEP 1:
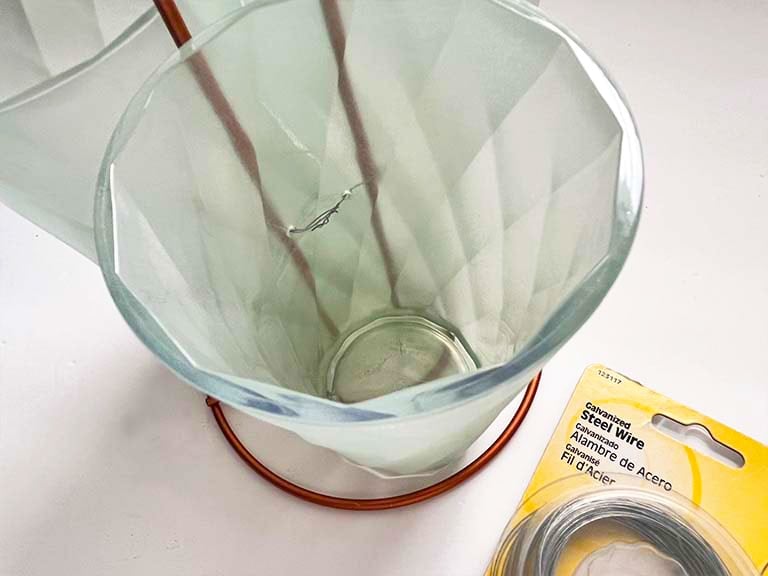
Drill two holes side-by-side and in the center of your cups. Use a small drill bit but one that will make a large enough hole to string wire through.
Tips for Drilling Holes into Plastic Tumblers
- No special drill bit or water is needed when drilling through plastic.
- Apply steady, even pressure to avoid cracking the tumbler. Plastic holds up well, even on thinner cups.
- Place the tumbler in a miter box to keep it secure while drilling. If the box is wider than the cup, use a cloth or scrap wood on the sides to prevent movement.


STEP 2:
Cut a piece of wire about 18 inches long and string it through the holes of the tumblers as shown below.

Next, secure the tumblers to the paper towel holder by stringing a piece of wire through the tumblers twice. See the video above for more details.

STEP 3:
Twist the wire ends on the inside of one of the cups. You shouldn’t be able to see any wire on the outside of your caddy. The wires will be on the inside.
Below are photos of my finished caddy’s.


Spring — Handmade Details & Botanical Ephemera
Spring handmade ideas including thrifted finds, repurposed projects for the season,
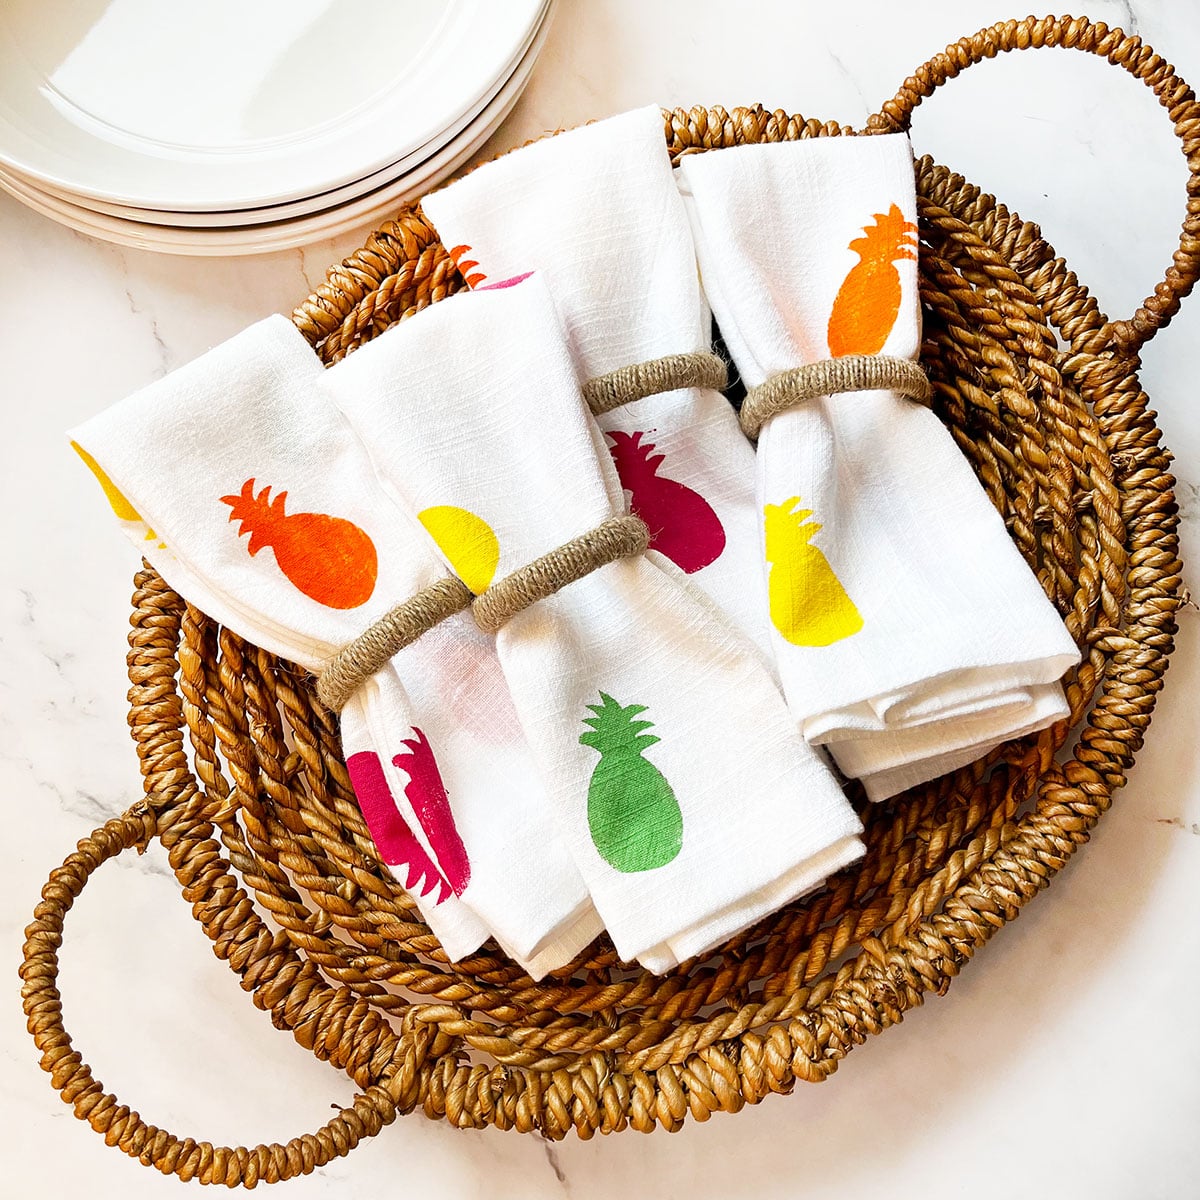
8 Sweet Pineapple Crafts Picked for Summer
Here are 10 sweet pineapple crafts you have to try. These
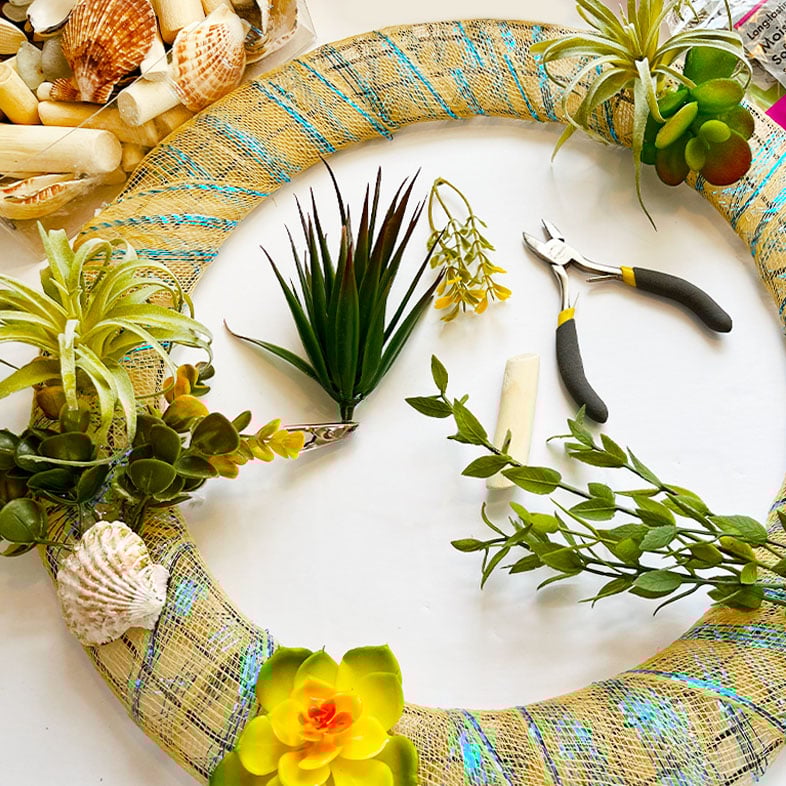
10 Simple, Breezy Beach Crafts
10 easy beach crafts & ideas to inspiration beach lovers who
The Paper Snail Club™— Summer 2026
Follow along as The Paper Snail Club slowly fills a reading
 Hi, I’m Dawn, a graphic designer, mom and weekend crafter! Join me on my adventures! I always have something new and inspiring going on. Learn more about me