
Over the years, I’ve collected a few of old windows—some found in the garage when we moved in, others picked up with a specific project in mind. Even with chipped paint or missing glass, each one had plenty of charm.
These projects show a few simple ways to turn old windows into decorative, useful pieces while letting their aged patina shine.
Note: Older windows may have been painted with lead paint. If you plan to sand or strip paint, be sure to research proper safety precautions first.
1. Flower Market Window
This decorative window was created by applying permanent vinyl lettering to the back of the glass panes, then adding hand-painted florals using glass-safe paint. Working on the backside helps protect the design and gives the piece a softly layered look. Find the Flower Market lettering art used in this project here.

2. Old Windows As Backdrops
Old windows make effortless backdrops for seasonal decor. A simple garland was all this one needed to dress it up for 4th of July.

3. Window Display Case
My son needed a display case for baseball cards to use in our flea market booth. So I did what any good DIYer would do—I found a large old window to repurpose. This one was $10, and it was in great shape. With a little scrap wood from the garage, we were able to make a beautiful and affordable display case.

4. Old Window Turned Beachy Suncatcher
Get your acrylic paints out to create a beachy window in minutes! I used a wide chip brush to sweep glass-safe paint onto the back of the window pane, then dabbed it a bit to create the textured look of sand. I used gold paint for the sand and swirls of dark blue and aqua for the water. The bead garland with the sand dollar is from Dollar Tree!


5. Window Side Table with Glass Gems
Inspired by a project shared by Sherre M. on Hometalk, I repurposed an old window into a colorful patio side table using glass gems. The gems were glued to the underside of the glass with clear, outdoor-safe silicone caulk, then the window was flipped over to create a smooth tabletop surface.
To finish, I added salvaged legs from a thrifted coffee table. This is an easy way to turn a decorative window into a functional outdoor piece. It’s the perfect size for a porch or patio and catches the light beautifully.


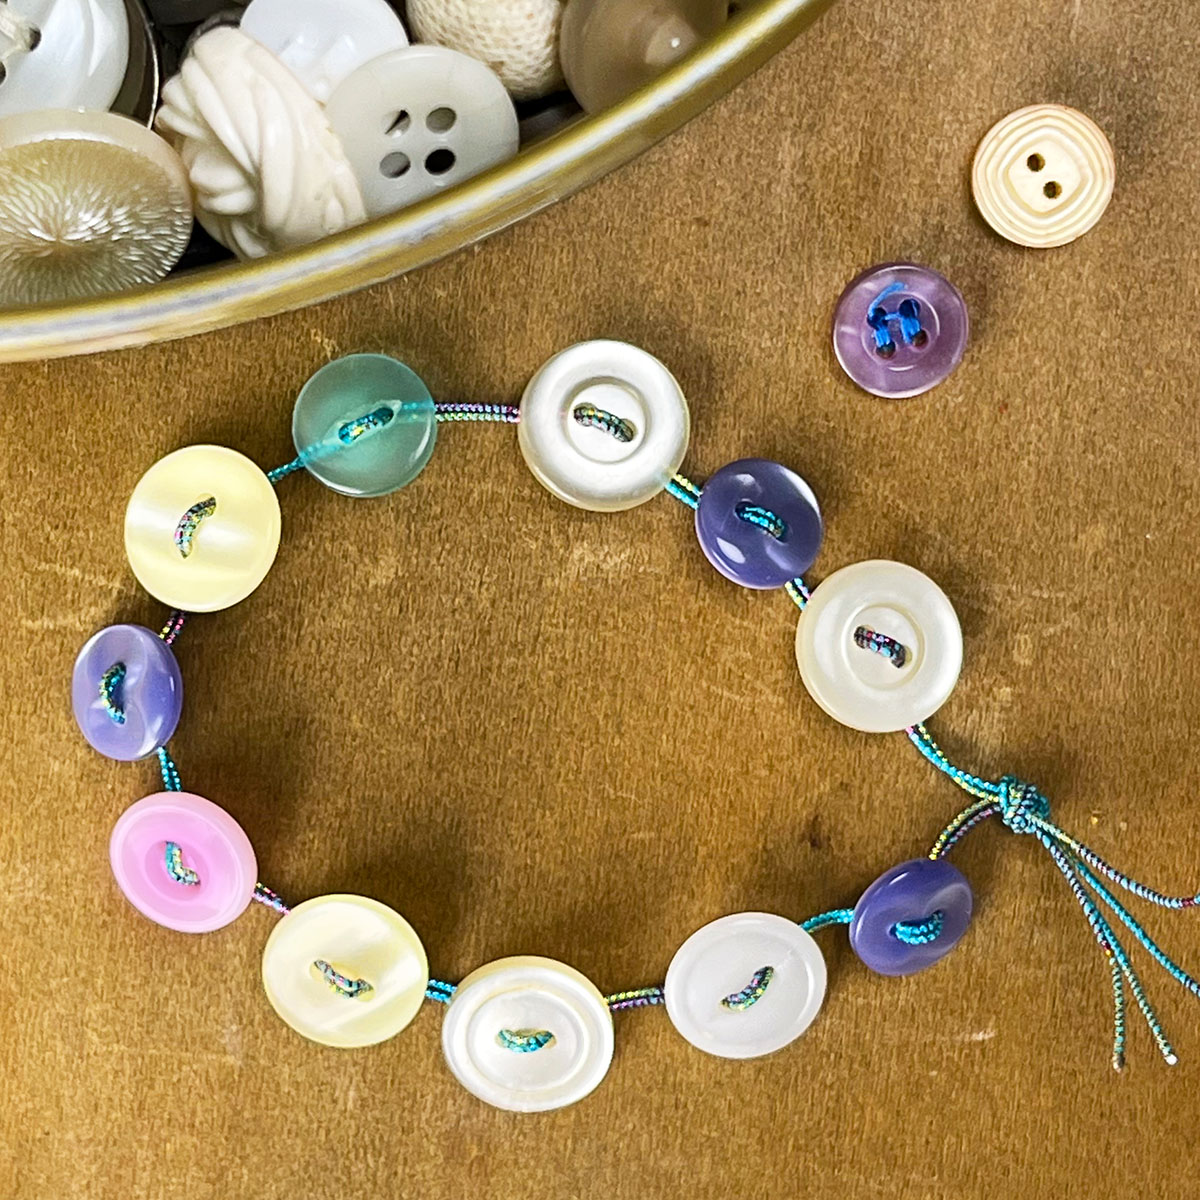
Button Tin Finds & Vintage Sewing Notions
Explore vintage sewing notions, including colorful button collections, thread spools, handmade

Spring — Handmade Details & Botanical Ephemera
Spring handmade ideas including thrifted finds, repurposed projects for the season,
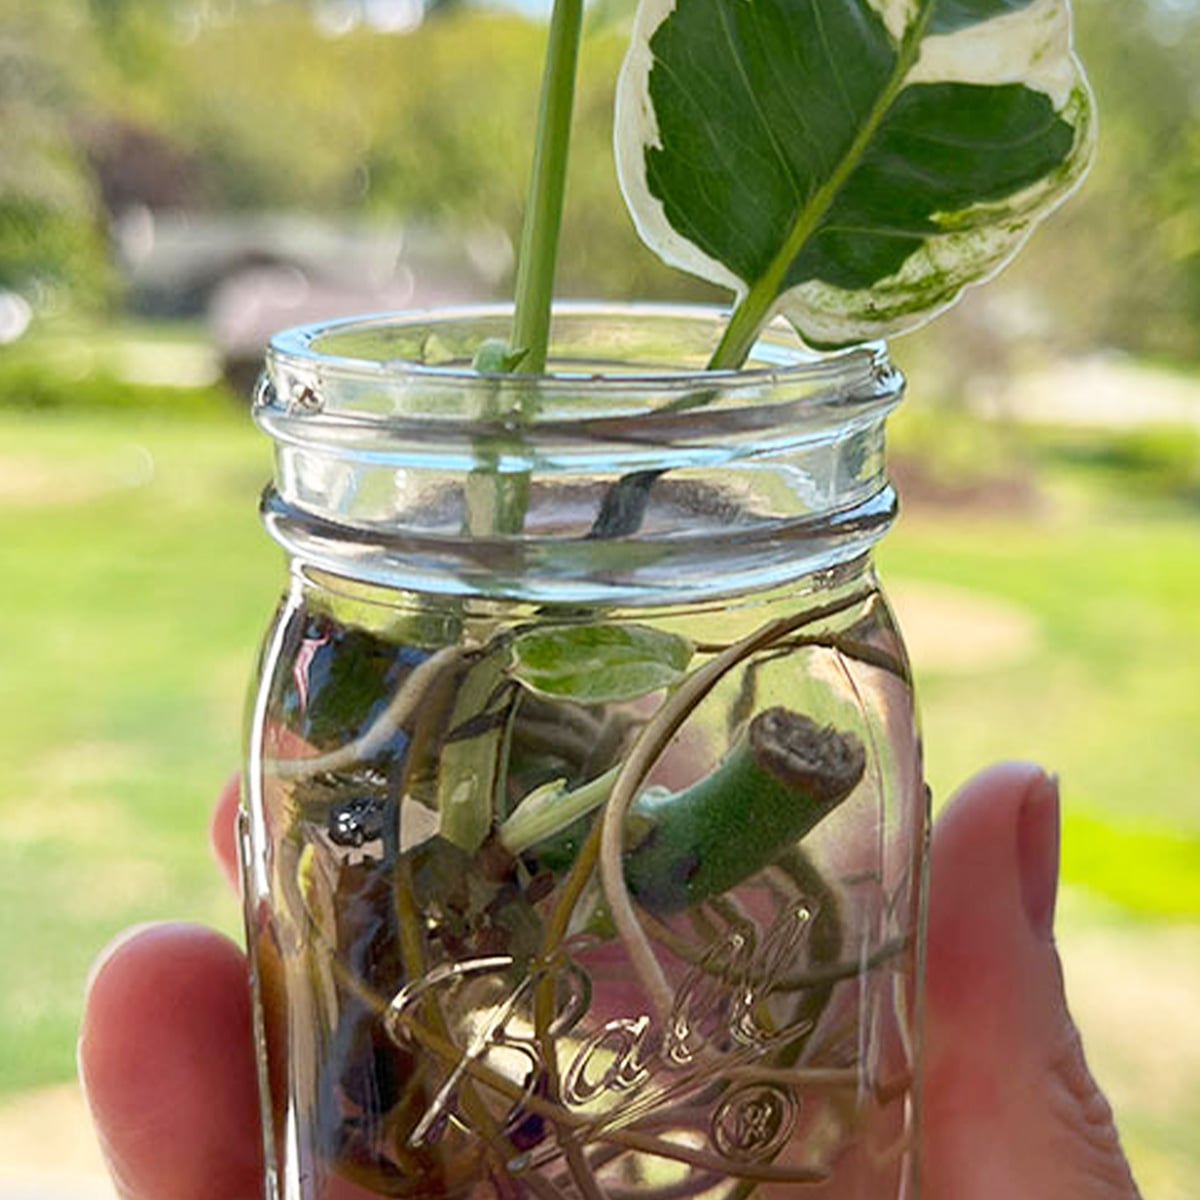
6 Creative Plant Propagation Station Ideas
Green Thumb Inspiration – Six clever vase ideas and plant propagation

15 Clever Repurposed Furniture & Refresh Ideas
Check out these thrifty small furniture upcycles from flea market finds
 Hi, I’m Dawn, a graphic designer, mom and weekend crafter! Join me on my adventures! I always have something new and inspiring going on. Learn more about me
This Post Has One Comment
I absolutely love these ideas! The vintage charm of old windows truly adds character to any space. I can’t wait to try the window frame herb garden – it’s such a creative way to bring some greenery indoors. Thanks for sharing these fantastic projects!