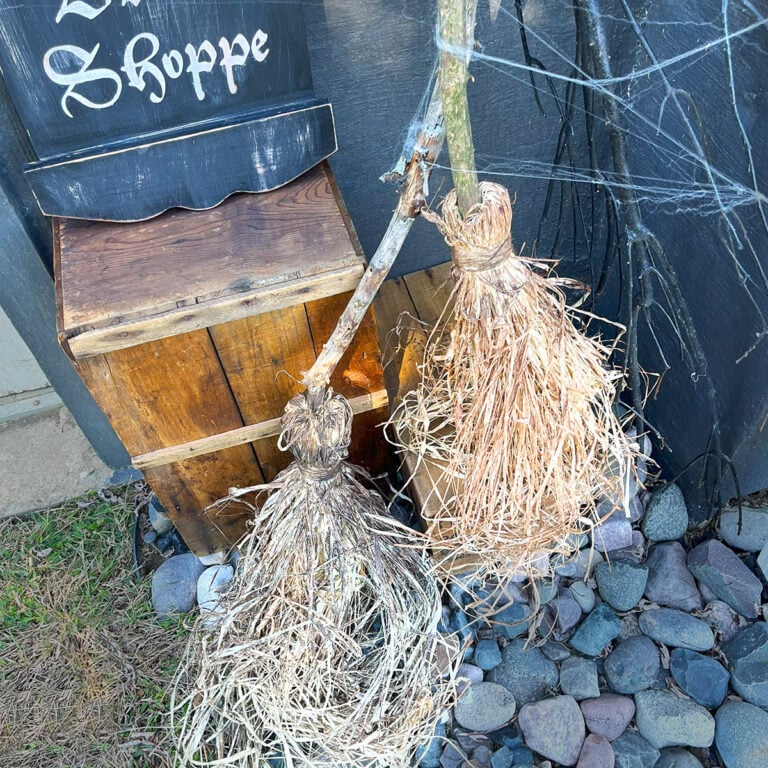
Grab a tree branch from the yard, and let’s make a decorative witch broom for the spooky season!
The branches I’m using are knotty and approximately the length and width of a broomstick, about 5 to 5 1/2 feet long. I chose raffia for the broom part because it’s readily available this time of year in craft stores. These fun Halloween brooms took just minutes to make, a perfect weekend project.
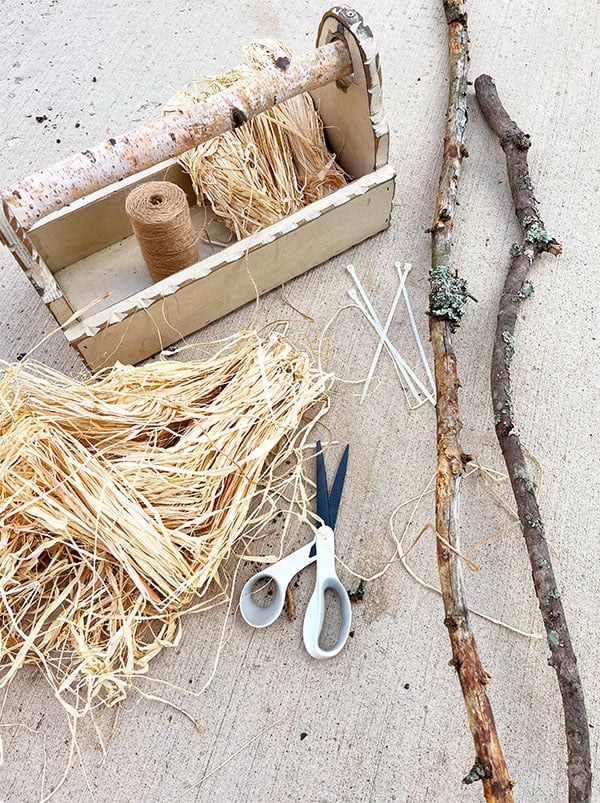
Supplies To Make One Broom
- A tree branch
- Raffia (I purchased this bundle on Amazon, and it made two brooms)
- Jute twine
- Scissors
- Two 8-inch zip ties (for one broom)
How To Make A Decorative Witch Broom – 3 Easy Steps
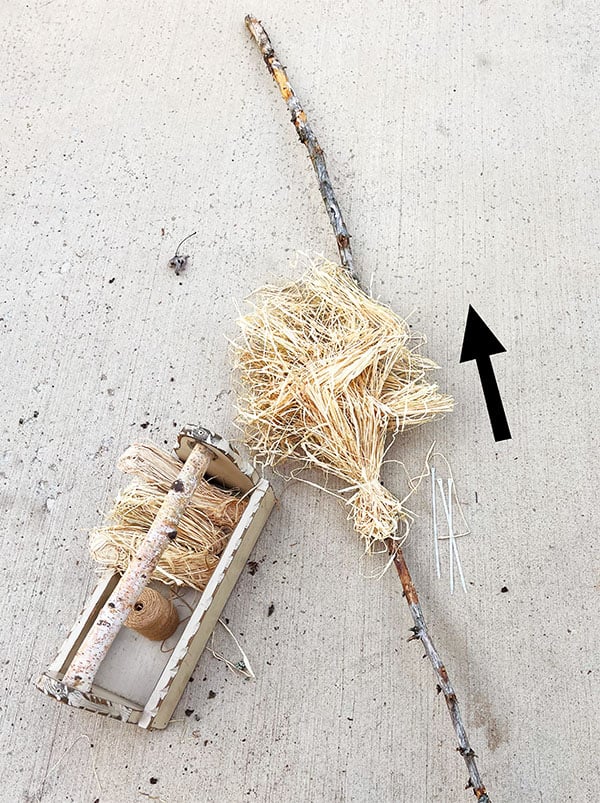
STEP 1:
Straighten your raffia and spread it upward toward the top part of your handle (the thicker part of the branch). Leave about two feet (the narrow part of the branch) showing. The narrow part of the stick will be hidden in the raffia of the broom, allowing you to stand it up in a corner. This will be clearer in step 2.
Note: In this step you will be flowing the raffia upward– the opposite way toward the handle part of the broom– so it can be secured underneath first. Use more or less raffia to get the fullness you like.
STEP 2:
Flip your broom so the raffia hangs downward toward the narrow end of the branch.
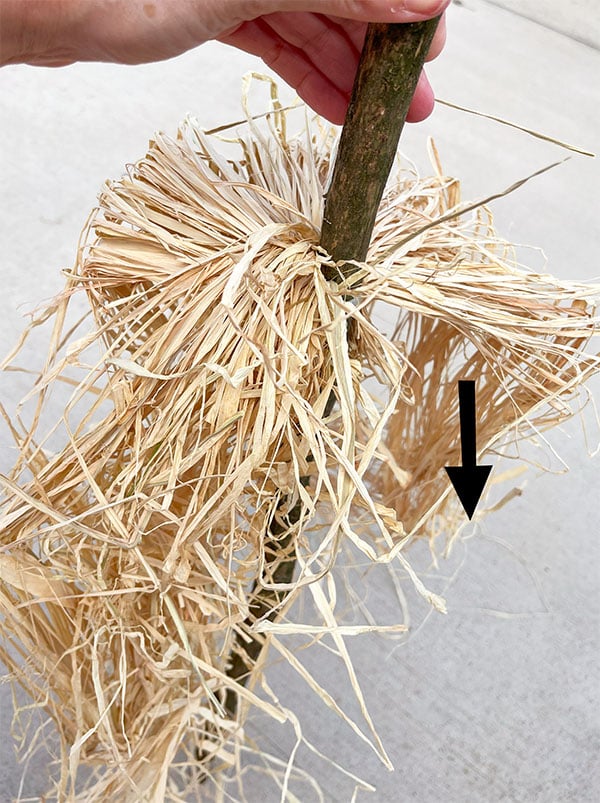
Smooth the raffia downward, gather it at the top, and add another zip tie to secure the top of the whisk as shown below.

STEP 3:
Wrap twine around the top to cover the zip tie.
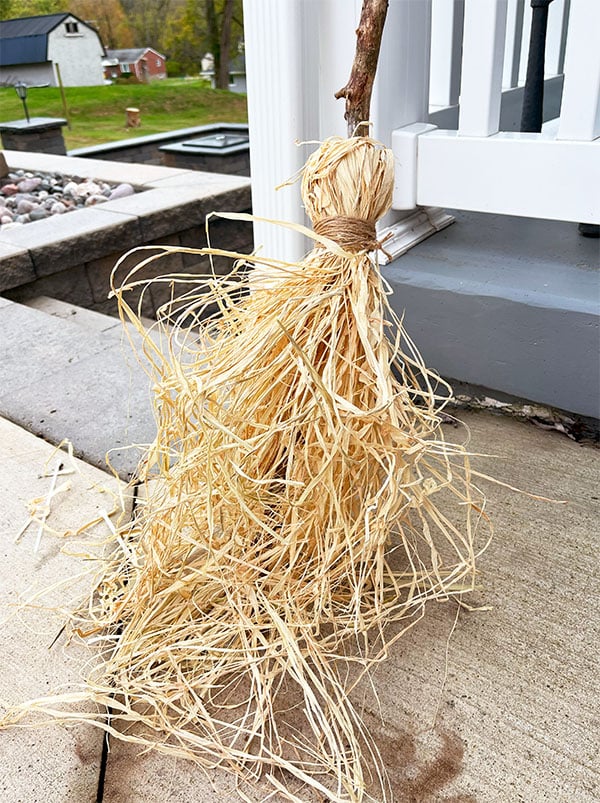
Here’s another photo! To give my brooms a darker, more aged look, I painted the raffia with black and brown acrylic paint. Totally optional, but it looks great in my outdoor scene.


 Hi, I’m Dawn, a graphic designer, mom and weekend crafter! Join me on my adventures! I always have something new and inspiring going on. Learn more about me