
Make a spooky Halloween diorama using thrift store finds and items you already have on hand. I created a simple graveyard scene using vintage witch figurines, but this idea works just as well for a haunted library or pumpkin patch. Below you’ll find a video and basic steps to make your own.
Halloween Diorama – Video

How to Make a Halloween Diorama – 4 Easy Steps
STEP 1:
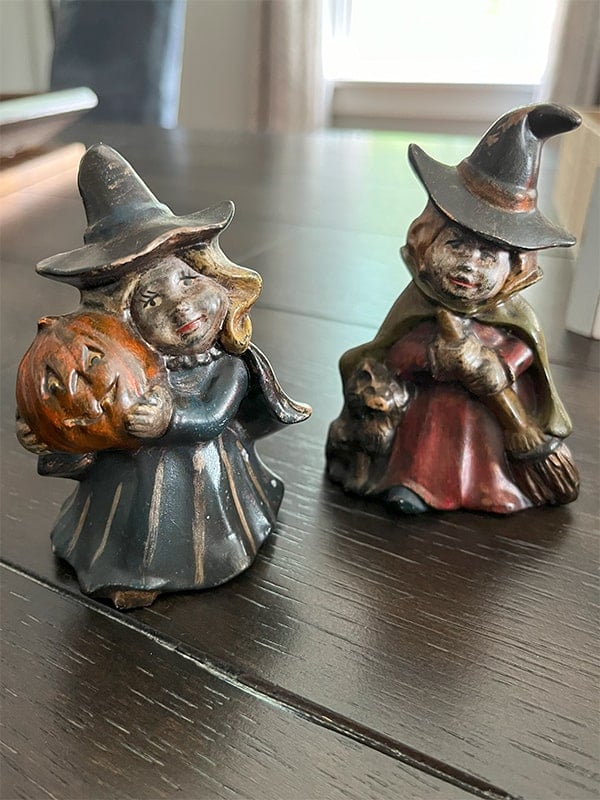
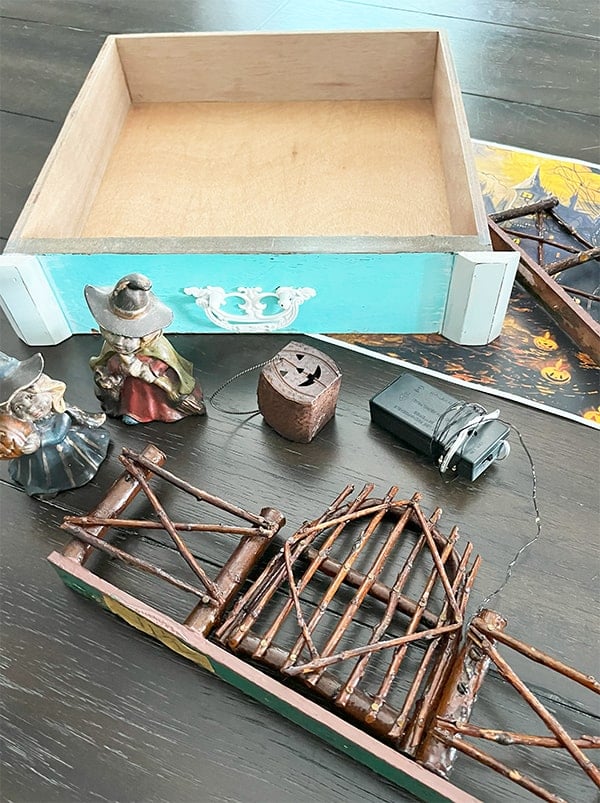
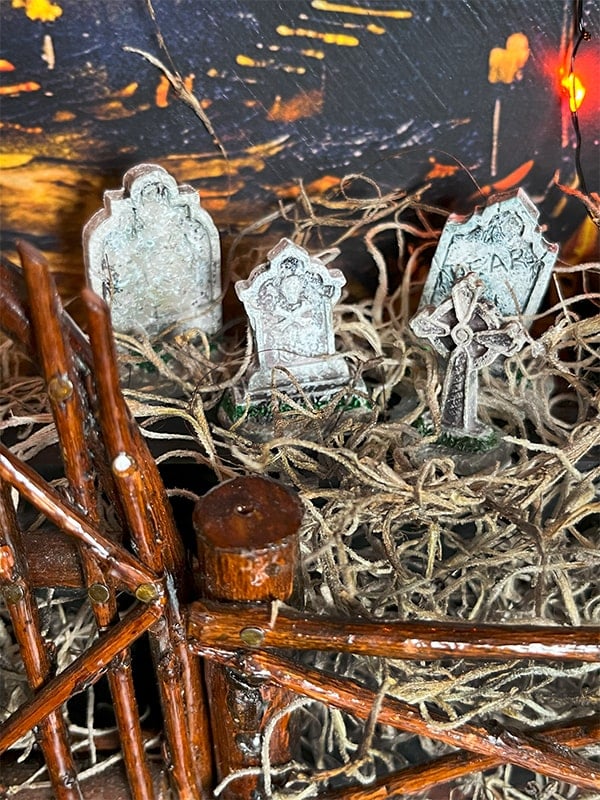
Find a shallow drawer or shadow box and collect a few Halloween miniatures—thrift stores, Amazon, Etsy, and Dollar Tree are all great sources. I found the fence and witch figurines at the thrift store, and I bought the mini gravestones for this project on Amazon. Other supplies used were Spanish moss, string lights, scrap wood, paint, glue, a drill, wood screws, and a printable as a background image.
STEP 2:
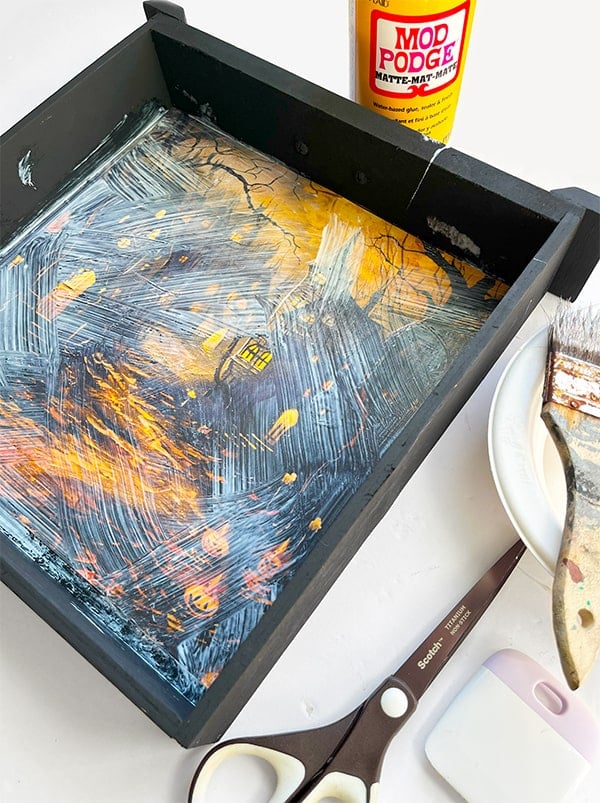
Paint your drawer and use Mod Podge to adhere a background image to the inside. The drawer I’m using is just under 11 inches wide, so I decided to print a background image on 11″ x 17″ paper at the office supply store. This cost just a few dollars, and the colors came out amazing!
STEP 3:
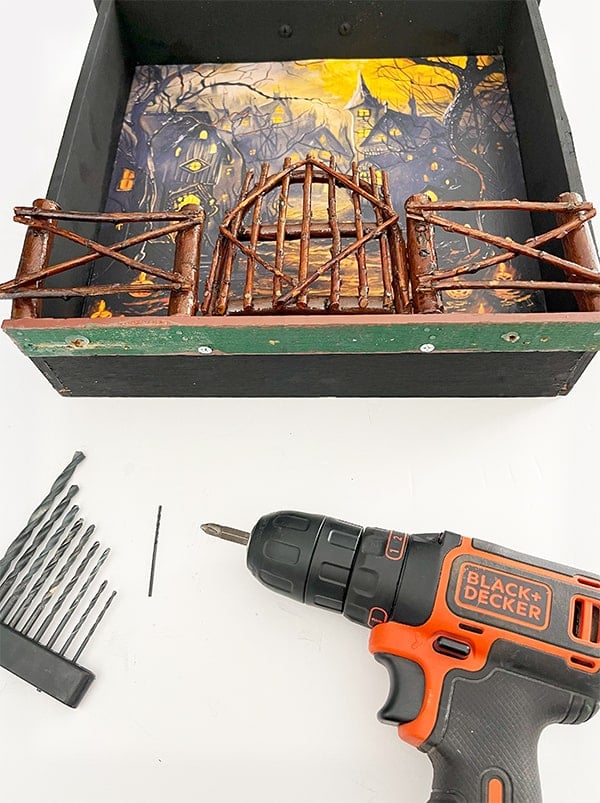
Adding the miniatures and final touches. First I added a grapevine fence. To my surprise, it was the perfect fit. I attached it to the bottom with two wood screws. See the video above for more details on this project.
Next, I used wood glue to secure scrap wood pieces to the inside of the drawer to create a hill for my mini graveyard.

Then I used a silicone adhesive to glue the rest of the miniatures, Spanish moss, and mini battery lights (optional).

STEP 4:
Display your diorama on a shelf or add picture wire to the back to hang it up.

Here’s a few more photos of my finished diorama.


 Hi, I’m Dawn, a graphic designer, mom and weekend crafter! Join me on my adventures! I always have something new and inspiring going on. Learn more about me