This Halloween Skull Candy Bowl was so fun to make!
I had a few trial-and-error moments putting it all together, mostly around what glue to use. I tried Loctite and later E6000 to glue the glass candle sticks together but 2-part epoxy gave the best hold. To glue the flexible plastic skulls to the foam circle base I used silicone-based glue.
Below are the step-by-step instructions and links to craft supplies.
Supplies
- Items I Bought at the Dollar Tree: three plastic skulls, two plastic skeleton hands, a large clear hard-plastic serving bowl, two 3.4-inch glass candle holders, 5-inch wide purple decorative floral mesh, silk Halloween flowers, and plastic spiders to decorate.
- Foam core board
- Felt
- GE GE500 Silicone 2+ Window and Door Caulk (to glue the skulls to foam core circle base)
- Gorilla 2-Part Epoxy (to glue two glass candle sticks together)
- Gorilla Heavy Duty Spray Adhesive (to adhere purple mesh onto a clear hard plastic bowl)
- Black Spray Paint that Bonds to Plastic
- Rough grit sandpaper
- Hot glue gun (to glue on spiders, skull hands, and other small decorations)
- Scissors
- Plastic gloves
How to Make a Halloween Skull Candy Bowl – 5 Easy Steps
STEP 1: glue decorative mesh to your bowl
Spray Gorilla Spray Adhesive onto your plastic bowl and smooth deco mesh onto the bowl. Work with your bowl upside down to avoid getting glue on the inside and cut slits into the mesh with scissors to get it to lay flat. This takes a little sculpting but it looks great once dry. Last cover the bottom with felt.
If you do happen to get glue on the inside of your bowl use Goo-Gone and it will wipe away easily. Then carefully wash the inside of the bowl with soap and water to remove any residue.
Note: I recommend wearing plastic gloves when using Gorilla Spray Adhesive (this glue is really sticky) and spray it outside where it’s well-ventilated.

STEP 2: Spray paint all of The Other Pieces
Use spray paint that adheres to plastic to paint the elements that make up the candy bowl including a circle of foam core to use as a base. I also spray-painted plastic skeleton hands (not shown) that I found at DT and later added them as a finishing touch.

STEP 3: glue The base Elements
Use GE GE500 Silicone 2+ Window and Door Caulk to glue one candle stick to the center of the circle of foam core board.

Next, silicone glue three skulls to the foam core base as shown below. Add a good amount of glue to the bottom and a dab of glue where the skulls touch the candle stick for added support.

STEP 4: Glue the Candles Sticks Together
Last, use a 2-part epoxy to glue the top candle holder on, candle top to candle top.
Just squeeze epoxy into a small disposable cup, mix with a popsicle stick (or something you can throw away), and apply it to the top of the candle stick using the same stirring stick.
Note: Roughing up the painted surface with rough grit sandpaper first to help the bond.

STEP 5: Hot-glue the skeleton hands And Other decorations To The Bowl


++++++++++
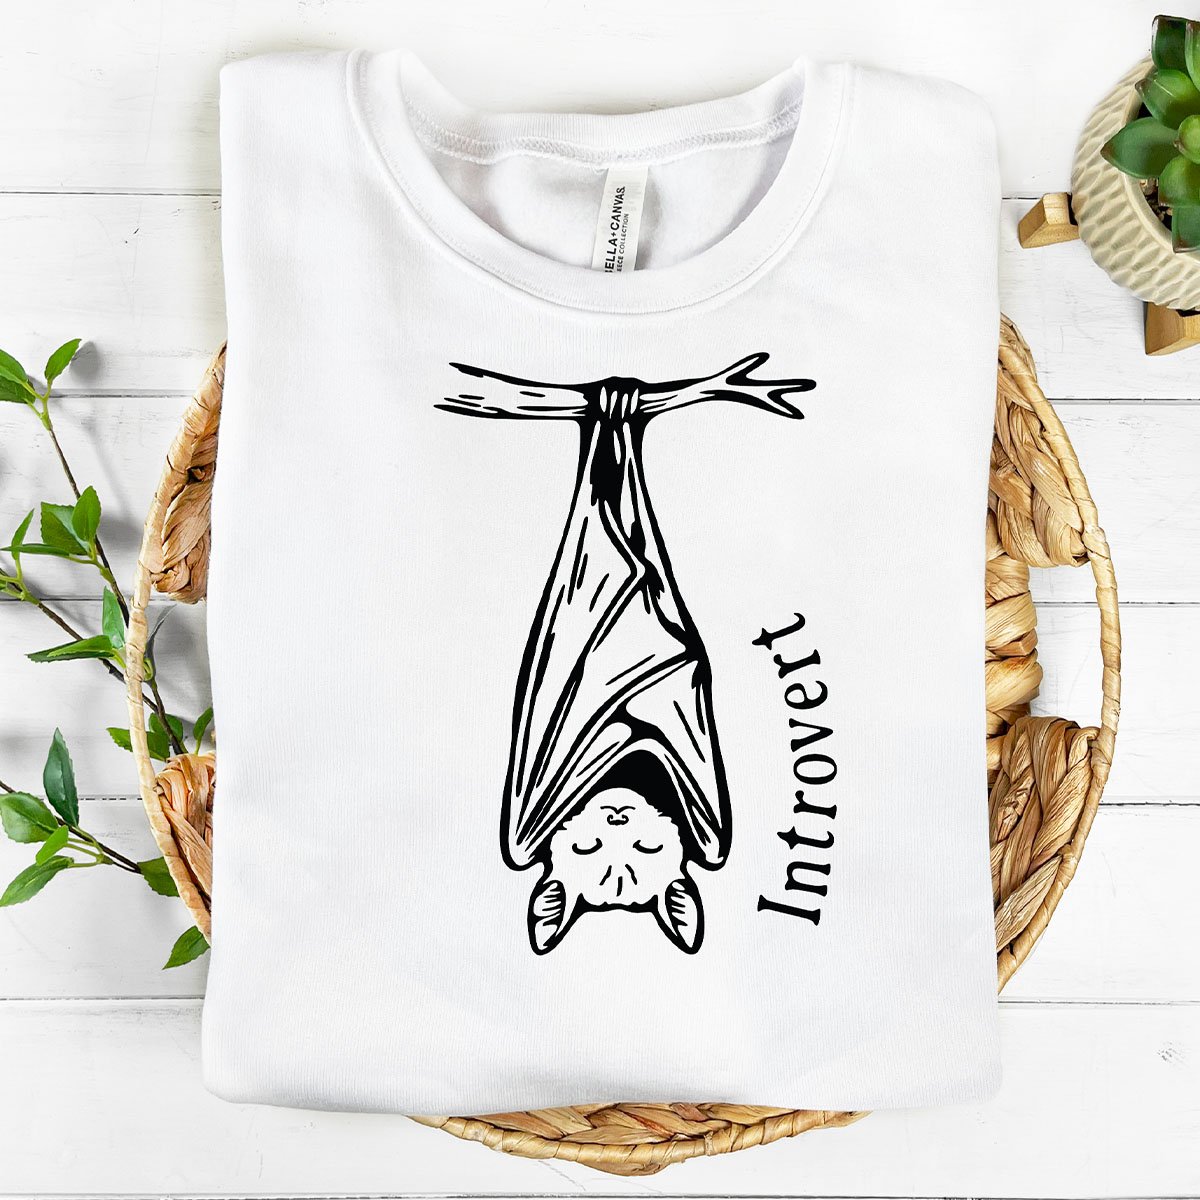
Celebrating All Introverts! A one-color illustration and digital craft file for paper crafts, sublimation, and cut vinyl projects. Shop: Introvert Bat Design
|
RELATED CRAFT IDEAS:
- Vintage Halloween Decor – Upcycle Projects
- DIY Thanksgiving Wall Decoration – Free SVG Cut Files
- Ghost and Bat Cork Ornaments – Free Template
- 15 Fall Tiered Tray Decor Ideas – Easy DIYs
++++++++
Watch A Video
Link to the full tutorial here –> Easy DIY Potion Bottles for Halloween – Free Labels

Advertisement


 Hi, I’m Dawn, a graphic designer, mom and weekend crafter! Join me on my adventures! I always have something new and inspiring going on. Learn more about me


