

This decoupaged keepsake box offers a simple way to store travel memories and collected mementos. Made from an unfinished wood box, it’s easy to customize and perfect for holding photos, postcards, and small keepsakes.
Supplies
- A wooden box
- A paper map (here’s a link to the map of Paris used in this tutorial)
- Mod Podge
- Large and small paintbrushes
- Scissors
- A ruler
- A pencil
- A precision knife (X-Acto knife)
- A squeegee (an old credit card will work too)
- Polyurethane (optional)
How to Make a Decoupaged Keepsake Box – 5 Easy Steps
STEP 1:
Cut paper map pieces slightly larger than the panel you’re working on, and coat your box thoroughly with Mod Podge from edge to edge before applying your paper map panel.
Tip: Use your box as a guide to trace the panels of your box with a pencil on the back of the map. Cut a little larger for easier placement.

STEP 2:
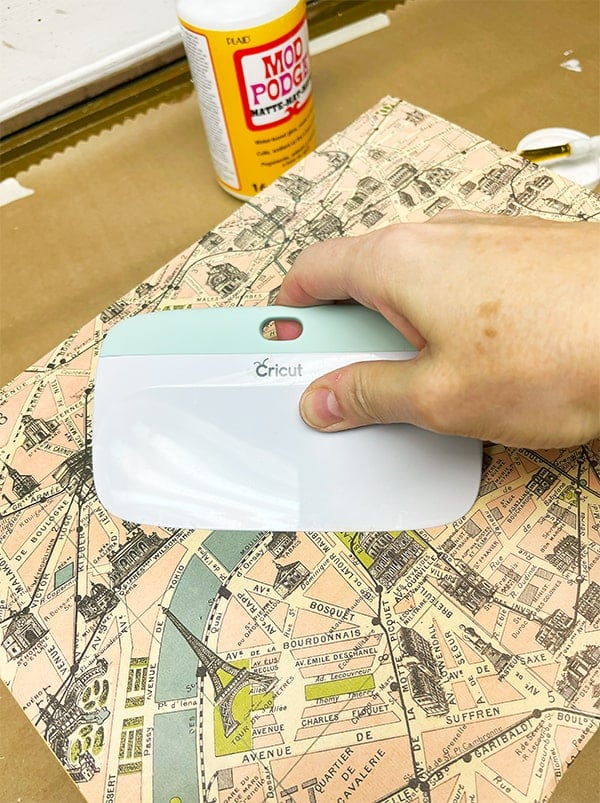
Use a squeegee to smooth any bubbles and adhere the paper map to your box. Work from the center out.
STEP 3:
Trim away any excess paper overhanging the edges with an X-Acto or precision knife.
Tip: To make things easier, turn your box upside down and use it as a straight edge when trimming.

STEP 4:
Finish all of the sides.

STEP 5:
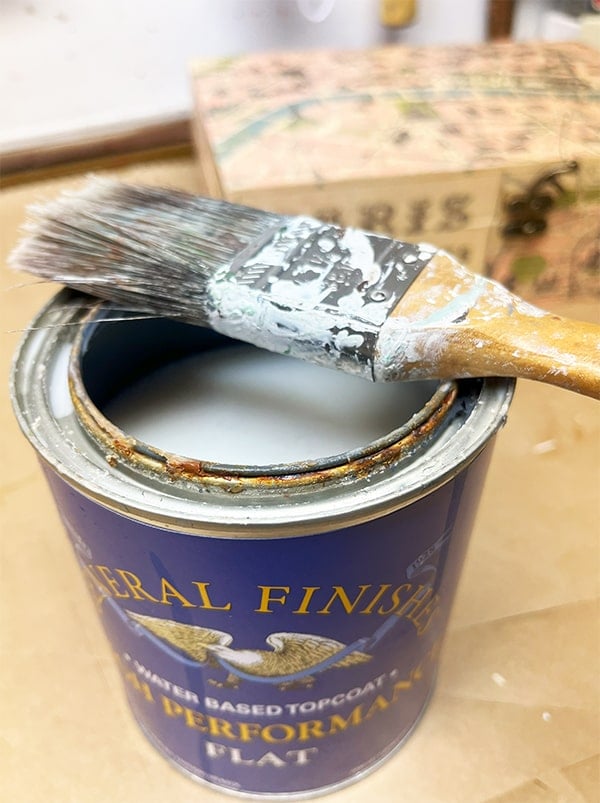
Give your box a top coat of polyurethane or coat the entire box with a thin layer of Mod Podge to protect the art!
Looking for more Paris craft ideas? Explore these lovely Paris-inspired projects here.


Vintage Button Tin Finds & Handmade Ideas
Explore vintage sewing notions, from colorful button collections and old thread
Spring — Handmade Details & Botanical Ephemera
Spring handmade ideas including thrifted finds, repurposed projects for the season,
6 Creative Plant Propagation Station Ideas
Green Thumb Inspiration – Six clever vase ideas and plant propagation

15 Clever Repurposed Furniture & Refresh Ideas
Check out these thrifty small furniture upcycles from flea market finds
 Hi, I’m Dawn, a graphic designer, mom and weekend crafter! Join me on my adventures! I always have something new and inspiring going on. Learn more about me