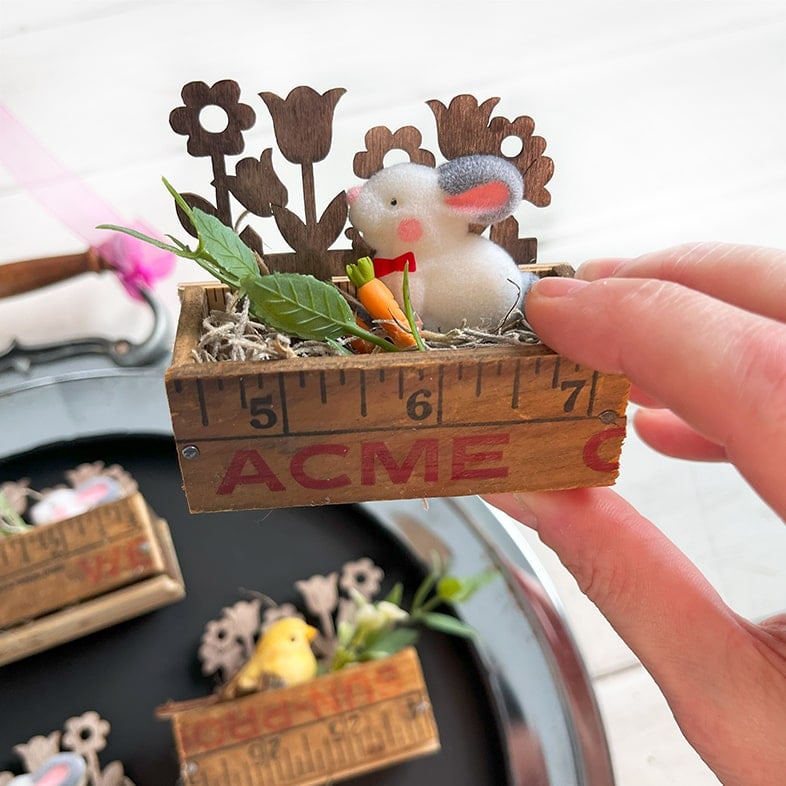
These vintage-style ruler box magnets make great gifts and are an inexpensive make-to-sell item for antique booths, craft fairs, or pop-up shops. I originally made a pair as air plant holders for my refrigerator, but there are plenty of other ways to use them.
Ways to Use Ruler Box Magnets
Here are a few seasonal ideas—and below are all the details on how to make them.

Supplies To Make Ruler Boxes
- Wood rulers or yardsticks
- A miter box and handsaw
- Wood glue
- A small hammer
- Small tack nails (about 1/2″ long, like the ones that come with sawtooth picture frame hangers)
- A sanding block
- GE GE500 Silicone 2+ Window and Door Caulk
- Refrigerator magnets (the ones in the DIY were from Dollar Tree)
How to Make Ruler Box Magnets – 5 Easy Steps
STEP 1:
Use a miter box and a handsaw to cut the wood ruler pieces. You will need three (3-inch pieces) for the front, back, and bottom of your box. And, two (1.25-inch pieces) for the sides.

Tip: Use pieces from inexpensive wood rulers from the office store for the parts you won’t see like the back or bottom of the box!
STEP 2:
Use a sanding block to sand any rough edges.

STEP 3:
Apply wood glue and tap one tack nail into each side to make a box.
Don’t worry about making these tiny boxes perfect. A couple of mine have extra nail holes from nails that didn’t catch and wood pieces that overhang a little. This is one of those imperfectly, perfect crafts!

STEP 4: Add Magnets
I found that using silicone adhesive to attach refrigerator magnets to the back of these little boxes gives a lasting hold. Apply a generous amount under and around the sides of the magnet and let dry for 12 hours.

STEP 5:
Use hot glue to glue miniatures, ornaments, decorations, and greenery to the inside of your ruler box.


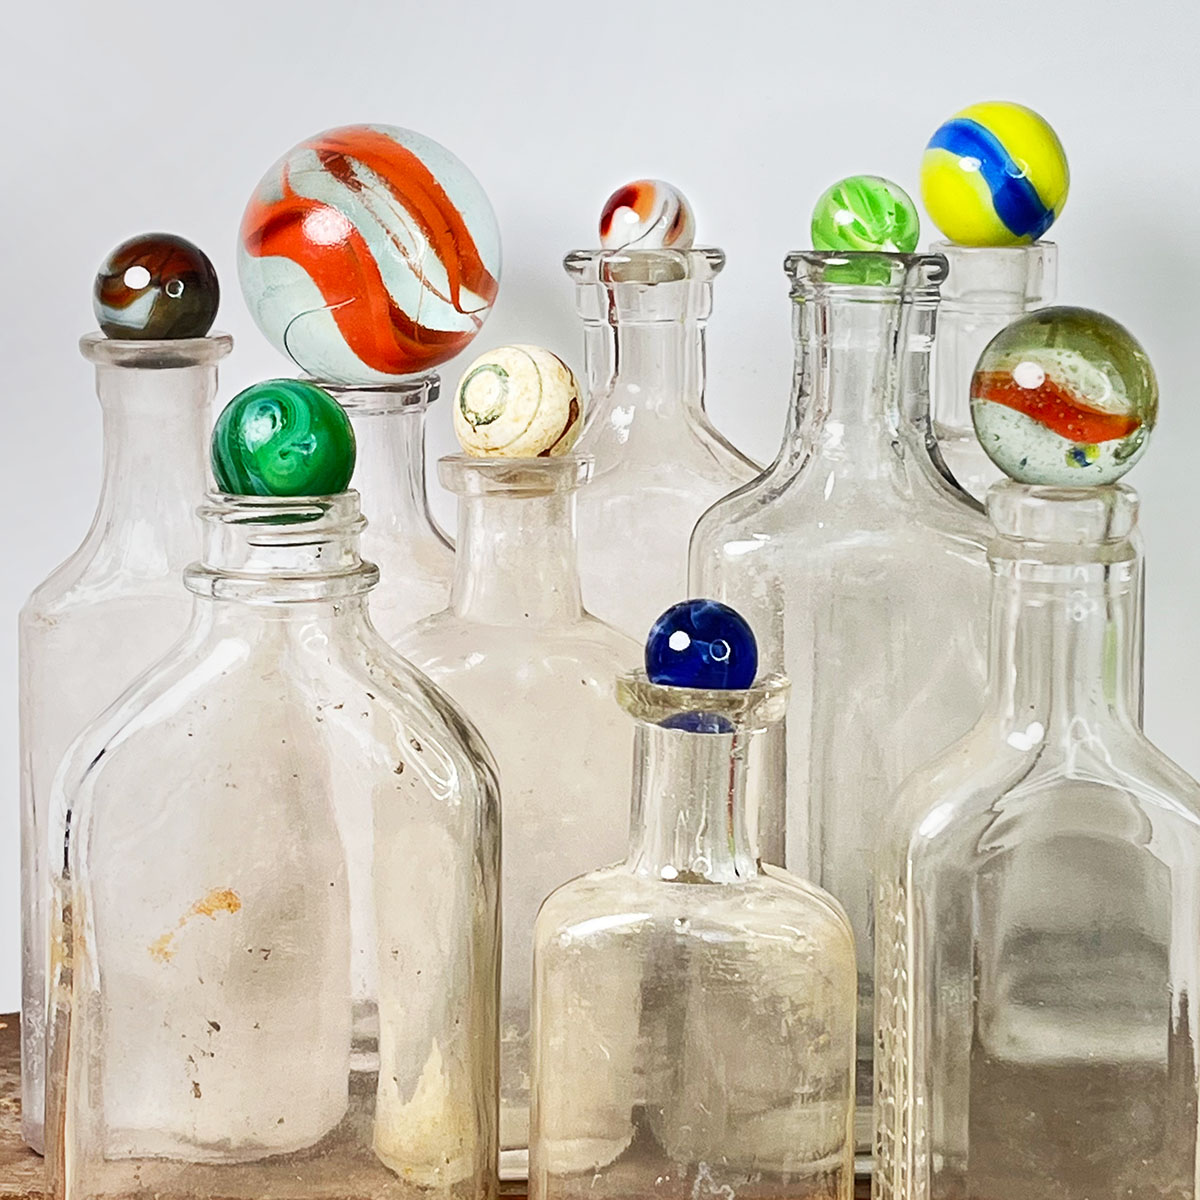
Treasures Kept — Vintage Toys, Nostalgia & Keepsakes
Vintage toys, trinkets, and small keepsakes—objects loved, kept, and returned to,
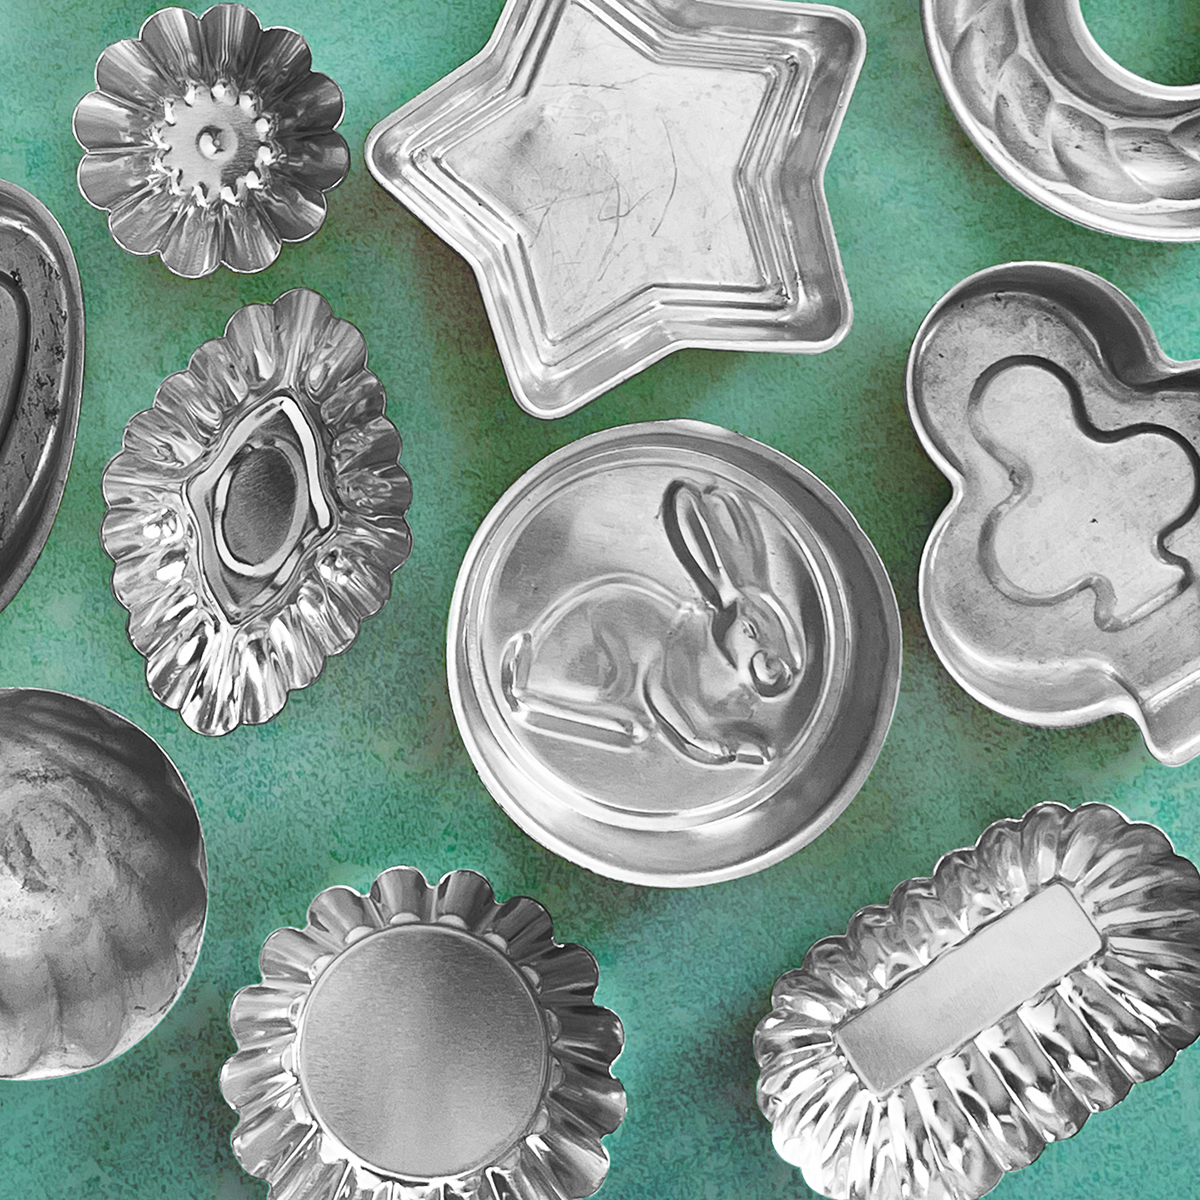
8 Clever Repurposed Tart Tin Crafts
Tart tins aren’t just for baking! Check out these beautiful and

No-Sew Woodland Felt Animals – Free Pattern
Make these adorable no-sew woodland felt animals to string as garland,
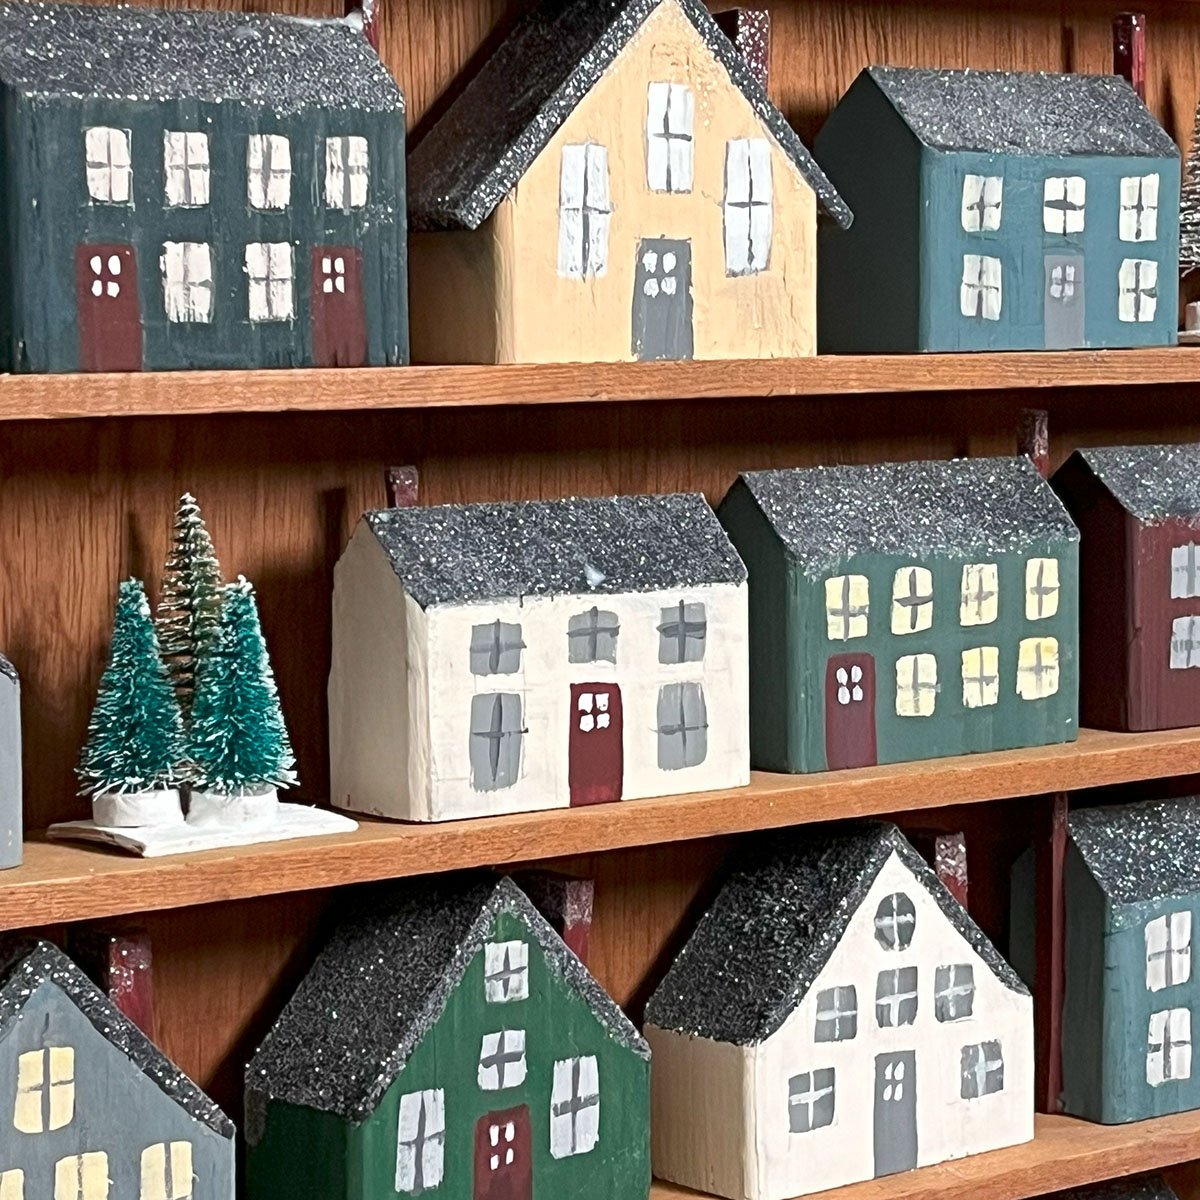
How to Make Tiny Wooden Houses Using Scrap Wood
Make these adorable tiny wood houses using scrap wood and wood
 Hi, I’m Dawn, a graphic designer, mom and weekend crafter! Join me on my adventures! I always have something new and inspiring going on. Learn more about me