Make stenciled signs for St. Patrick’s Day using stencil vinyl!
I love making stencils with my Cricut Maker, especially for signs. It’s an easy way to create and transfer designs. I made two for my vintage booth for my spring reset, and below I share tips on layering stain and color—and how to get the best transfer.
For this thrifty sign DIY, I’m also using scrap wood from my garage and designs from my shop. Feel free to use any cut file design you have on hand.
Supplies
- Scrap wood
- Wood stain
- Acrylic paint
- Paintbrushes or foam stencil applicators
- An SVG cut file design
- A cutting machine (I’m using a Cricut Maker)
- Stencil vinyl
- Transfer tape
- Weeding tools: a small scraper, a hook weeding tool, and a standard grip mat
- Scissors
How to Make a Stenciled St. Patty’s Day Sign
STEP 1:
To get started, cut your scrap wood to size. My Lucky Clover sign board is 16″ wide x 5″ tall. Then apply a dark stain.

STEP 2:
For the Lucky Clover Farms sign, I roughly applied white chalk paint to my board, just enough to coat it.

STEP 3:
Cut a design using your cutting machine. I used a green standard grip mat 12″ x 24″ mat and selected Stencil Vinyl from the cut settings. Choose the settings that work best with your cutting machine.


Lucky Clover Design in Cricut Design Space – Choosing Stencil Vinyl as Material.
STEP 4:
Weed away vinyl in the areas that will be stenciled. Then, apply transfer tape to your stencil vinyl and transfer the design to your sign board.

STEP 5:
Paint the sign stencil. Here I’m using Christmas Green and Black acrylic paint.

STEP 6:
Let your paint set for a minute and remove the stencil vinyl. I had some paint bleed under the stencil because I used a board with a rough texture with deep grooves and pits.
The smoother your wood board, the less paint bleed. It looks bad, but it all turned out fine in the end. I touched up a few spots and gave the board a light sanding to add a more distressed look.


The Second St. Patrick’s Day Sign
I made another sign while I had all the supplies out. This sign mixes techniques—stenciling and permanent vinyl for the white handwritten type.
First, I painted the background stencil with black acrylic paint, then removed the stencil vinyl. Once the black paint was dry, I applied stencil vinyl for the shamrock motif and painted it green. Last, I used permanent vinyl for the Today’s Specials list.


10 Inspiring Fairy Garden Ideas
Check out these inspiring fairy gardens and get tips on budget-friendly
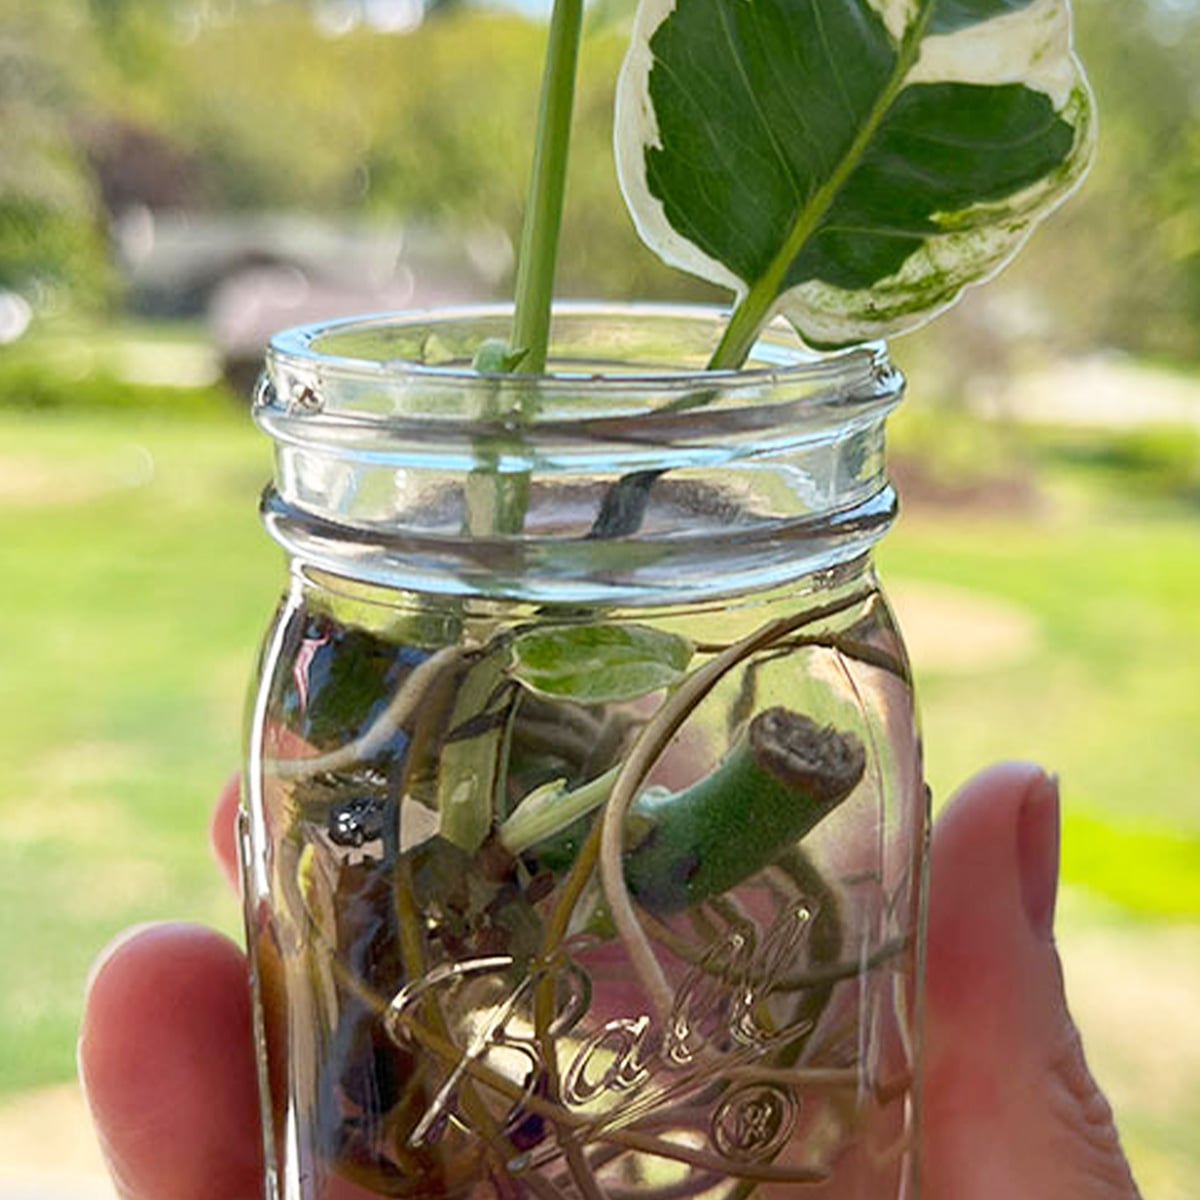
6 Creative Plant Propagation Station Ideas
Green Thumb Inspiration – Six clever vase ideas and plant propagation

Spring — Handmade Details & Botanical Ephemera
Spring handmade ideas including thrifted finds, repurposed projects for the season,
Green With A Little Good Fortune
Green and good fortune — gathered in vintage objects, spring details,
 Hi, I’m Dawn, a graphic designer, mom and weekend crafter! Join me on my adventures! I always have something new and inspiring going on. Learn more about me