Make beautifully distressed farmhouse book stacks using paperback books!
I gave Dollar Tree paperback books a makeover using white chalk paint to make this beautiful stack of books.
I added Christmas decorations to mine, but how cute would these books be painted in pastel colors for spring or stacked up to elevate dessert trays for a wedding reception?
Smaller books could also be used to decorate a tiered tray!
At first, I was hesitant to try this DIY on paperback books because I thought the covers would curl up. To my surprise, they held up well to paint!
I used my Cricut Maker to cut the vinyl words and snowflakes to decorate the book spines. To use the snowflake art, download the Snowflake SVG file here.
These books take minutes to make and they dry quickly. Check out the supplies list and all the details below.
Supplies
- Paperback books from Dollar Tree
- Brown kraft paper
- Mod Podge (I used Matte)
- Chalk paint
- Brown acrylic paint
- A foam applicator brush and a paintbrush
- An X-Acto (precision knife)
- Scissors
How to Make A Farmhouse Book Stack – 3 Easy Steps
STEP 1: Cover Your Book With Kraft Paper
Start by cutting a piece of kraft paper large enough to cover your book. First, coat the back cover with Mod Podge and smooth kraft paper over top. Finish covering the book the same way.

STEP 2: Trim
Trim the excess paper using an X-Acto knife or scissors if you prefer.

++++++++
 | Clean out your kitchen cupboards and check out these super easy DIYs! |
++++++++
STEP 3: Paint and Decorate
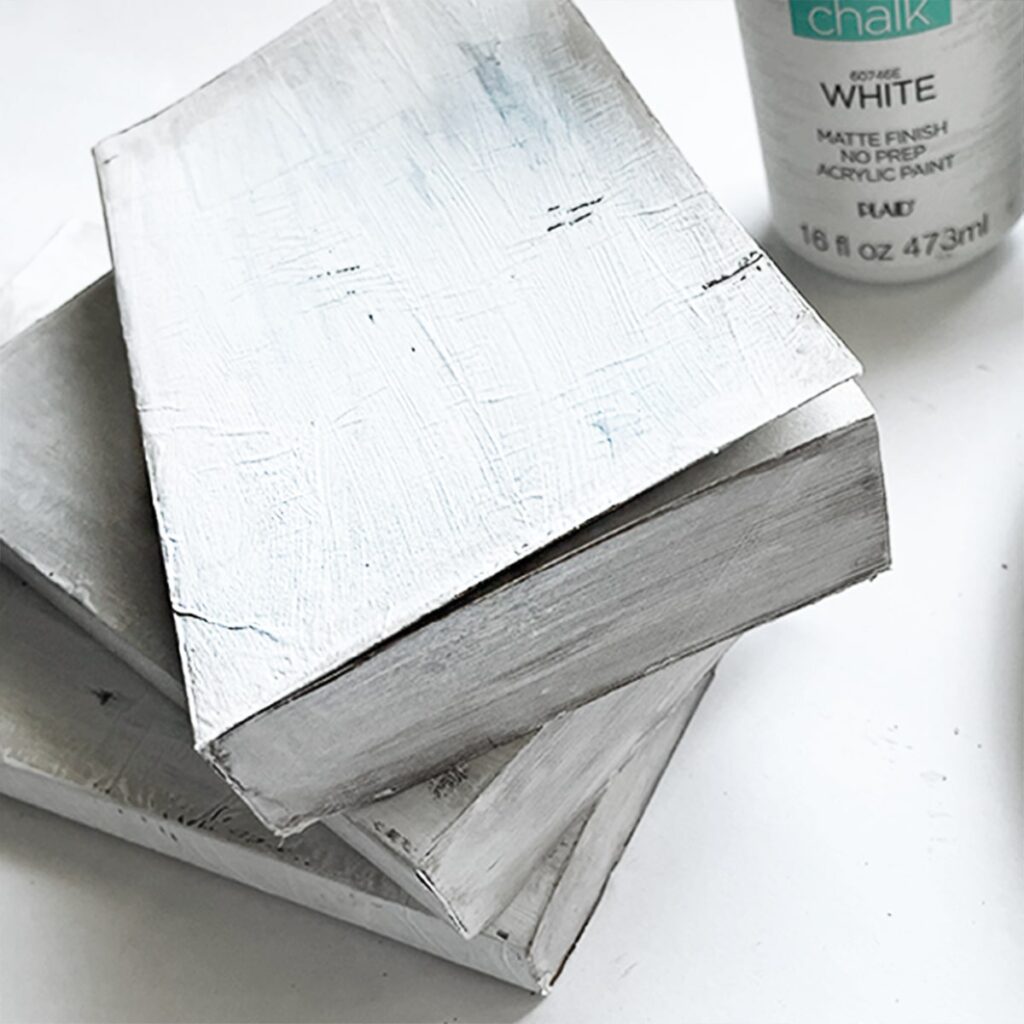
Paint the cover, spine, and back cover of the book with chalk paint. This doesn’t have to be perfect. I think it looks better if some of the brown kraft paper shows through.

To make the edge of the book look aged, I mixed a small amount of brown acrylic paint with white chalk paint and lightly dry-brushed it over the edges of the covers and spine with a paintbrush. Photo below.

Next, mix brown acrylic paint with water to make a wash. Use a foam brush to go over the three remaining sides of the book (the closed pages) as shown below.

Then mix a little white chalk paint with water to make a wash. Use a foam brush and paint over the brown. This will lighten the sides and let hints of brown showing through to give the edges an aged and worn look. See below.
When your books are dry, decorate and display them!


++++++++
 | Repurpose wood yardsticks into adorable holiday magnets! Read More: DIY Holiday Ruler Box Magnets |
MORE HOME DECOR IDEAS:
- 4 DIY Air Plant Holders to Beautify Your Home
- DIY Pine Cone Christmas Tree
- Easy DIY Silverware Caddy
- 10 DIY Christmas Tiered Tray Decor Ideas
++++++++
Advertisement
++++++++
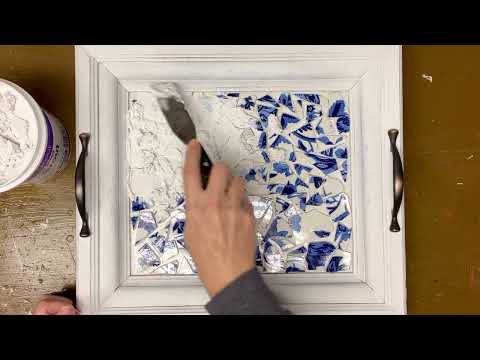
Watch A Video
Link to the full tutorial here –> DIY Mosaic Picture Frame Tray
 Hi, I’m Dawn, a graphic designer, mom and weekend crafter! Join me on my adventures! I always have something new and inspiring going on. Learn more about me