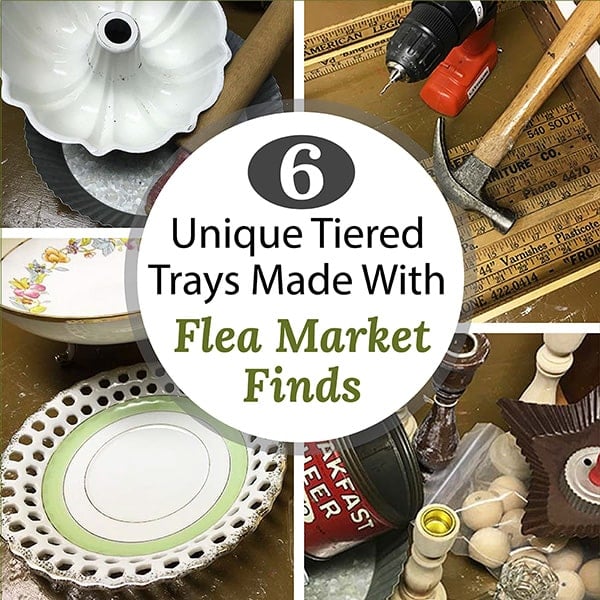
Learn how to make beautiful DIY tiered trays using a mix of new items as well as inexpensive thrift store and flea market finds!
We have two antique stores in our area that are chock-full of treasure, and I love browsing the aisles to see what I can find. On this shopping trip, I went looking for vintage items to make unique tiered trays.
I wasn’t able to find everything at the flea market. Some of the items, like candlesticks, I purchased on Amazon. But the vintage items I did find certainly added the charm and character I was looking for!
Check out the DIYs below.
1. Coffee Bar Tiered Tray
I love this antique coffee can that I found! If you’re looking to make a unique tiered stand, keep an eye out for unique cookie tins and other tins. eBay and Etsy are also great places to shop for vintage tins.
This old wood bowl and rustic candlestick were found a few aisles over – score! I love the wood tones, so all that was needed was to glue the tiers together with E6000.

2. Teacup Tiered Tray
Teacups and saucers are easy finds at thrift and antique stores. They’re also the perfect size to hold jewelry or other small items. To make a teacup-tiered tray, just pick up one teacup, two saucers or a bowl and saucer, and a glass candlestick from Dollar Tree.
I decided to paint mine with a combination of acrylic and chalk paint. Before gluing the tiers together with E6000, I made a last-minute decision to roughen up the edges of the pieces with fine-grit sandpaper.

++++++++
Clean out your kitchen cupboards and check out these super easy DIYs! |
++++++++
3. Star Tiered Tray
When I found this star-shaped tin and vintage cookie cutter with a red handle, I was inspired to make a Patriotic Tiered Tray.
To complete this tray I also bought a set of unfinished wood candlesticks and a Star-Shaped Baking Pan. After giving everything a fresh coat of red, white, and blue spray paint, I just glued the tiers together with E6000.

4. Vintage Rolling Pin & Fluted Pan Tiered Tray
I love the farmhouse look of this tray made with a vintage red-handled rolling pin!
Since the rolling pin was a bit heavy, I predrilled holes into the bottom saucer and secured the rolling pin with two 3/4 inch Phillips-head screws.
The vintage fluted (bundt) pan worked perfectly for the top tier and only needed a little E6000 to set it in place.

Below is a smaller but similar tiered tray that I made to sell in my antique store booth for Valentine’s Day! I used the rolling pin handle (that I saved from the original Rolling Pin & Fluted Pan DIY above) as a topper.

5. Scrap Wood & Vintage Yardsticks Tiered Tray
I found a bin of vintage yardsticks and this gigantic textile spool at the Fleatique and knew they would make a cool utility tray.
I have to admit, this tiered tray was a little more work than the others but it’s also my favorite because my son and husband pitched in to help build it.
We used 5/8″ thick scrap wood for the sides and glued a 12″ x 12″ piece of plywood to the bottom for extra stability and cut 8-yard sticks with a hand saw and miter box to make this little gem.

6. Three Tiered Tray Made With a Vintage Silver Tray
This tiered tray is tall (about 16 inches) and a great everyday tray for my kitchen island. I’m filling it with seasonal decor items but it would also make a great tiered-serving tray.
The top and middle tiers are stove-top burner covers, and the bottom is a tray I found at the thrift store. Assembly was easy, I spray-painted the wood candlesticks silver and glued everything together with E6000.

7. Three Tiered Tray Made With Vintage Tins
Organize your space and add a little nostalgia with a 3-tiered tray made out of vintage tins. Get all the details on this easy vintage-inspired DIY here –> How to Make A 3-Tiered Tray Using Vintage Tins.


++++++++
Learn how to make vintage-style clipboards! Read More: How to Make Vintage-Style Clipboards |
MORE HOME DECOR iDEAS:
- 10 Creative Ways to Upcycle & Display Vintage Tins
- How to Make a Miniature Tiered Tray Ladder
- 15 Fall Tiered Tray Decor Ideas – Easy DIYs
- Farmhouse Mini Pillows for Your Tiered Tray – Free SVG Stencils
++++++++
Watch A Video
Link to the full tutorial here –> Farmhouse-Style Hula Hoop Shelf DIY


 Hi, I’m Dawn, a graphic designer, mom and weekend crafter! Join me on my adventures! I always have something new and inspiring going on. Learn more about me


