
Learn how to make a three-tiered tray using vintage tins and simple supplies. I used a wooden paper towel holder as the center post, which is an easy thrift store find, but a wooden dowel works just as well. Because tin has a bit of give, adding a solid base—such as a square of plywood or a round wood disc—helps keep the tray stable. Gather your vintage tins and follow the details below to create this fun and functional organizer.

Supplies
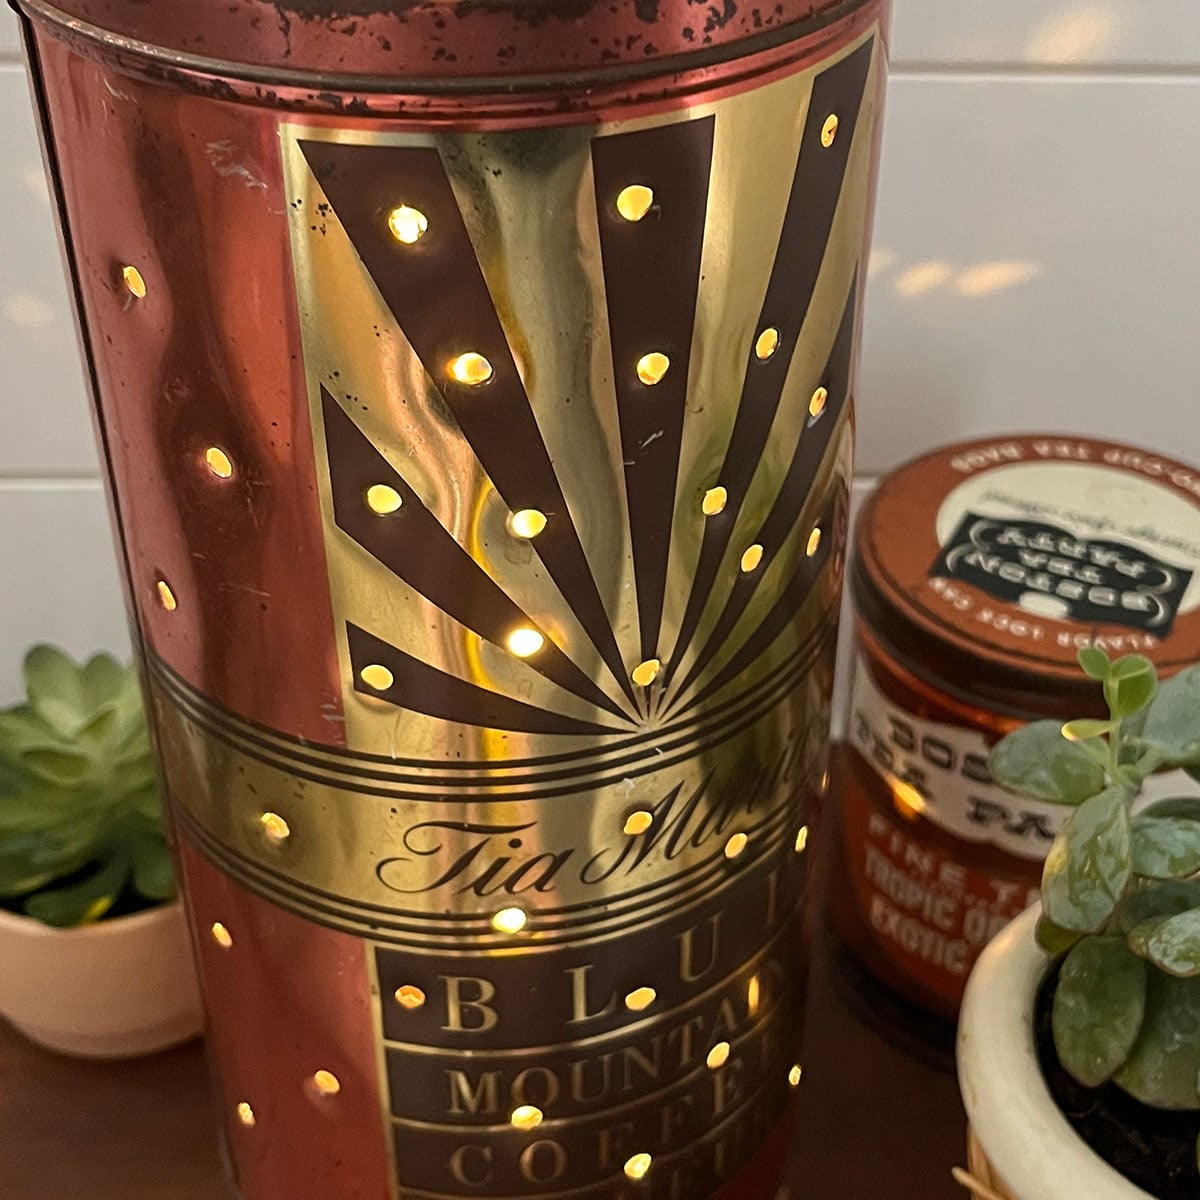
- 3 tins (cookie and coffee can tins work well for this DIY)
- A wooden paper towel holder– or a 7/8-inch dowel
- plywood for the base or a round disc of woodcraft board (if using a dowel)
- A Chop saw
- A drill and different size drill bits
- A vice grip
- One 3/16 x 2-inch dowel screw (pointed on both ends)
- Long Philips head screws (if using dowels)
- Screwdriver
- Pliers
How to Make a 3-Tiered Tray Using Vintage Tins – 5 Easy Steps

STEP 1: Cut The Dowel
If you’re using a wooden paper towel holder, start by taking it apart and removing all the pieces. Cut the center dowel to size using a saw. I cut mine into two 5-inch sections, which allowed plenty of space between the tins.
Note: If you’re using a paper towel holder, don’t cut off the screw ends. Cut the dowel in the middle so you can reuse the original screws and hardware.

STEP 2: Drill A Hole In Each Tin
Drill holes into the center of each tin.

STEP 3: Pre-Drill Dowels
Pre-drill a straight hole into the center of each cut dowel end, drilling at least 1 inch deep. The hole should be slightly smaller than the dowel screw so it grips securely. For reference, a 9/64-inch drill bit worked well with a 3/16 × 2-inch dowel screw.

STEP 4: Add A Dowel Screw
Use pliers to screw the dowel screw into the end of one of the dowels that you pre-drilled.


STEP 5: Assemble
Now it’s time to assemble the tray. I used the existing screws from the paper towel holder to secure the top and bottom tins, and a dowel screw in the center to connect the two dowels.

Screw the top dowel in place by screwing it onto the end of the dowel screw.

Secure the top tin using the topper from the paper towel holder. If you’re using a dowel instead, pre-drill a hole and attach the tin with a long Phillips-head screw, adding a metal washer for extra stability.


 Hi, I’m Dawn, a graphic designer, mom and weekend crafter! Join me on my adventures! I always have something new and inspiring going on. Learn more about me