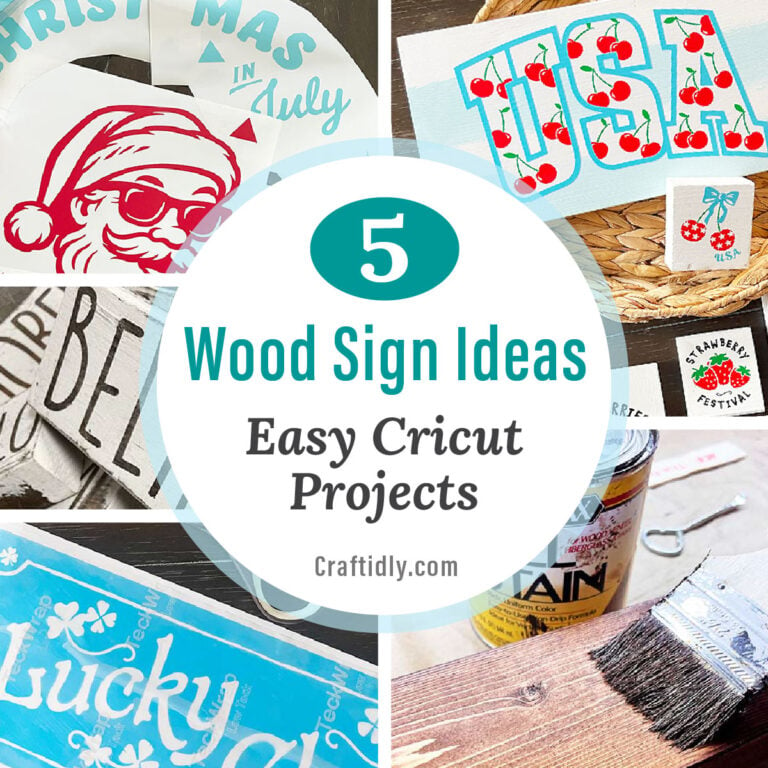
A collection of DIY wood sign ideas that are fun and easy to make!
Get ready to unleash your creativity! Whether you’re crafting signs to brighten up your space or to sell, these DIYs will get your imagination buzzing with ideas.
1. Cheery Summer Signs
These fun summer signs were made with scrap wood from my garage and permanent vinyl that I cut with my Cricut. Since I had boards of different sizes, I measured and scaled the graphics in Cricut Design Space to fit each.
First, I sanded and painted the boards, then I layered the cut vinyl pieces for each sign onto a single layer of transfer tape for easy transfer.
They came out great, and I love that I could use supplies I already had on hand. Check out the summer graphics used to make them in my Etsy Shop.

2. Rustic 2 x 4 Stackable Signs
The signs below were made using a reverse stencil technique that lets the stained wood show through.
Get all the details and free SVG cut files to make these fun stackable block signs here –> DIY Farmhouse Wood Signs – Free SVG Files.

3. Two Signs to Celebrate St. Patrick’s Day
I cut Cricut stencil vinyl for these signs, but decided to stick to permanent vinyl for the tiny menu type. Sometimes you have to combine techniques!
For more details on this project, check out the full post here –> Stenciled St. Patrick’s Day Signs – An Easy Cricut Project.


4. Christmas Shelf-Sitter Signs
Make these festive Christmas 4-inch signs for a tiered tray or holiday shelf display! This is an easy Cricut project that’s great for beginners or anyone looking for an easy weekend DIY.
Get all the details on this project and the Free SVG files (plus 2 new designs) here –> Christmas Shelf Sitter Signs – An Easy Cricut Project.

5. Large Sign On A Budget
I found this 18-inch wood round at Goodwill for four dollars and thought I would repurpose it into a new sign for my Christmas in July booth reset.
After sanding and painting, I took a little time to think about how to cut the vinyl. Some of the elements were wider than my Cricut mat, so I cut the design into pieces. I also added triangles as registration marks to help me line up the vinyl pieces and get everything centered.

To finish, I sprinkled in some retro charm by stapling on vintage Christmas lights that I picked up at ReStore last year! A little over the top, but I think Christmas in July is one of those times where you can dial up the kitschy.

++++++++
Learn how to make an inexpensive tall table riser! |
MORE HOME DECOR IDEAS:
- How to Distress Dollar Store Books with Chalk Paint
- 10 Clever Ways to Upcycle Glass Jars
- Farmhouse Mini Pillows for Your Tiered Tray – Free SVG Stencils
- 6 Creative DIY Projects to Repurpose Old Windows
++++++++
Watch A Video
Link to the full tutorial here –> Wood Snowflake Decoration Made From Wood Shims


 Hi, I’m Dawn, a graphic designer, mom and weekend crafter! Join me on my adventures! I always have something new and inspiring going on. Learn more about me


