Learn how to make a tall table riser using inexpensive hanging plant brackets from Dollar Tree!
This is such a simple DIY that I hesitated to share it. But, I thought it might be helpful to someone planning a wedding and looking for affordable table risers or anyone who is just looking for a practical riser for their home.
I’ve been looking for a tall table riser for entertaining. My kitchen is really small and I have very little counter space. I thought a riser (tall enough to put plates under and desserts or appetizers on top) would help maximize space.
Read all the way to the end to see one more bonus idea!

I found these brackets at Dollar Tree and a couple of others on Amazon. These hooks are generally about 9-11 inches long and are used to hang plants on but I thought they would be perfect to use as legs for a DIY riser. Below are the details on how to make one.
Supplies
- A wood plank
- A drill
- A screwdriver
- Stain or Paint – I used a dark gel stain in mahogany
- Brushes and a soft cloth
- 4 hanging plant brackets with hardware (mine are from Dollar Tree)
How to Make a Tall Table Riser – 2 Easy Steps
STEP 1:
To make a table riser, pick up four plant hanging brackets and a wood plank in whatever size you like.
Sand, then stain (or paint) your wood top. I had this thick pine board in my garage so I just added a coat of dark GEL stain and attached the brackets with the screws that they came with.

STEP 2:
Drill to make a pilot hole and screw the brackets on.
Note: You may need shorter screws than the ones that come with your brackets. Measure the depth of the wood board you’ll be drilling into and buy smaller wood screws if needed.

Bonus Idea: Turn an Old Crate Into a Raised Plant Stand!
I used 10-inch wrought iron hooks were the perfect height for my crate plant stand but you can make a raised planter out of anything, an old drawer, a suitcase…wood trays! For some crate inspiration, check out this link to see different crates available on Etsy!

++++++++
Advertisement
++++++++

++++++++
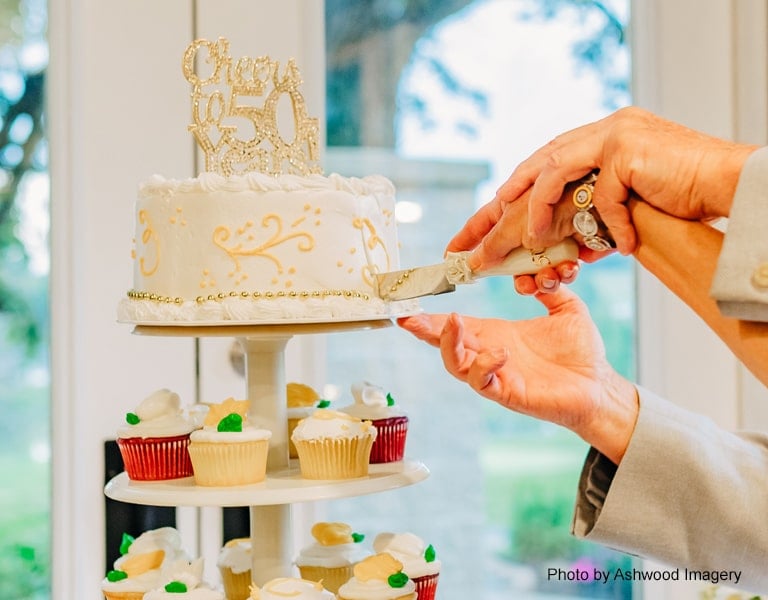
Planning a 50th Anniversary Party? Get a free planning checklist, free printables, and more. Read More: 50th Anniversary Party Ideas
|
RELATED CRAFT IDEAS:
- 6 Unique DIY Tiered Trays Made With Flea Market Finds
- DIY Lantern Made with Picture Frames and Paint Sticks
- Easy DIY Silverware Caddy
- How to Clean And Organize A Messy Room Quickly – 5 Easy Steps
++++++++
Watch A Video
Link to the full tutorial here –> DIY Farmhouse Wood Signs Made from 2 x 4’s – Free SVG Files


 Hi, I’m Dawn, a graphic designer, mom and weekend crafter! Join me on my adventures! I always have something new and inspiring going on. Learn more about me


