
This collection of repurposed kitchen items highlights creative ways to upcycle everyday kitchenware and vintage finds into useful, one-of-a-kind pieces.
1. Baking Pan Message Board & Catchall
Repurpose a cookie sheet and tin bread pan into a lovely message board and catchall. To make one, grab an old metal cookie sheet and a loaf pan, drill holes, and attach the loaf pan with small screws.
I used chalkboard paint from Dollar Tree to make a chalkboard at the top, and you can also use magnets on this board. If you plan to use chalkboard paint, I recommend roughing up the surface with light-grit sandpaper before applying it.

2. Shamrock Trinket Dish Made From Tart Tins
Repurpose a few heart-shaped mini tart tins to make shamrock trinket dishes. I used napkins and Mod Podge to decoupage my tins, but you could use acrylic paint. The stem is a wooden spatula with part of the handle cut off.

3. Cheese Grater Flip Calendar
Turn an old grater slicer into a flip calendar by folding it in half and drilling four holes at the top—front and back. Laminate and attach month and date card with large binder rings. If you’d like to use the art shown, you can download it here.

4. Patriotic Pan Lid Flag Holder
Old enamel pan lids like these have so much character! I snagged these at the flea market to make this beautiful, nostalgic flag holder. This was an easy upcycle. I spray-painted the top lid blue (it was a worn-out beige) and decorated the bottom with permanent vinyl lettering that I cut on my Cricut before bracing it to a wood board.

5. Fluted Pan & Corkscrew Caddy
This simple caddy can be used for utensils or as a catchall for crafting supplies or other small items. The hole on this fluted Jello pan was small, so I glued a wine cork to the center using E6000 and added a corkscrew for a handle.

6. Cookie Cutters Framed
I love cookie cutters, especially vintage ones with unique handles. I pick them up whenever I run across them at a yard sale or flea market, and they’re usually only a dollar or two. If you have these in your kitchen drawer, why not frame and display them?

7. Cookie Cutters Succulent Magnets
Turn cookie cutters into beautiful succulent magnets! Make them for Valentine’s Day, Mother’s Day, or to give as a gift to someone special. Find the full Cookie Cutter succulent magnet tutorial here.

8. Gingerbread Cookie Cutter Candle Holder
These vintage gingerbread cookie cutters are just like the ones my mom and I used when I was a kid. I found these along the way, at antique stores. You’ll need about five vintage ones. String ribbon through the handles and tie them around a glass vase.

9. Cookie-Cutter Topped Mason Jars
Top mason jars with vintage cookie cutters and fill with candy to give as gifts or use them as pretty kitchen storage. Find more glass jar craft ideas here.

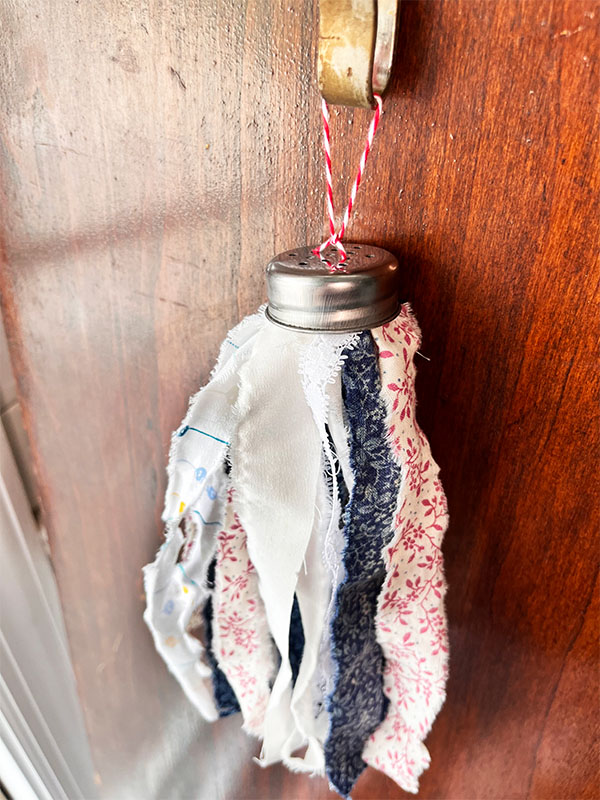
10. Salt Shaker Tassels
Turn a salt and pepper shake lid into a beautiful scrappy tassel. You can use ripped fabric or ribbon. Just tie it together at the top and secure it to the bottom of your shaker lid.
11. Muffin Tin Easter Egg Tray
Upcycle an old muffin pan with a little paint to use as a holder to display Easter eggs! Just give your old pan a scrappy coat of chalk paint and decorate.

12. Muffin Tin Wall Wreath
Or, turn that old muffin tin into a beautiful wreath. This is the same pan shown above. After my kids outgrew dying eggs, I reupcycled this pan by adding green velvet ribbon and a wreath made out of greenery garland.

13. Muffin Tin Key Rack
Turn a vintage muffin tin into a decorative key holder! These eight-cup tins are a little hard to find, but if you snag one, add a few hooks and turn it into a farmhouse-chic key rack.

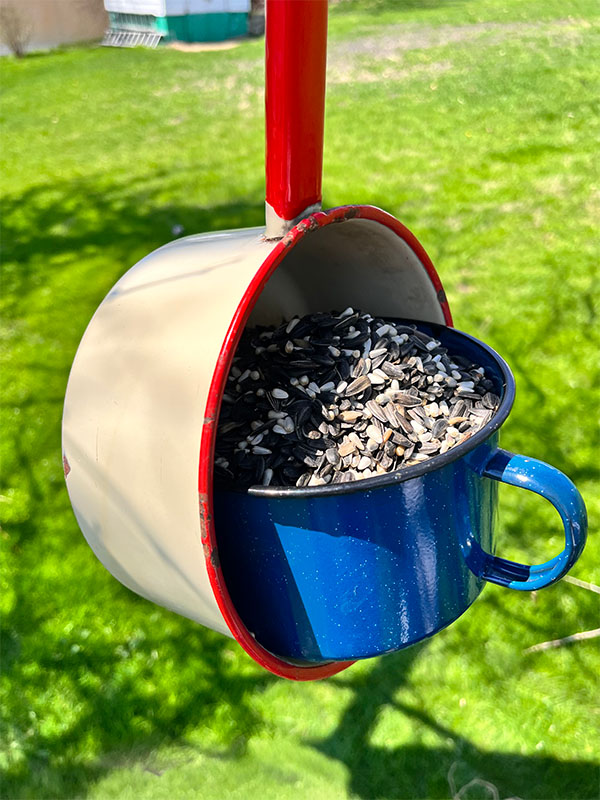
14. DIY Bird Feeders
Old pans, cups, strainers, and utensils can be repurposed to make bird feeder. Just leave a place for your feathered friends to sit and enjoy.
15. DIY Tiered Trays
Turn dishes, trays, and bake pans into beautiful and functional tiered tray storage. Find more DIY tiered tray ideas here.

16. Silverware Jewelry Organizer
Make this beautiful jewelry organizer from old silverware and a thrift store picture frame! Heat silverware in hot water and bend it around a curved object to make hooks. Drill holes in each and use small screws to attach them to a picture frame.

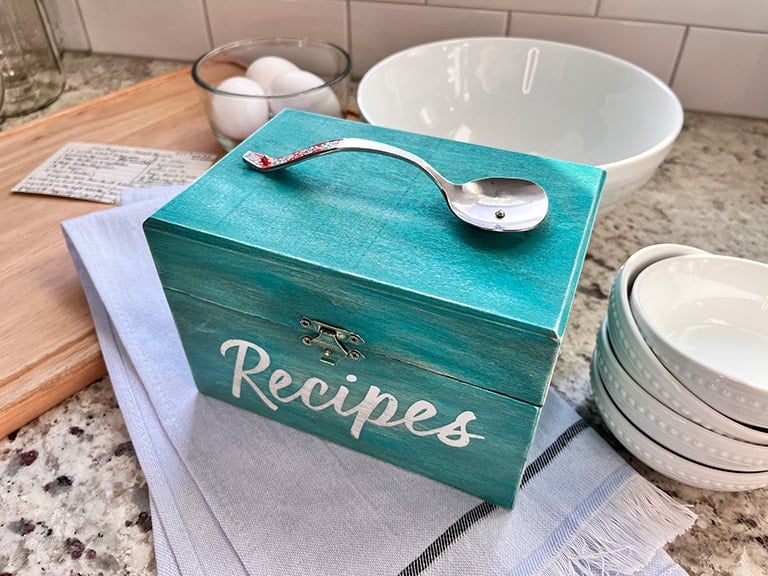
17. Spoon Handle Recipe Box
Decorate an unfinished wood box or spruce up an existing recipe box by adding a decorative spoon handle. Bend a spoon into an arch and drill two holes into it. Use small screws to secure it to the lid.
18. Glass Canister Mini Fairy Garden
Oversized glass canisters are great for pantry staples, but if you have an extra one, try this fairy garden idea filled with beachy miniatures. Find more inspiring fairy garden ideas here.

19. Teacup Gifts
Fill a pretty tea cup with chocolates and your favorite tea bags to give as a thoughtful gift. Wrap it in clear plastic and tie with ribbon to give as a pick-me-up or sunshine gift.

20. Teacup Sconce
Make a teacup chandelier or wall sconce by gluing pretty tea cups to your fixture using E6000 and adding flameless tealight candles.

21. Teacup Gnome
Make a teacup gnome! I saw this cute gnome at the antique store, and I had to snap a picture! This is a perfect idea for mismatched cups and saucers.

22. Pretty Soap Dispenser
Turn a vintage syrup dispenser into a pretty soap dispenser. I gave this one a fresh coat of sea glass spray paint and used my Cricut Maker to make a stencil for the word ‘wash’. This dispenser is so cute, and it brings a little vintage vibe with it.

23. Pretty Daisy Sifter
Upcycle an old sifter to make a beautiful decor piece. Strainers, sifters, or mesh pan covers will work for this DIY. I found this old sifter at the antique store, but you can purchase new ones here on Amazon or find vintage ones here on Etsy.
To make the appliqué, I started by drawing a daisy design onto the strainer with chalk. Then I used yarn and a wide-eyed needle to stitch the design.

24. Old Strainer Turned Holiday Wall Decoration
Give an old masher or strainer a holiday touch!

25. Pastry Cutter Organizer
Turn old pastry cutters into an organizer or recipe card holder. To make one, drill pilot holes into a small wood tray and secure the pastry cutter to the sides with wood screws or glue.

26. Jello Pan Wreath
Upcycle a copper jello mold or fluted pan into a beautiful wreath. Paint your pan if you like, then hot glue flowers on and add ribbon to hang!

27. Jello Mold Pumpkins
Copper jello molds come in many shapes. If you have a matching pair, why not turn them into a fall pumpkin decoration? You can find these beautiful molds at antique stores, flea markets, and online. Here are a few I found on Etsy—Copper Jello Molds.

28. Plastic Tumblers Silverware Caddy
This versatile caddy works well for dinner parties or as a caddy on the picnic table. Find the full DIY Silverware Caddy tutorial here.

29. Mosaic Tray
Give broken plates new life by repurposing them into a beautiful tray. See the step-by-step mosaic tray tutorial here.

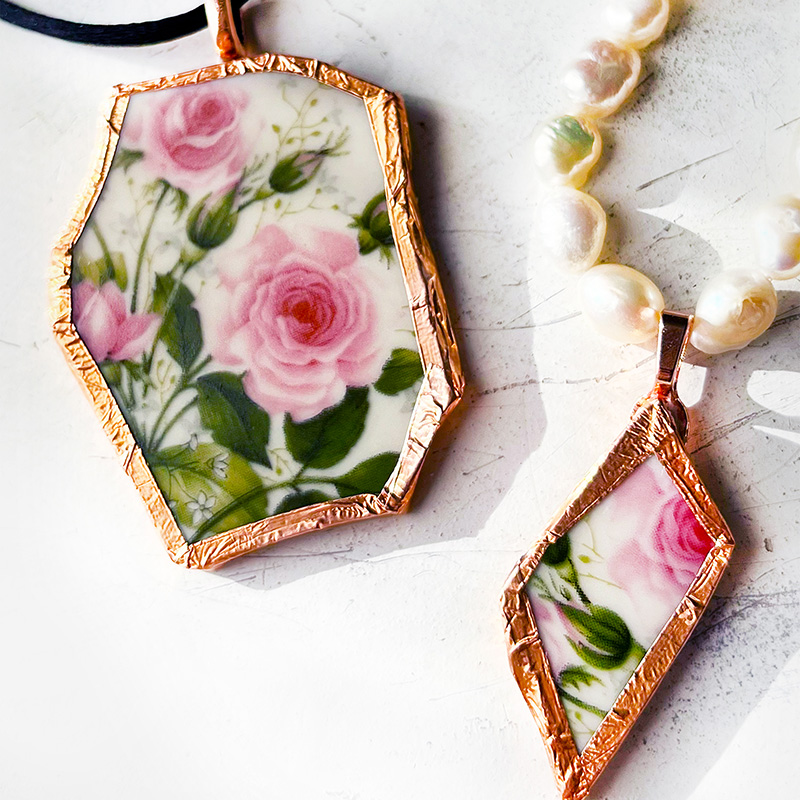
30. Broken China Jewelry Pendants
Or, make keepsake pendants for yourself or to give as gifts! Find the full china plate pendants tutorial here.
31. Butterfly Whisk
Upcycle a wire whisk into butterfly art for your garden. To make one, snip one of the whisk loops in the center with wire cutters and curl the ends with needle-nose pliers to make the antennae. Next, string 28-gauge stainless steel wire (from the hardware store or link to it here on Amazon) and wrap the whisk with colorful beads.

32. Spice Rack Greenery Station
Who says spice racks are just for spices? Turn your old spice rack into a propagation station. Find more propagation station ideas here.

33. Cheese Grater Windchime
Repurpose an old cheese grater into a beautiful windchime. I used a copper pipe from our garage and cut it down to size using a handheld pipe cutter, then I set the pieces in a vice so I could easily drill holes into them. For sparkle, I added a few crystals salvaged from an old chandelier.

34. DIY Garden Mushrooms
Gather a few old kitchen bowls and glass jars to make the whimsical garden mushrooms for the yard. Find the full DIY Garden Mushrooms tutorial here.

35. Flour Sifter Holiday Centerpiece
Turn an old flour sifter into a holiday centerpiece! Just place floral foam inside the sifter and add greenery. Decorate with vintage holiday cookie cutters and other decorative items.

36. Cutting Board Signs
If you have an old wood cutting board, don’t throw it out—stencil it to add a pop of color to your kitchen.

37. Broom Whisk Decor
Pair an old cutting board with an antique whisk broom and a few florals for an easy cottage-style accent.

38. Pan Lid Plant Hanger
Turn an old pan lid upside down and add a dollar store chain to make a hanging plant shelf.

39. Frying Pan Planter Upcycle
An old frying pan and mismatched lamp base were combined to create this one-of-a-kind planter. Finished with an aged patina, the transformation highlights how unrelated thrifted items can come together to make something new and useful.


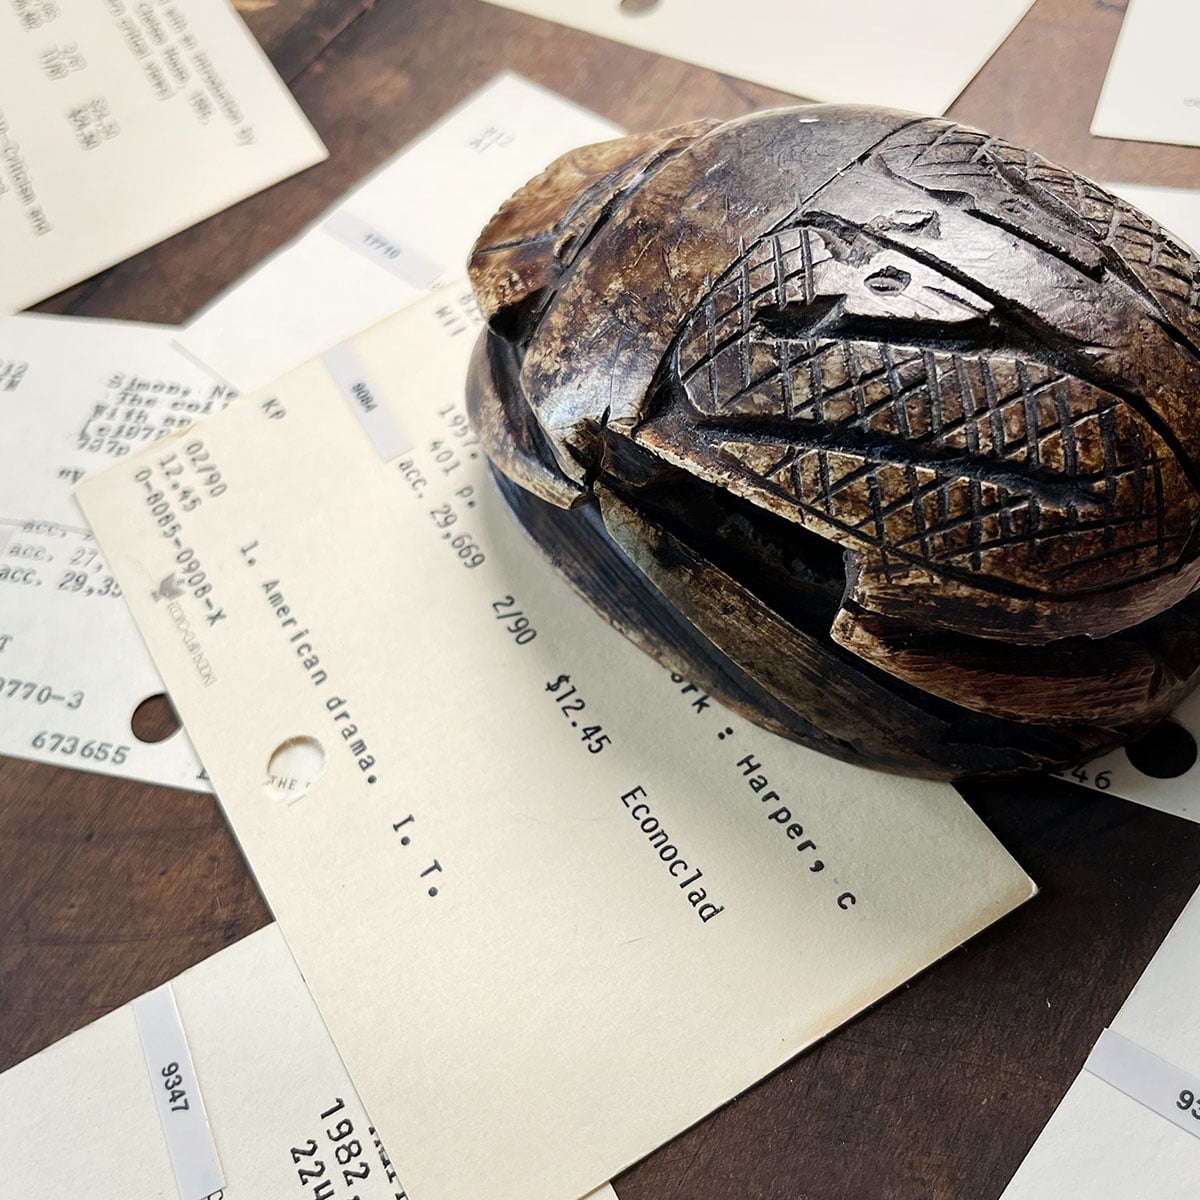
Vintage Curiosities & Quiet Oddities
Vintage curiosities and quiet oddities, gathered over time—catalog cards, small paper
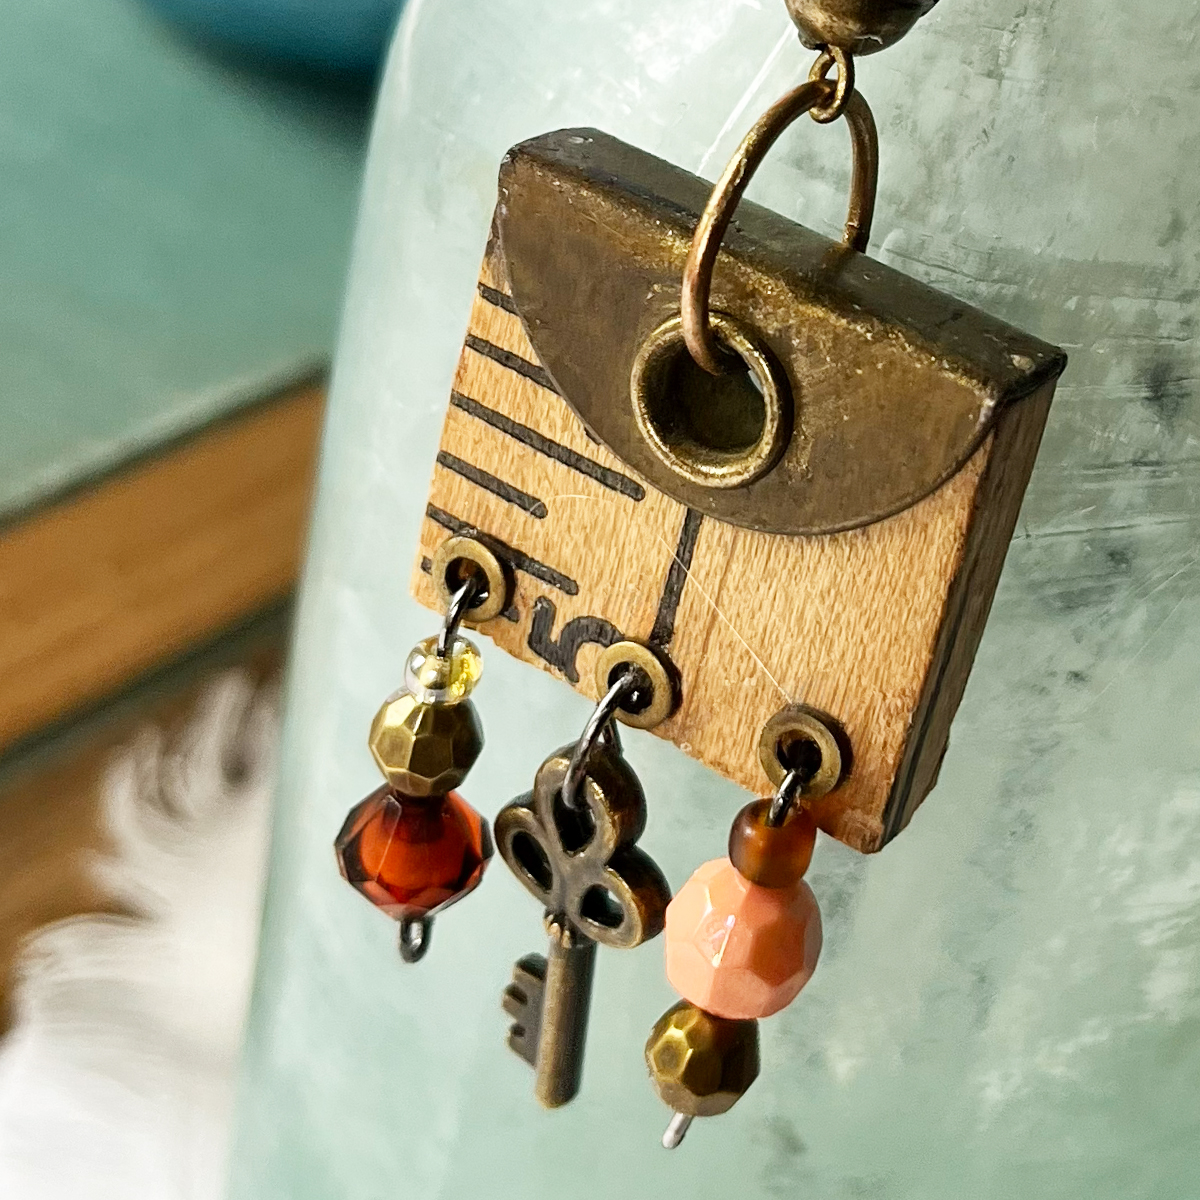
Creative Repurposed Yardstick & Ruler Crafts
If you love vintage yardstick and rulers, check out these fun
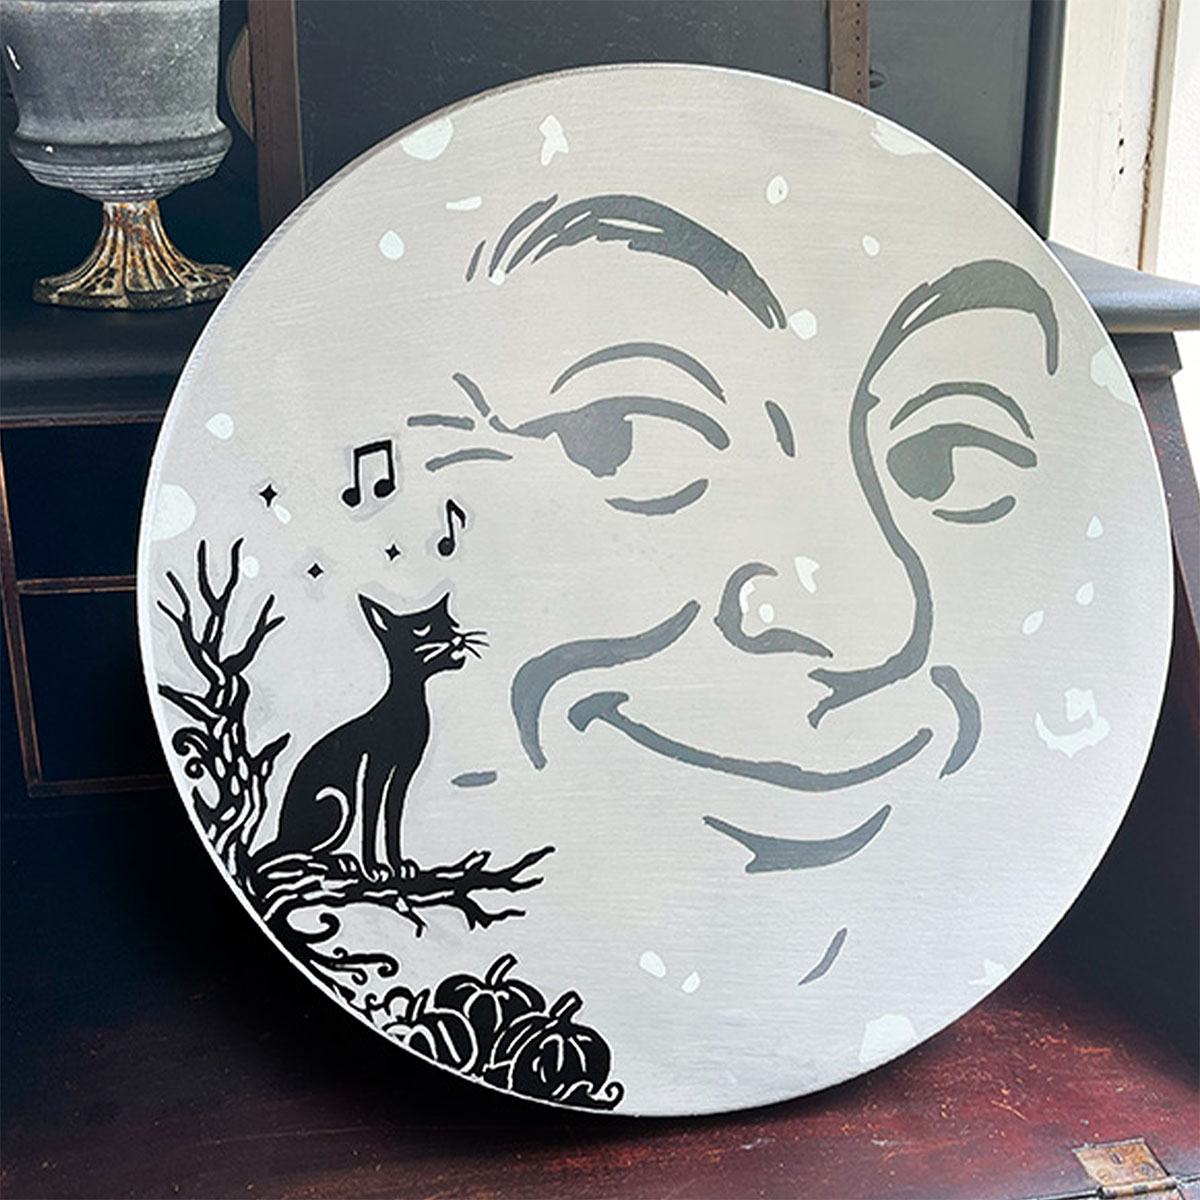
8 DIY Wood Sign Ideas – Easy Cricut Projects
A collection of beautiful signs that you can make with your
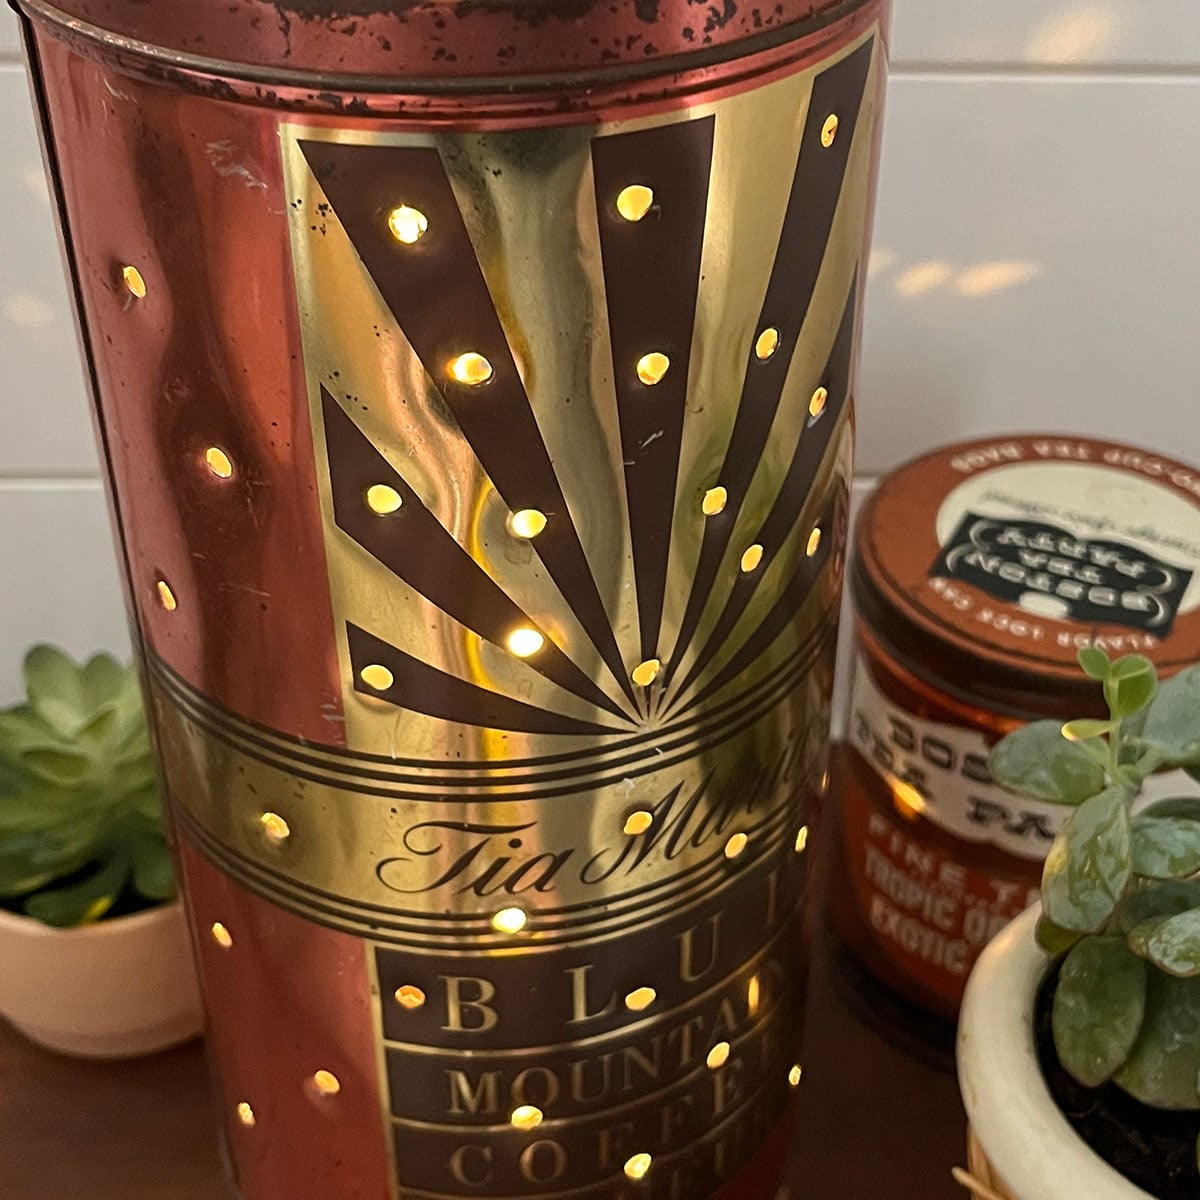
10 Creative Ways to Upcycle & Display Vintage Tins
Get ideas and easy DIYs to upcycle vintage tins to bring
 Hi, I’m Dawn, a graphic designer, mom and weekend crafter! Join me on my adventures! I always have something new and inspiring going on. Learn more about me
This Post Has 2 Comments
How did you attached cookie cutters to Mason jar lids.
Thanks
Hi Renee! For the spade shaped cookie cutter I drilled two holes into the mason jar lid and used wire over the handle to attach it to the lid. For the round cookie cutters I drilled two holes (through the cookie cutter and the mason jar lids) and used long screws with a small hex screw bolt on the end.