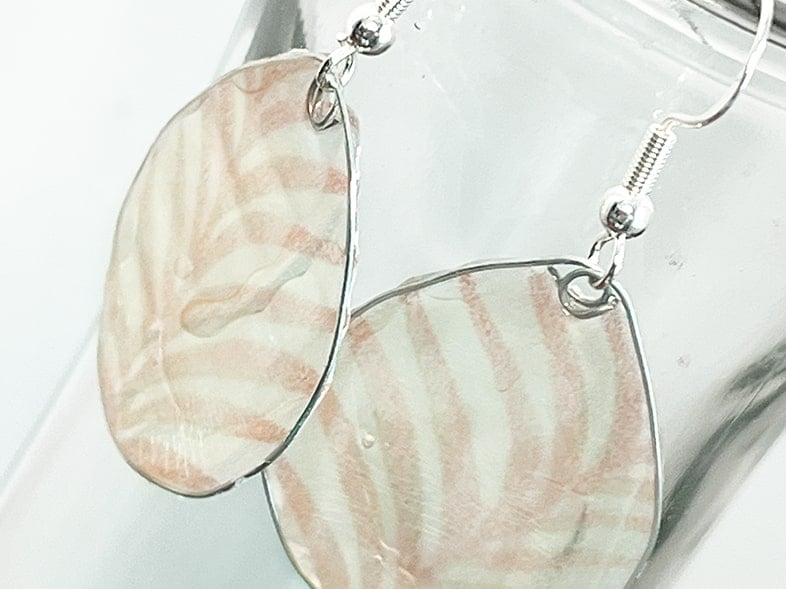
Make beautiful stained glass style earrings in minutes without glass or resin!
These pretty earrings are lightweight and perfect for spring and summer when you want a more breezy paddle-style earring!
I love how they look like translucent wavy glass and all you need is a lightweight wire, Dimensional Mod Pod, and tissue paper!

If you’ve never used Dimensional Mod Podge, I have to tell you it’s awesome! It beads up and stays where you put it. It also hardens like resin but it’s a water-based acrylic.
Mod Podge Rocks has a great article that points out the differences between Dimensional Mod Podge and Resin and what projects work best for each. Click here to check out their article.
Learn how to make these pretty stained glass style earrings!
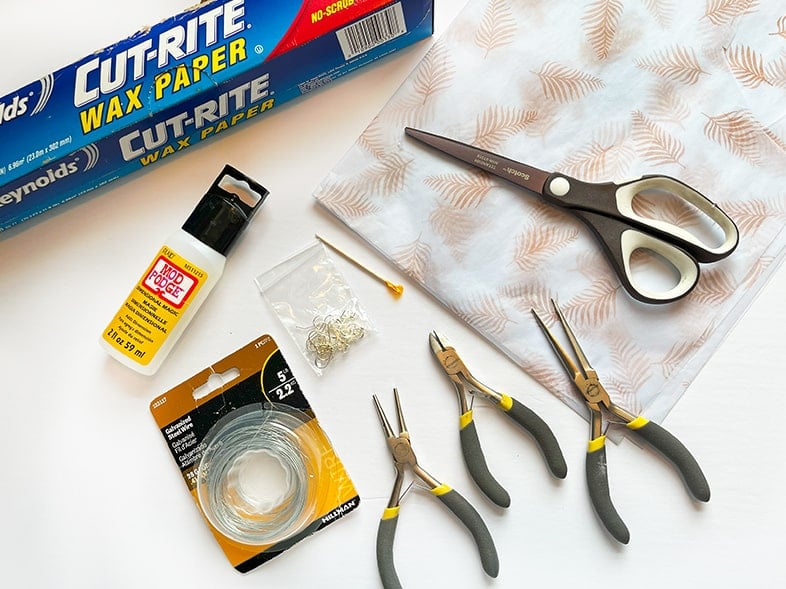
Supplies

- Tissue paper (the lightweight kind for gift bags in any color or pattern)
- Dimensional Mod Podge
- Wire (I’m using 28 gauge stainless steel wire)
- Earring hook findings or clips if you don’t have pierced ears
- Jewelry pliers – needle nose, round nose, and wire cutters
- Scissors
- A toothpick (to smooth out bubbles)
- Wax paper (or another non-stick surface to work on)
++++++++
Feeling Berry Good 21 designs for paper crafts, sublimation and cut vinyl projects. Shop: Strawberry SVG Bundle
|
++++++++
How to Make Stained Glass Style Earrings – 4 Easy Steps
Step 1:
Start by shaping your wire into a teardrop shape. Make them as large or as small as you would like.
Use your wire cutters to cut the wire and your round nose pliers to round both ends into a loop as shown below. The loops at the ends should overlap but they do not need to connect. Make two earring wire forms and it’s okay if they are not perfectly shaped or exactly the same!

Step 2:
Place both of your shaped wires onto a non-stick surface. I’m using a sheet of waxed paper.
Next, place tissue paper underneath each wire form and fill the wire form with Dimensional Mod Podge. Use a toothpick to smooth any bubbles if needed.


Step 3:
Let dry for 24 hours!

Step 4:
Remove the excess tissue paper from the edges of your earrings and attach earring-finding hooks using needle nose pliers.


++++++++
RELATED CRAFT IDEAS:
Unique crafts that you can make with shells, sea glass, thrift store finds, and items from your recycle bin! Read More: 10 Fun Beachy Crafts & Easy DIYs |
- Easy DIY Seashell Bracelet – No Drilling
- DIY Suede Flowers – A Fashion Embellishment
- Easy Sew Summer Beach Tote
- Recycled Plastic Bag Friendship Bracelet
++++++++
++++++++
Watch A Video
Link to the full tutorial here –> How to Make a Pretty Brooch Pin Bracelet


 Hi, I’m Dawn, a graphic designer, mom and weekend crafter! Join me on my adventures! I always have something new and inspiring going on. Learn more about me


