These DIY holiday snow globes are a simple, decorative way to display favorite ornaments and create charming winter scenes—no water, sealing, or complicated steps involved.
They’re made with easy-to-find materials, many pulled from my holiday storage, Dollar Tree, and a few finds from Walmart. Once you plan your mini scene, all you need is a hot glue gun and faux snow to bring it together.
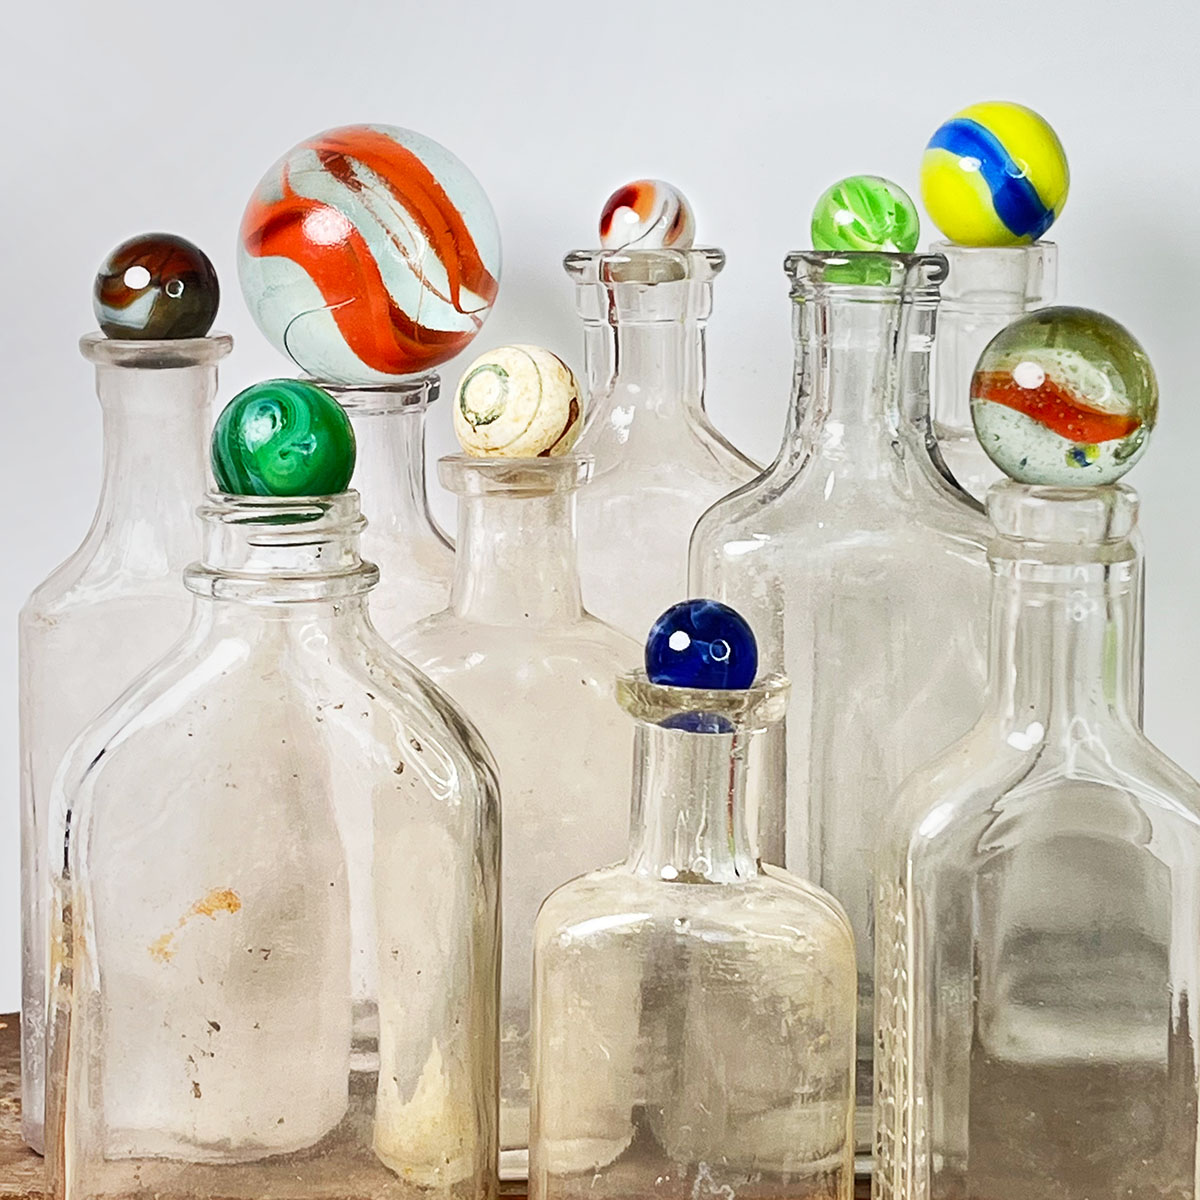
1. Pedestal Snow Globe
This pedestal-style snow globe takes just minutes to make. Glue a glass bubble vase to a candlestick holder, then add faux snow and a favorite ornament or holiday miniature for an instant winter display.


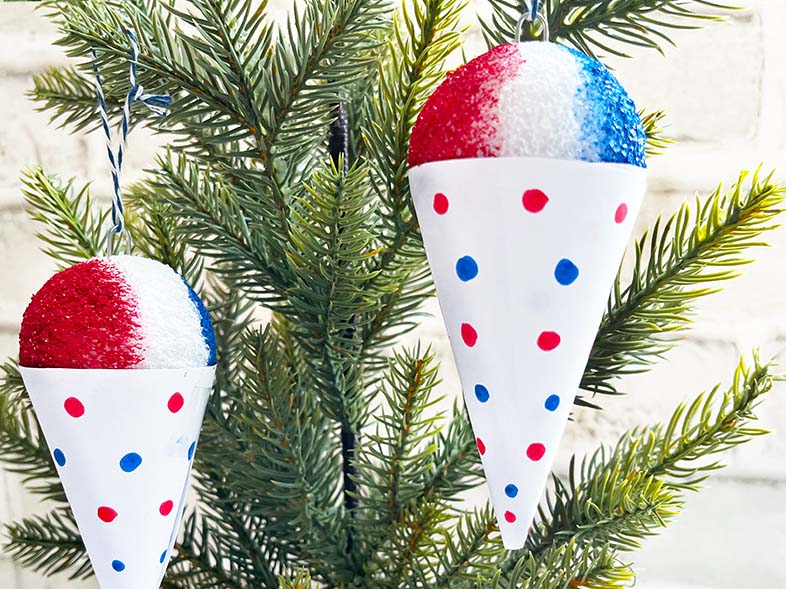
2. Ornament Snow Globe
This ornament ball snow globe is easy to make and perfect for displaying a favorite ornament. Cut the top off of a 5-inch clear plastic ornament ball using scissors, hot glue an ornament to a 3-4 inch wood slice, add a little faux snow, and glue together working upside down.


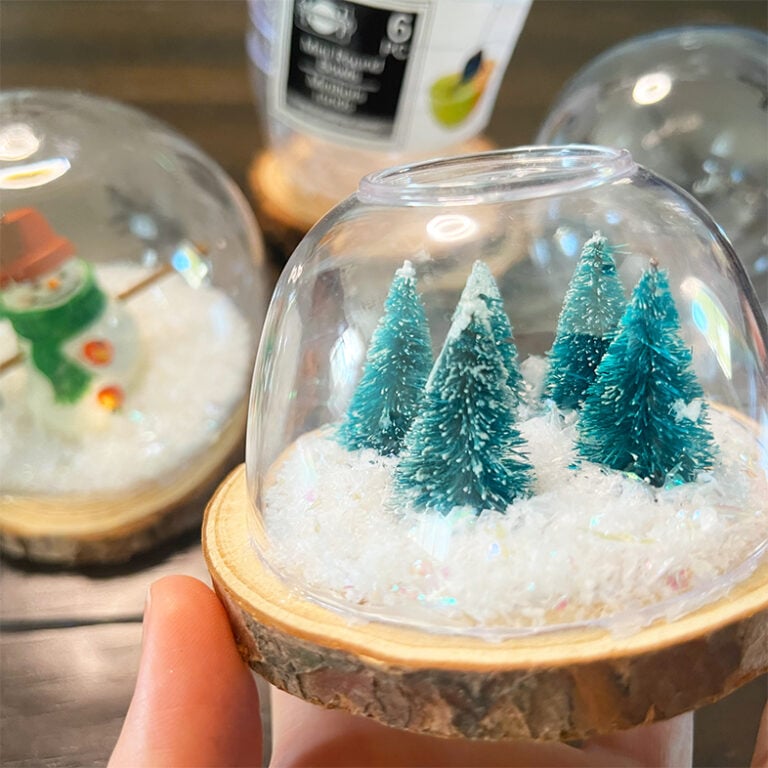
3. Mini Bowl Snow Globe
I found these mini bowls at Dollar Tree and added a small forest of mini bottle brush trees to make this adorable, rustic snow globe. To make one, start by cutting the base off of miniature bottle trees. Next, hot-glue the miniature trees to a 3.5 to 4-inch wood slice where you want them, and add a little snow to your mini bowl. Add hot glue to the edge of the mini bowl, then flip the wood slice upside down to glue it into place.


And one more idea —
Turn a simple foam wreath into a snowy winter scene. Wrap the wreath with snow drap cut into strips, add a festive bow and a few snowflake gems, then hot glue a miniature house and trees to the center for an easy snow-scene wreath.


 Hi, I’m Dawn, a graphic designer, mom and weekend crafter! Join me on my adventures! I always have something new and inspiring going on. Learn more about me