DIY Snowman Ornaments

This post may contain affiliate links. Please read our disclosure policy for more information.

Square feature image of two DIY snowman ornaments made with ball ornaments and Dollar Tree Supplies.

These cute DIY snowman ornaments make great gifts and they are an easy craft for teens and adults alike!

For this DIY, I used plastic ornament balls. I used a gold ornament ball for the head (which I painted white) and a clear ornament ball for the body (which I filled with snow).

I found all of the supplies for this project at Dollar Tree. To get started on this easy craft, check out the supply list and how-tos below.

Supplies

  • Two ornament balls (one clear for the body)
  • Faux snow
  • Felt (for a scarf) or you could use ribbon
  • Pom-poms (for earmuffs)
  • White acrylic paint
  • Mod Podge (matte)
  • A paintbrush
  • A chenille stem (pipe cleaner for the earmuffs)
  • Permanent markers in black and orange
  • Buttons (optional)
  • Scissors
  • Hot glue gun

++++++++

Photo of a Santa Doorstop gnome made from a gallon water jug. He is about 14-inches tall with a large red floppy santa hat, flowing white fur beard with a cute miniature gold ball ornament for a nose.

Grab a plastic milk jug to make this cute Christmas gnome.

Read More: 10-Minute Santa Doorstop Gnome made with a Plastic Jug

++++++++

How to Make DIY Snowman Ornaments

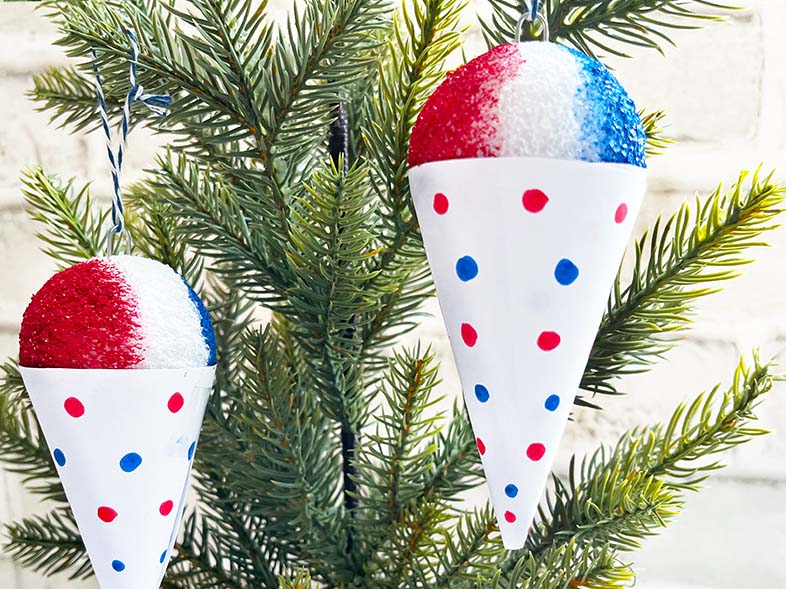
Start by filling your clear ornament ball with faux snow. Use a funnel to fill your ball with snow if you have one, if not you could make a paper funnel which is what I did and it worked fine.

DIY Snowman Ornaments - fill clear ornament with snow and paint solid one white
Fill the clear ornament with faux snow and paint the solid one white.

Paint the solid ornament (the snowman’s head) with white acrylic paint. To give the paint a snowball look, I dabbed the white paint on it with my paintbrush. Use a paper clip or string to hang up to dry.

DIY Snowman Ornaments - Paint the solid ornament ball with white acrylic paint.
Paint the solid ornament ball with white acrylic paint.

When the paint is dry, coat it with Mod Podge to seal the paint. This will keep the white paint from scraping off your ornament.

Finish with a coat of Mod Podge to protect the paint on your DIY Snowman ornament.
Finish with a coat of Mod Podge to protect the paint on your ornament.

++++++++

Closeup photo of a dreamy s'more gingerbread house with a roof lined with chocolate bars. The house is graham cracker and snow around is piled high with mini marshamallows. Candy decorations and sprinkles to decorate.

Learn how to make a S’more Gingerbread House! 

++++++++

Once everything is dry you can assemble your snowman. Start by removing the hook part from the clear ornament. Hot glue the snowman together and finish by adding a scarf. Hot glue earmuffs (a pipe cleaner and pom poms) and buttons on and draw the snowman’s face using permanent markers.

DIY Snowman Ornaments - Finish your snowman ornament by hot gluing everything together and drawing a face on with permanent marker.
Finish your ornament by hot-gluing everything together and drawing a face with permanent markers.
These cute DIY snowman ornaments make great handmade Christmas gifts and most of the supplies you can find at the Dollar Store. Get the easy how-to's.
If you love this Holiday Craft, Pin the image above to your Pinterest craft boards to come back to later!

++++++++

RELATED CRAFT IDEAS:

 Pink lawn flamingos lined up in the grass with santa hats and little scarves, a DIY decoration for Christmas in July.

Give summer a little boost with these Christmas in July Ideas & Activities!

++++++++

Watch A Video

Link to the full tutorial here –> Wood Snowflake Decoration Made From Wood Shims

YouTube video

Leave a Reply