
These upcycled Christmas decor ideas transform thrifted and repurposed items into simple, one-of-a-kind holiday pieces. Collected and made over time, the projects below focus on creative reuse and handmade seasonal charm using found items and materials already on hand.
1. Vintage Chalkboard Christmas Sign
This vintage-style chalkboard Christmas sign was made using a vintage wood-framed chalkboard, though any similar chalkboard would work just as well. The design was created with a stencil cut on a cutting machine and chalk paint, but a store-bought stencil can easily be substituted for the same look.

2. Holiday Wood Ring Wreath
This holiday wreath began as a true trash-to-treasure find, using a reclaimed wood ring and a small vintage rocking horse. Finished with greenery and twine, it becomes a unique rustic holiday wreath.

3. Gingerbread Cookie Cutter Candle Holder
For a nostalgic touch, gingerbread cookie cutters can be repurposed into a simple candle holder by tying them around a glass vase with ribbon threaded through the handles.

4. Distressed Paperback Book Stack
Transform paperback books into a rustic decorative stack with a distressed chalk paint finish. Wrapped in kraft paper, then painted, and finished with simple embellishments, these faux book stacks add cozy holiday charm to shelves, tables, or seasonal displays.

5. Holiday Yardstick Magnets
Cut up an old yardstick and make these beautiful holiday magnets. Find the full ruler box magnet tutorial here.

6. Tart Tin Christmas Trees
Repurpose new or vintage tart tins to make these beautiful Christmas Trees. There’s also a Valentine’s Day version of this craft. Find the full repurposed tart tin trees tutorial here.

7. Scrap Wood Stocking Holder
This beautiful stocking holder is made from a 2×4 that I had in my garage. We don’t have a fireplace mantel to hang Christmas stockings on, so this holder works perfectly for our family. Find the full DIY wood sign tutorial here.

8. Christmas Card Holder
Stretch canvas frames can be repurposed into a simple Christmas card holder with ribbon and string lights. This upcycled wall display is a festive way to showcase holiday cards while adding seasonal charm to a room, and it can be reused year after year.

9. DIY Flocked Christmas Tree
I was given this 24″ Christmas Tree, and I thought it could use a little snow. To give it a flocked look, I simply dabbed white chalk paint on the ends of the branches. A bit of a messy process, but it gave this little tree the refresh it needed.

10. Rustic Christmas Tree Crate
Pick up an old wooden crate at the thrift store, or make one out of scrap wood, to add a little farmhouse charm to your holiday decor! The design features black vinyl for the type, and the tree graphic was stenciled on with green acrylic paint.

11. Snow Scene Dome
Cheese domes are another thrift-store item to look for. Hot-glue bottle-brush trees in varying sizes to a circle of cardboard or foam board and glue faux snow around the edges.

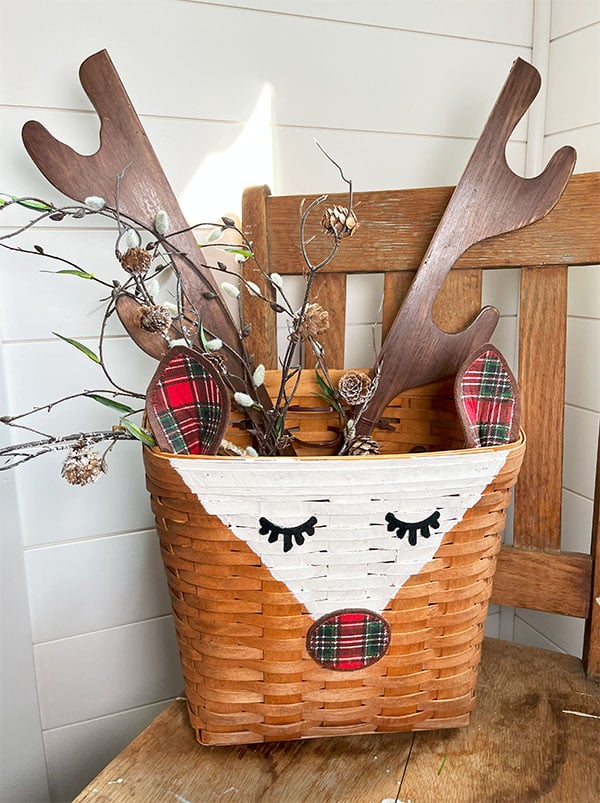
12. Reindeer Basket
This reindeer basket was created by repurposing parts from an old gun rack, turning an unexpected thrifted find into a festive, one-of-a-kind holiday basket. Find the full upcycled reindeer basket tutorial here.
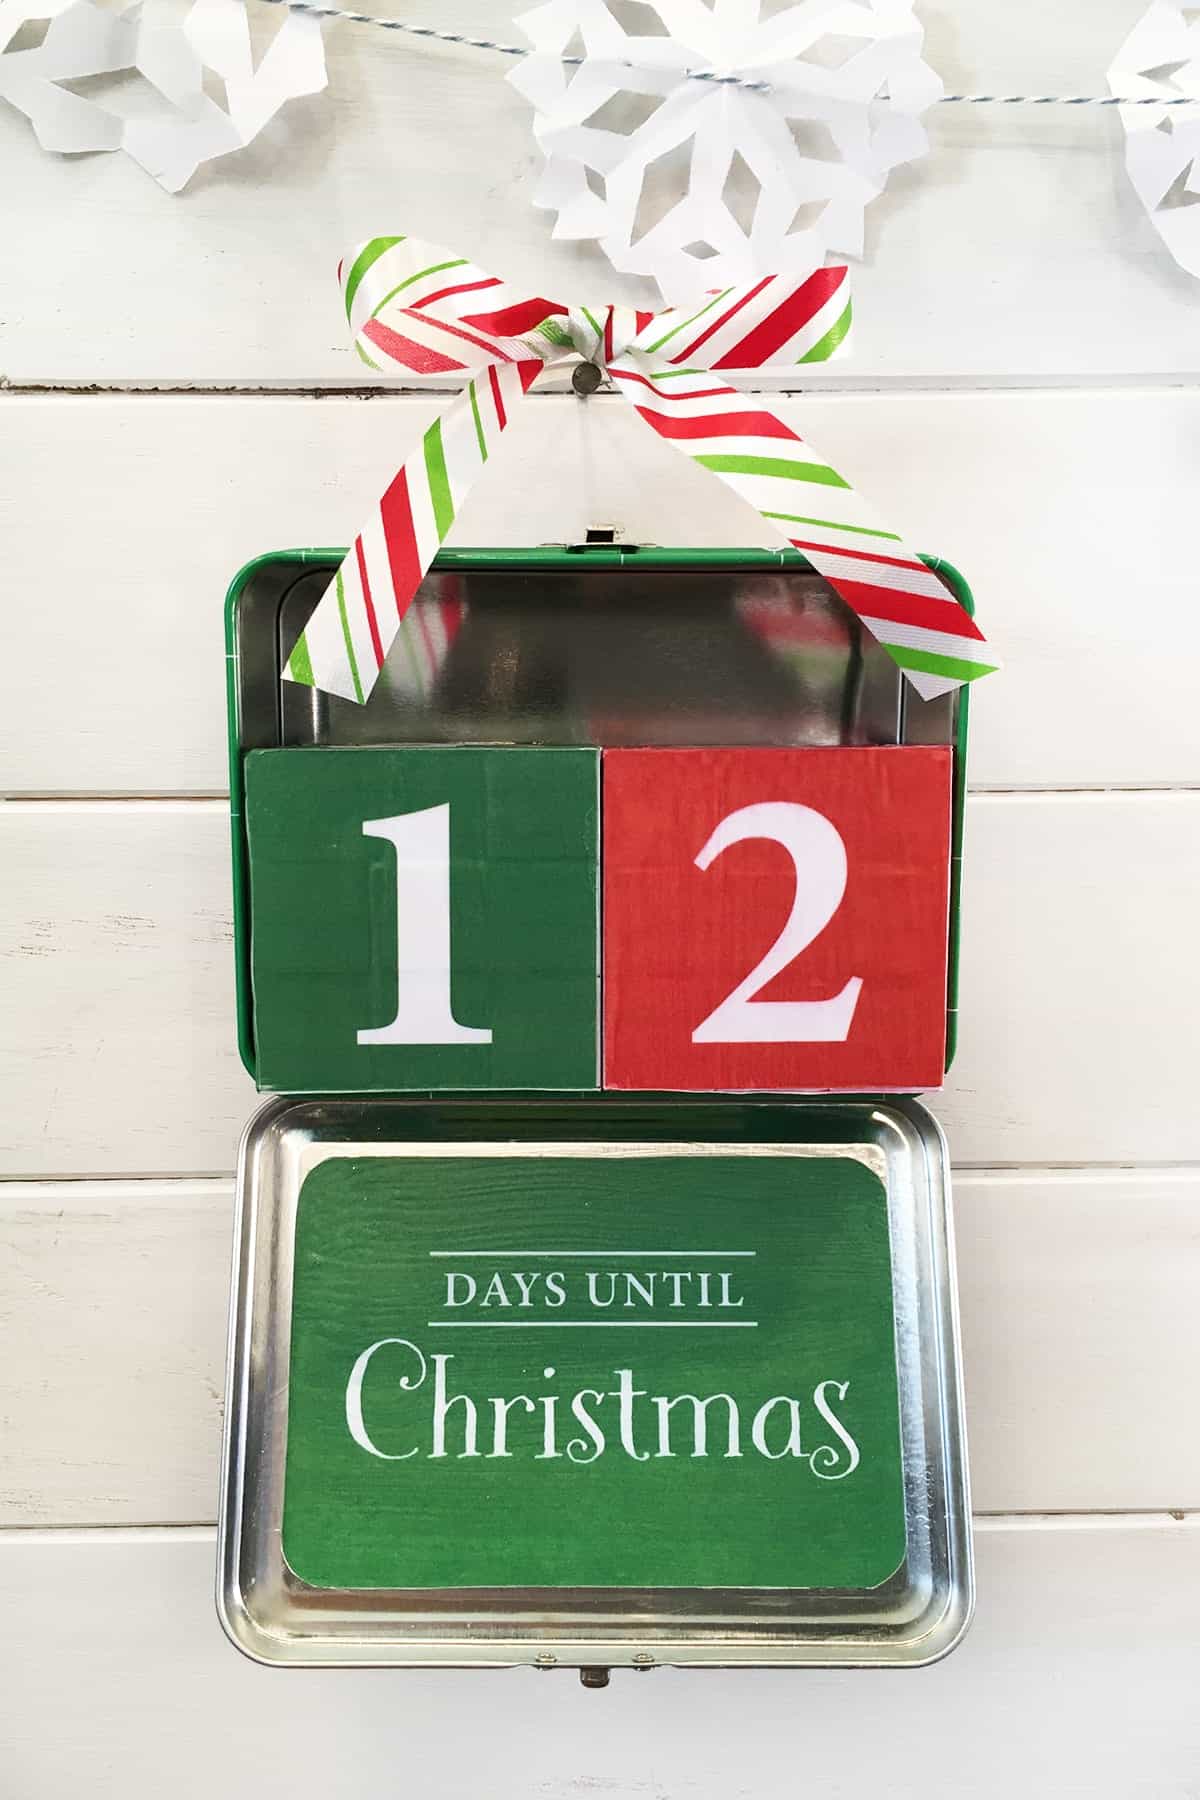
13. Upcycled Tins
Simple metal tins, like this lunchbox-style tin, can be repurposed into holiday décor or storage pieces. This example features a compact Christmas countdown tin with numbered blocks, finished with a simple bow at the top.
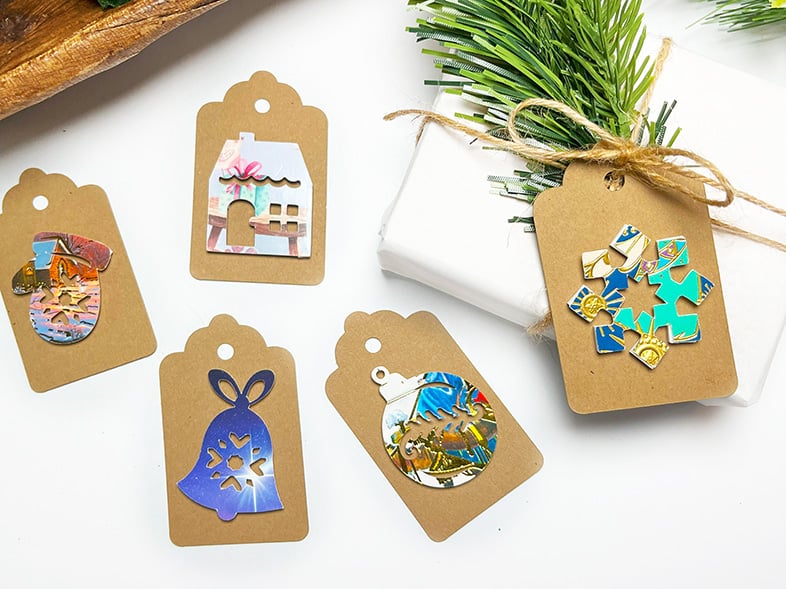
And one more.
Old Christmas cards can be repurposed into simple gift tags by cutting out shapes by hand or with a cutting machine.


 Hi, I’m Dawn, a graphic designer, mom and weekend crafter! Join me on my adventures! I always have something new and inspiring going on. Learn more about me