Clever and useful ways to repurpose champagne and wine corks!
Ask your family and friends to save up wine corks for you to make these beautiful crafts. Below are twelve unique ways to craft those corks into something useful!
Need more wine corks? Find them here on Amazon.
1. Succulent Planters
Hot glue wine corks into jar lids to make eco-friendly planters!
These beautiful, inexpensive planters make great gifts for friends and family, or make them to give as wedding or shower favors.
Here, I used mason jar lids that I had on hand, but you could also use recycled aluminum lids from glass jars in your recycle bin. Set your corks in place first to check for a tight fit to the sides, then hot glue them in place. Fill each with cactus and palm potting soil, and a mini succulent.

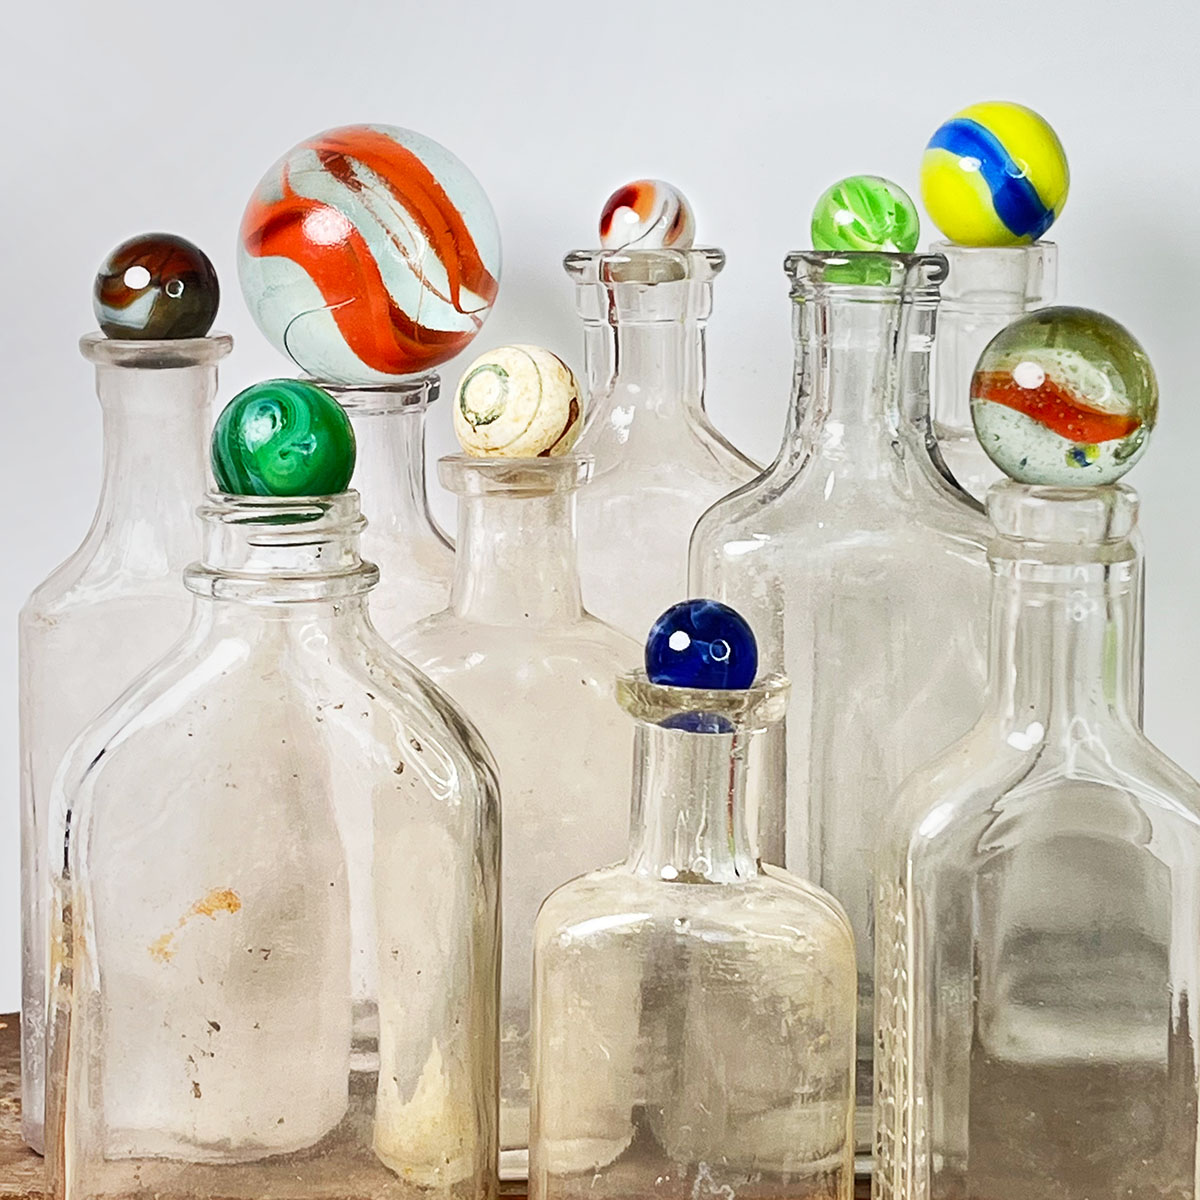
2. Wine Glass Charms
Turn corks into fun wine glass charms!
To make them, boil the corks in water for about 10 minutes. This makes them easier to cut.
Cut into slices and add a mini screw eye pin to the top, and string onto a 30mm (1.18 inches) hoop-style earring findings. I used the tops of corks that already had branding or dates printed on them, but feel free to decorate your charms any way you like.

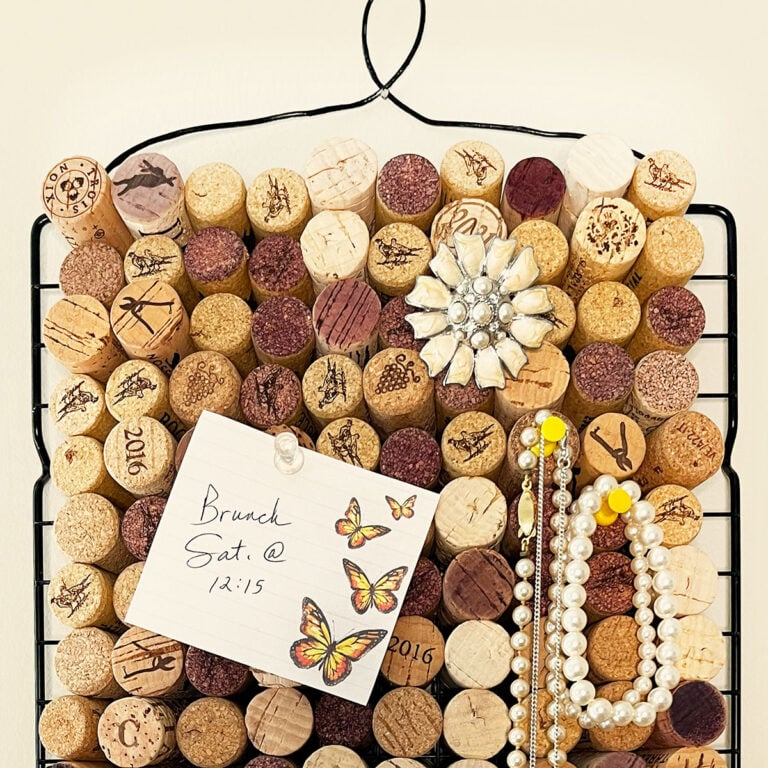
3. Cork Memo Board
Make a memo board using a cookie cooling rack and an assortment of wine corks!
It took a little work to push corks into the rack in some spots, but I love how this DIY thumbtack board came out. The baking (cookie cooling) rack I used here came from Walmart and has a .74-inch hole/grid.
To hang it, I twisted a wire hanger and used needle-nose pliers to hook the ends to the rack.

Note: For this DIY I do not recommend boiling the corks. I tried that, and it didn’t work well. The corks expanded and crowded the spot next to it, making it difficult to push some corks into the rack. Instead, I recommend cutting the base a little on the sides or rubbing a wax candle onto them to make it easier to push into the grid.
4. Wine Cork Garland
Make this decorative garland for your tiered tray or to decorate your holiday tree! Find the full wine cork garland tutorial here.

5. Cork Photo Holder
Make a free-standing photo holder in minutes by hot gluing and stacking wine corks together. Use a thumbtack to attach a binder clip and add a photo.

6. Champagne Cork Bat & Ghost Ornaments
Turn champagne corks into ghost and bat ornaments. These are made with basic supplies like acrylic paint, fabric scraps, felt for bat ears, thumb tacks, and wire ribbon, making them an easy thrift- and Dollar Tree–friendly craft.
The bat wings are cut from 2-inch wire ribbon (spray-painted black if needed). The wire edge remaining at the top helps the wings hold their shape. You can download the Batwings Template here and use it as a guide when cutting the ribbon.
The ghosts are finished with small 4-inch squares of white fabric attached at one corner with thumbtacks around the cork. Twist small screw eyes into the top of each ornament.

7. Lucky Wine Cork Gnomes
Use a single wine cork as a base to make these cute lucky wine cork gnomes. I like to give these as gifts along with a bottle of wine! Find the full lucky wine cork gnome tutorial here.

8. Patriotic Wine Cork Star
Make a wine cork star easily with just a few supplies. To make one, you’ll need about 30 inches of 20-gauge steel wire, colorful beads, ten wine corks, and pliers to cut and bend the wire ends.
Drill a hole through each cork, then use needle-nose pliers to make a hook at one end of your wire. Feed corks and beads onto the wire, bending in between, to form a star. Finish by hooking the ends together, cutting away any excess wire.

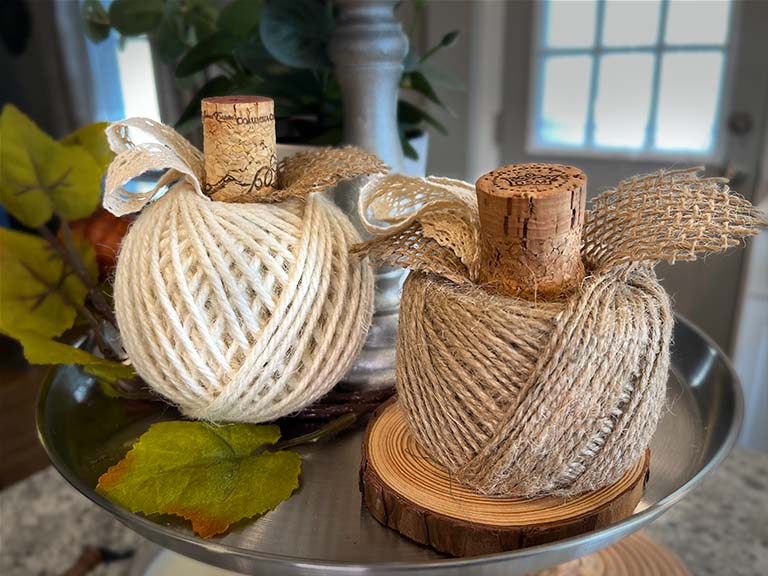
9. Wine Cork-Topped Twine Pumpkins
Use champagne and wine corks as toppers to make twine pumpkins. I made these to decorate my fall-tiered tray, and these little pumpkins couldn’t be easier to make. Cut ribbon pieces and burlap leaves for the top, then push your wine or champagne cork into the center to hold them in place. Find more Fall craft ideas here.
10. Cork Sailboats
You only need seven wine corks, some scrap fabric, string, and a stick from the yard to make an adorable cork sailboat. You can find the full DIY cork sailboat tutorial here.

11. Wine Cork Christmas Tree
You can make anything from hearts to snowflakes to this beautiful Christmas tree just by stacking and gluing corks in place.

12. Wine Cork Tray
This simple cork tray was made using an upside-down stretched canvas as the base. To make one, you’ll first need to spray paint the entire canvas (I made mine gold), then hot glue corks into the recessed back. Reinforce the bottom with a craft wood board and add a wire beaded handle and decorative trim or ribbon to finish the sides.


RELATED IDEAS


 Hi, I’m Dawn, a graphic designer, mom and weekend crafter! Join me on my adventures! I always have something new and inspiring going on. Learn more about me