Creative Repurposed Yardstick & Ruler Crafts

This post may contain affiliate links. Please read our disclosure policy for more information.

Photo of a metal topped piece from a yardstick with three grommets and jewelry wire hanging from them with peach and amber beads and a tiny vintage skeleton key in the center in brass to match the vintage ruler piece. This closeup shows the beauty of found items, bits and pieces that can be turned from a craft left over to a beautiful statement pendant.

Vintage yardstick and ruler crafts to make for yourself, to give as gifts, or to sell!

I love old yardsticks and their vintage advertising. I often find them for $2 or $3 each at flea markets, antique stores, and yard sales. Below are a few ideas to infuse vintage charm into your crafts using these often forgotten gems.

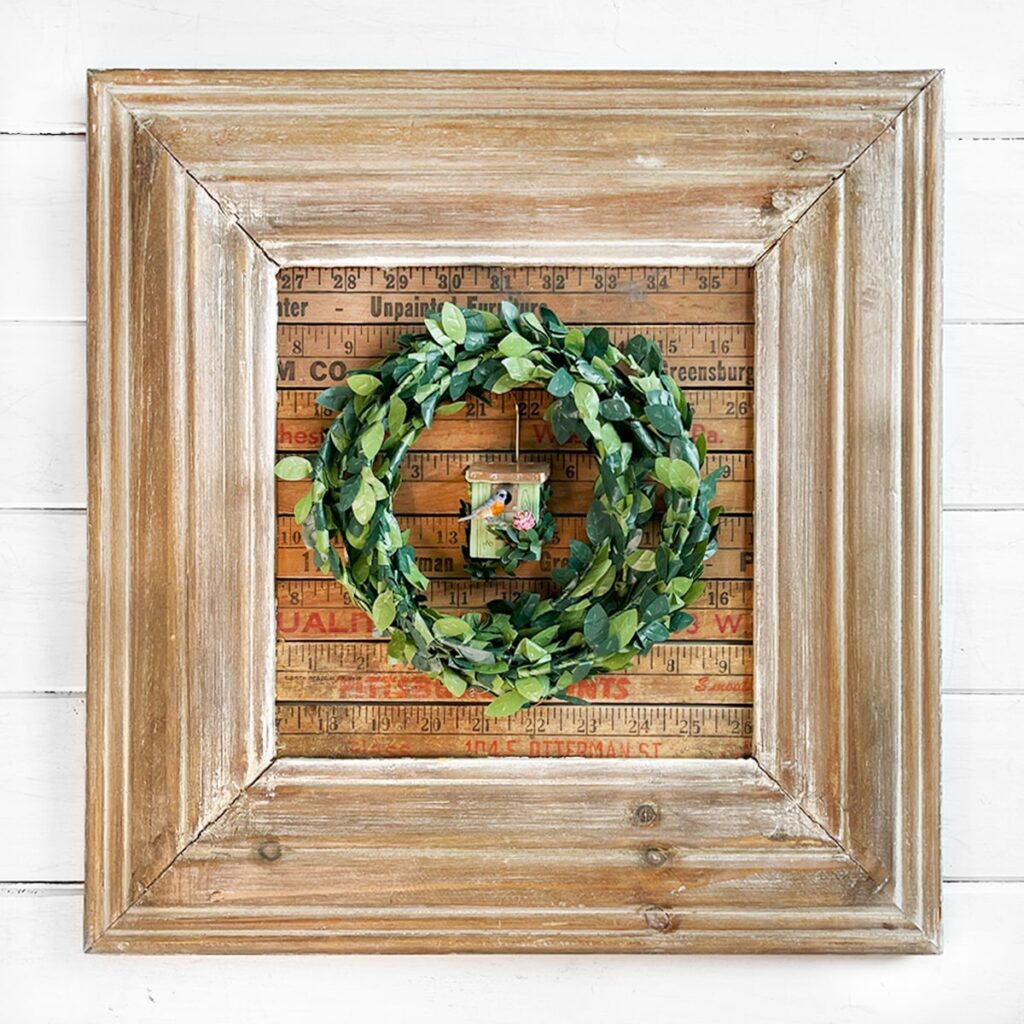
1. Ruler Wreath Frame

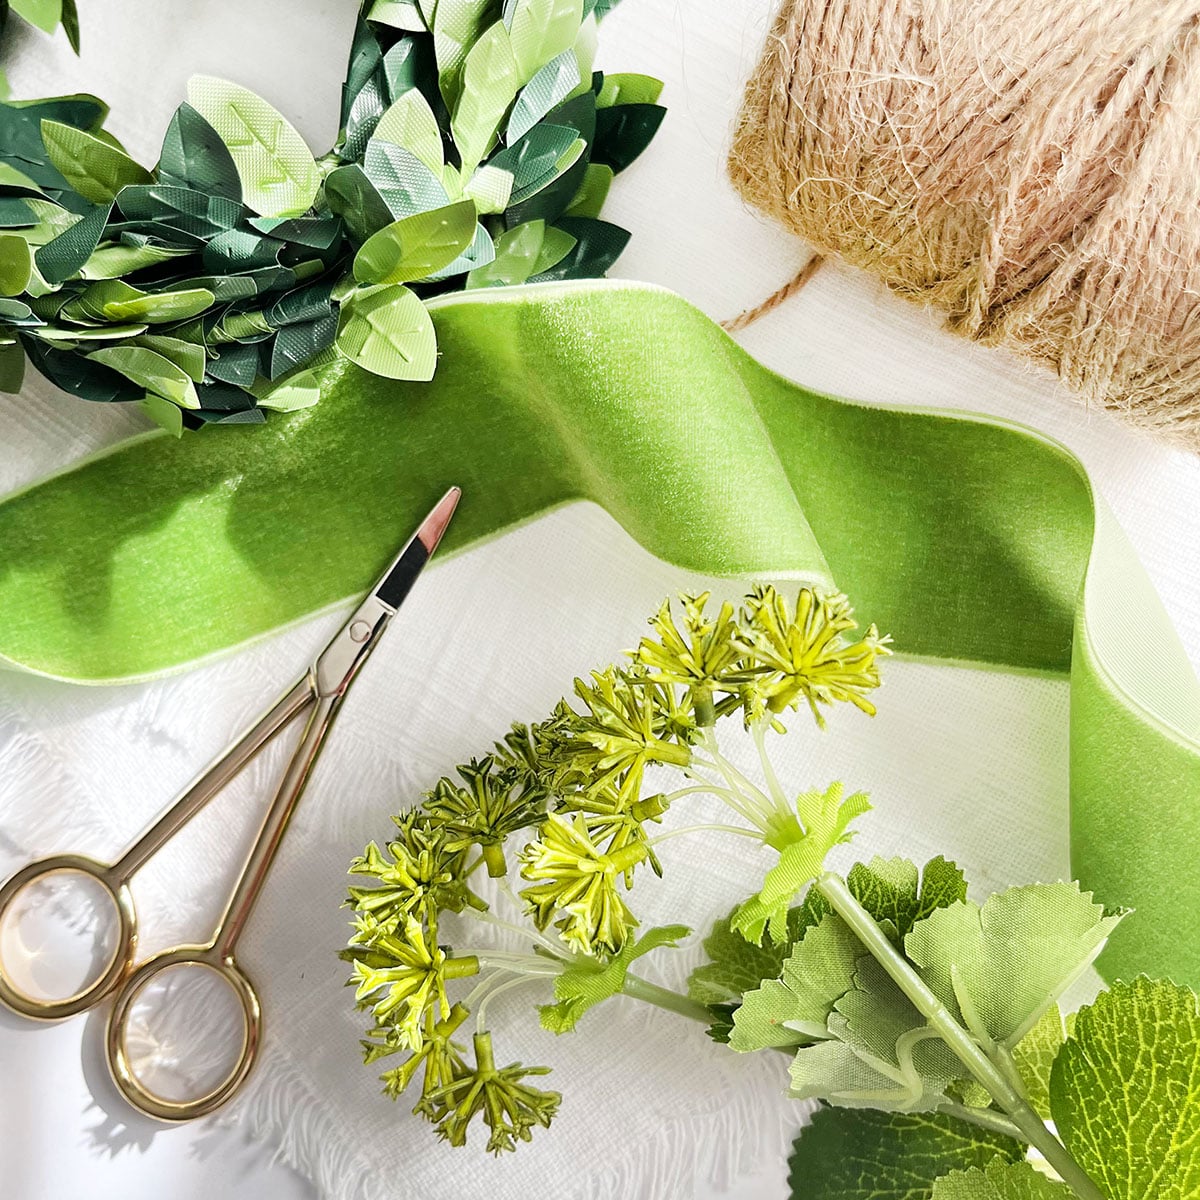
If you have a wood frame that is missing the glass, use it to display a wall wreath by cutting and gluing yardsticks with wood glue to the back. Add a small wreath made of boxwood or pine wire garland.

Photo of a square wide wood frame lined with vintage yardsticks. This rustic frame frame had a boxwood greenery wreath in the center and in the center of the wreath hangs a small porcelain light spring green birdhouse ornament.

2. Yardstick Topped Furniture

Give an old thrift store table or wooden trunk a makeover with colorful yardsticks! This is a great way to revive an old furniture piece, especially if the top is damaged.

Shown is a white wood side table with two drawers. The top of the table is lined with colorful yardsticks in blue, yellow, orange and wood tones.
Photo of a vintage black wood trunk with old yardsticks used to refinish the top. This is a photo of the trunk in the antique store and another idea to repurpose vintage yardsticks

3. Yardstick Poster Holder

Make a simple poster hanger using lightweight yardsticks! This project took just minutes—below are the details.

Vintage yardstick make up this fun poster holder tied at the top with twine to hand it on the wall. The ruler on the top has a piece of old advertising type that says: You'll always be glad. The bottom vintage ruler is more worn with paint spots and cut off wording says: Run To the Sun for. The poster background is a bright pink palm tree design with a mermaid illustration and the words: Meet Me at the Beach in royal blue overlay.

To make a poster holder out of yardsticks, you’ll first need to cut four yardstick pieces slightly longer than your poster. You will need two for the top and two for the bottom.

Next, glue button magnets to marry the pieces together using silicone glue. I used a set of magnets in the middle and a set on both ends—six total on the top and six on the bottom for my 16″ x 20″ poster. The button magnets I’m using for this project came from Walmart, and they are .75″ in diameter.

Let the silicone adhesive dry overnight before hanging up your poster!

4. Ruler Box Magnets

These cute ruler box magnets can be used in many different ways. Find the full Ruler Box Magnet tutorial here.

Square feature image of two finished air plant holders made out of yardsticks on a white refrigerator.

5. Scrappy Tiered Tray

Make a tiered tray using scrap wood, wood rulers, and other found items!

6 DIY Tiered Trays - Wood Yard Stick Tiered Tray - feature image with garden supplies and plants around it.

6. Ruler Framed Chalkboard and Catchall

Use rulers to make a frame. Below, I framed out the chalkboard on this catchall to give this upcycled piece a little added vintage charm.

Photo of a finished upcycle project, Baking Pan Message Board & Catchall. Cookie sheet with a bread pan attached to the front hanging on a paneling wall with a clock and tools nearby. Painted with chalkboard paint - reads "Dad's Fix-It Shop".

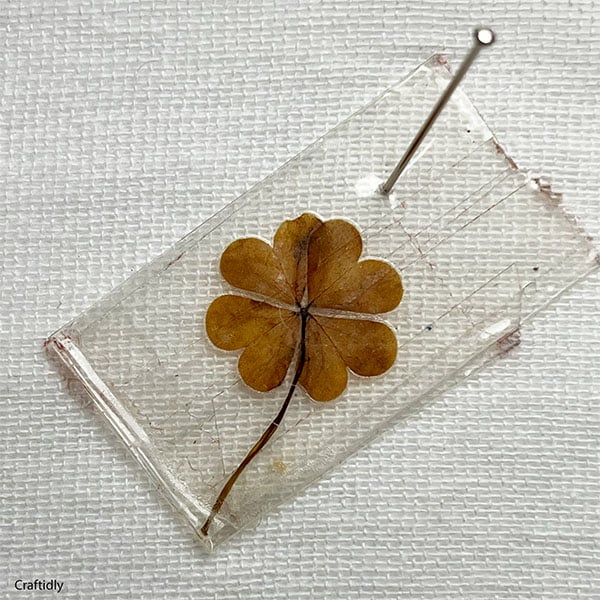
7. Ruler Scrap Ideas

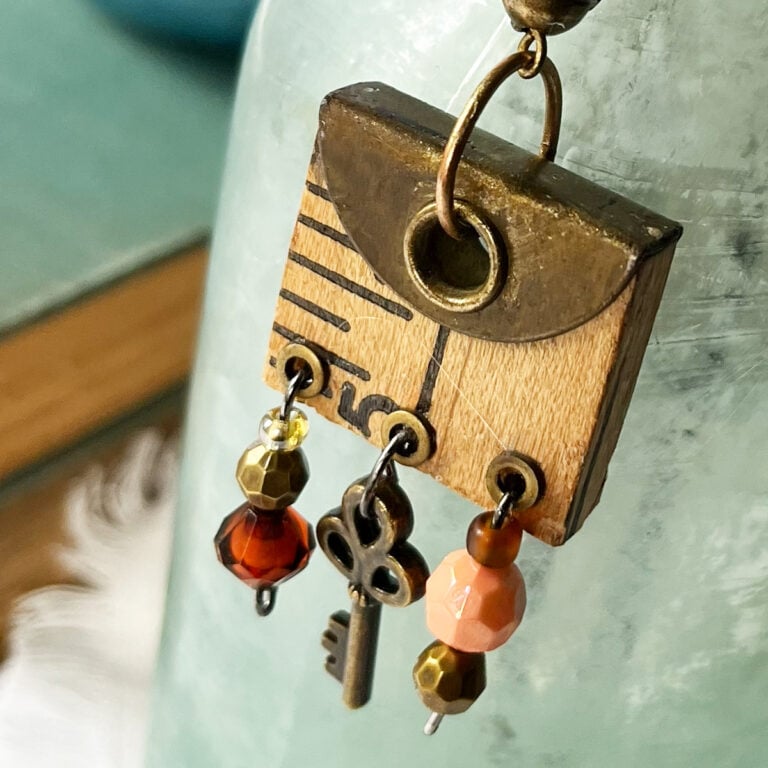
Last, after making these projects, you may have some odds and ends left over. Why not use them to make a beautiful necklace pendant or keychain?

Photo of a necklace charm made with a piece of an old yardstick that has a metal grommet at the top in brass, this was natural to the piece and a left over from other projects. Three holes were drilled into the bottom of the one inch wood yardstick piece and metal wire strings a brass tiny key in the center and wire with three beads each on the sides. The beads are peach and amber in tone with a couple of brass beads in the stack. I used a vintage matching large link chain to match. Show here hanging on an old blue sea glass bottle.

If your yardstick piece doesn’t have a metal grommet, you can glue metal washers to the front and back using E6000 for a more polished look.
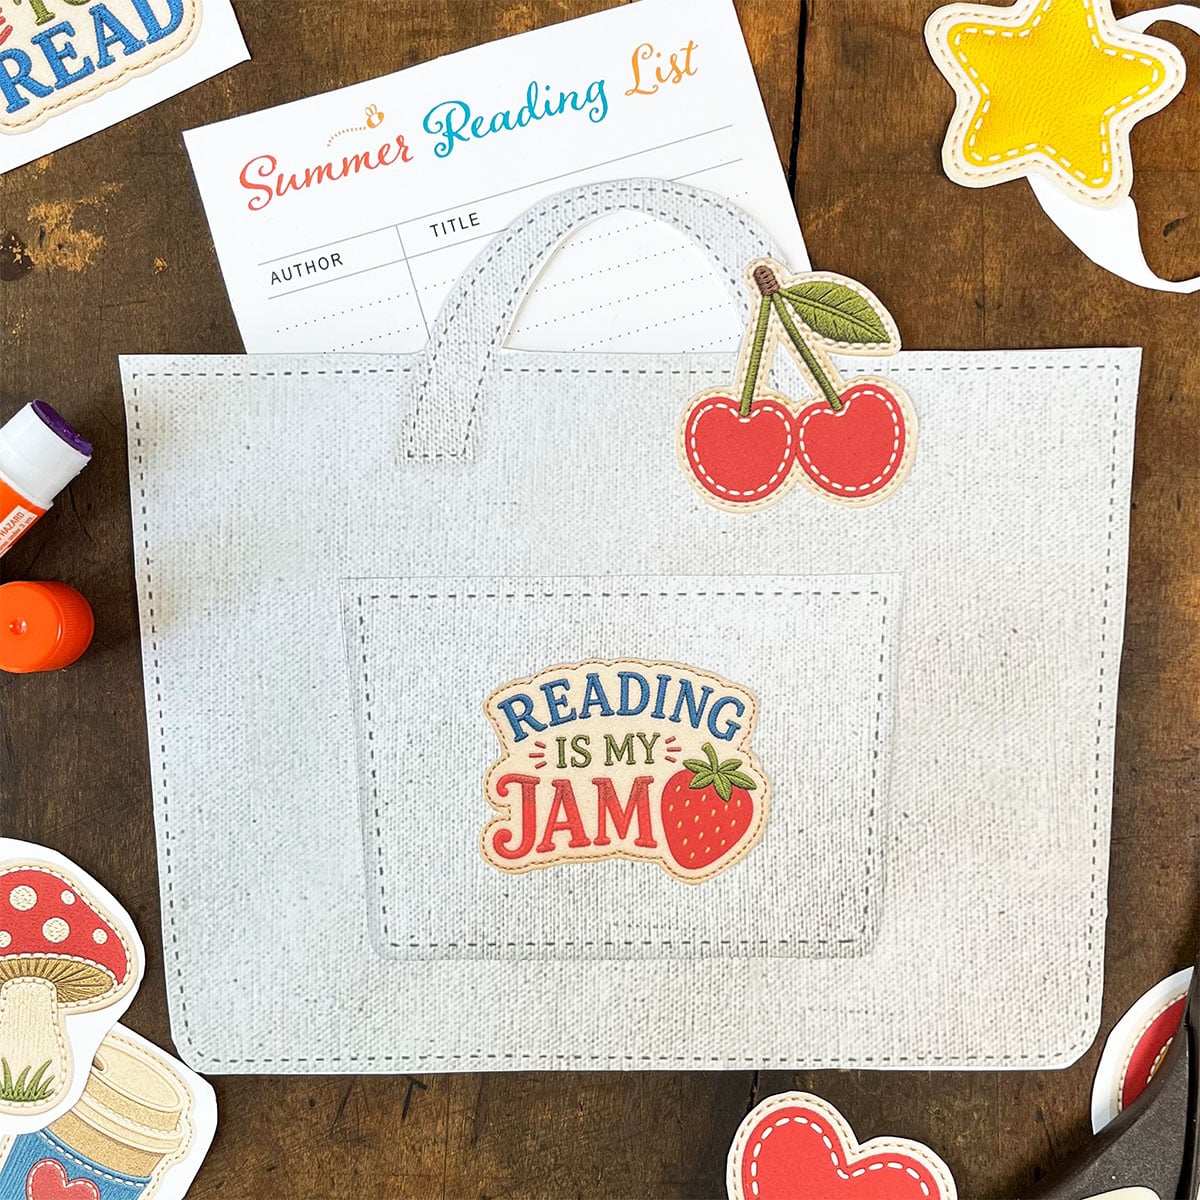
Two keychains, one about two inches long and the other four. Both made from left over pieces of a vintage yardstick. One has the natural brass grommet but the other I used two round, aged washers to make a grommet around the hole. Both have large key chain rings in silver and are shown with keys in a white shell dish with tiny blue floral accents.
Star divider used has two hand drawn lines with a star in the center, used as a content break and signals new or different content below. This doodle style illustration is in a medium charcoal gray.

– MORE TO EXPLORE –

DIY Word Signs + No Resin Stained Glass Style Earrings + Thrift Store Makovers

Hello Summer farmhouse wood signs shown with flowers and a sunny day in the background.
DIY teardrop stained glass-look earrings hanging on an aqua dish.
Closeup at a 3/4 angle of a DIY card holder made from old shutters. Here I filled it with vintage postcards and colorful, handmade 2x3 screen prints of vintage items like a coin purse that says ice cream money, a lava lamp and wrapped candy.
Hello Summer farmhouse wood signs shown with flowers and a sunny day in the background.
DIY Word Signs
DIY teardrop stained glass-look earrings hanging on an aqua dish.
Stained Glass Style Earrings
Closeup at a 3/4 angle of a DIY card holder made from old shutters. Here I filled it with vintage postcards and colorful, handmade 2x3 screen prints of vintage items like a coin purse that says ice cream money, a lava lamp and wrapped candy.
Thrift Store Makeovers

Leave a Reply