
This DIY snowman hat is quick and easy to make using just a few inexpensive supplies. The hat is full-sized and works beautifully as winter décor or a Christmas tree topper. I used mine in a DIY snowman kit that I made for my kids.
Supplies
- One roll of Dollar Tree crafting felt (roll is 12″ x 48″)
- A Dollar Tree splatter screen (11.25″)
- Dollar Tree wire basket (7.875″ x 4.5″)
- Chalk or a chalk pen
- Ribbon and greenery to decorate your hat
- Scissors
- Hot glue
How to Make a DIY Snowman Hat – 6 Easy Steps
STEP 1:
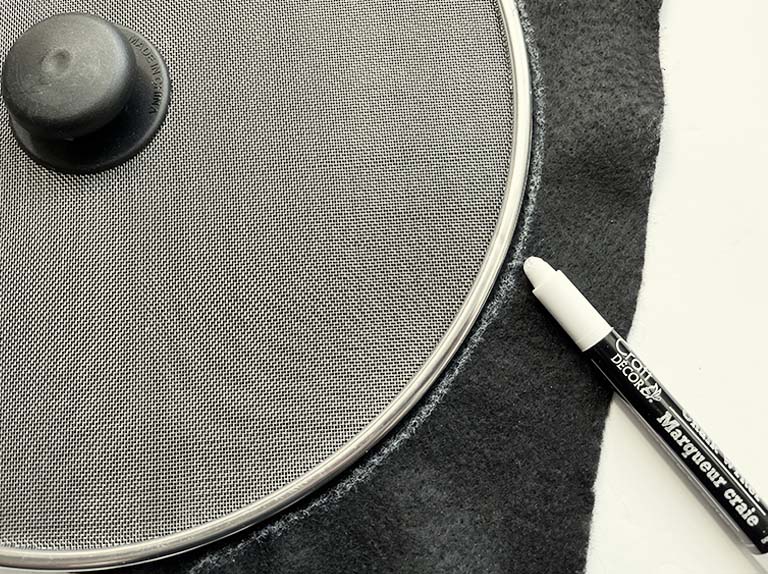
Use the screen lid, wire basket, and a small bowl as a template to make the felt pieces needed to cover the brim of the hat. Use chalk or a chalk pen to trace circles onto the felt.


STEP 2:
Use the wire basket as a template to trace and cut the felt pieces needed to cover the top and side of the hat.

STEP 3:
Hot glue the wire basket to the center of the screen.

Note: If you’re making This hat for a Snowman Kit, I recommend Cutting a hole in the underside or Adding floral foam with dowels so the hat can be anchored to a snowman in the yard.

STEP 4:
Use hot glue to glue felt to the underside of the screen and to the brim of the hat.

STEP 5:
Hot glue the felt around the sides of the hat. Trim away any excess felt and glue the top piece of felt on.


STEP 6:
Decorate your hat with ribbon, greenery, and a little faux snow!


RELATED IDEAS


 Hi, I’m Dawn, a graphic designer, mom and weekend crafter! Join me on my adventures! I always have something new and inspiring going on. Learn more about me