This tiered tart tin organizer measures about 11 inches wide and works well for storing craft beads, small stickers, jewelry, miniatures, or charms. I made this one for my antique booth—it’s the perfect size for a tabletop display and a great way to show off small treasures.
Supplies
- A Craft wood board for the base (approx. 10.7″ x 7″)
- Scrap wood or a 1″ to 1.5″ dowel for the sides
- 5 gallon – 1.5″ wide paint stirrers for top shelves (a wood yardstick or ruler would work too!)
- Flathead wood screws
- Wood glue
- About 12 tart tins
- A small hacksaw
- Chop saw (optional)
- A drill
- Paint or stain
- Silicone adhesive or hot glue (to glue tins)
How to Make a Tiered Tart Tin Organizer
STEP 1:
Cut the wood pieces for the sides with a chop saw or hacksaw. You will need two 5-inch-long wood pieces and two 2.5-inch-long wood pieces. I’m using craft wood, but a wood dowel will work too.
Assemble by drilling pilot holes into the wood base first. Then add a dab of wood glue before screwing the wood screws into place. Leave about 2.5 inches for the bottom tins as shown below.


STEP 2:
Make the two shelf tops. I used paint stirrers that I marked with a pencil and cut to size with a hacksaw.


STEP 3:
Paint or stain the wood elements before assembling (optional). Last, apply silicone adhesive (or hot glue) to attach the two wood shelf pieces and tart tins.


Looking for more ways to reuse vintage tart tins? Explore these clever repurposed tart tin ideas.


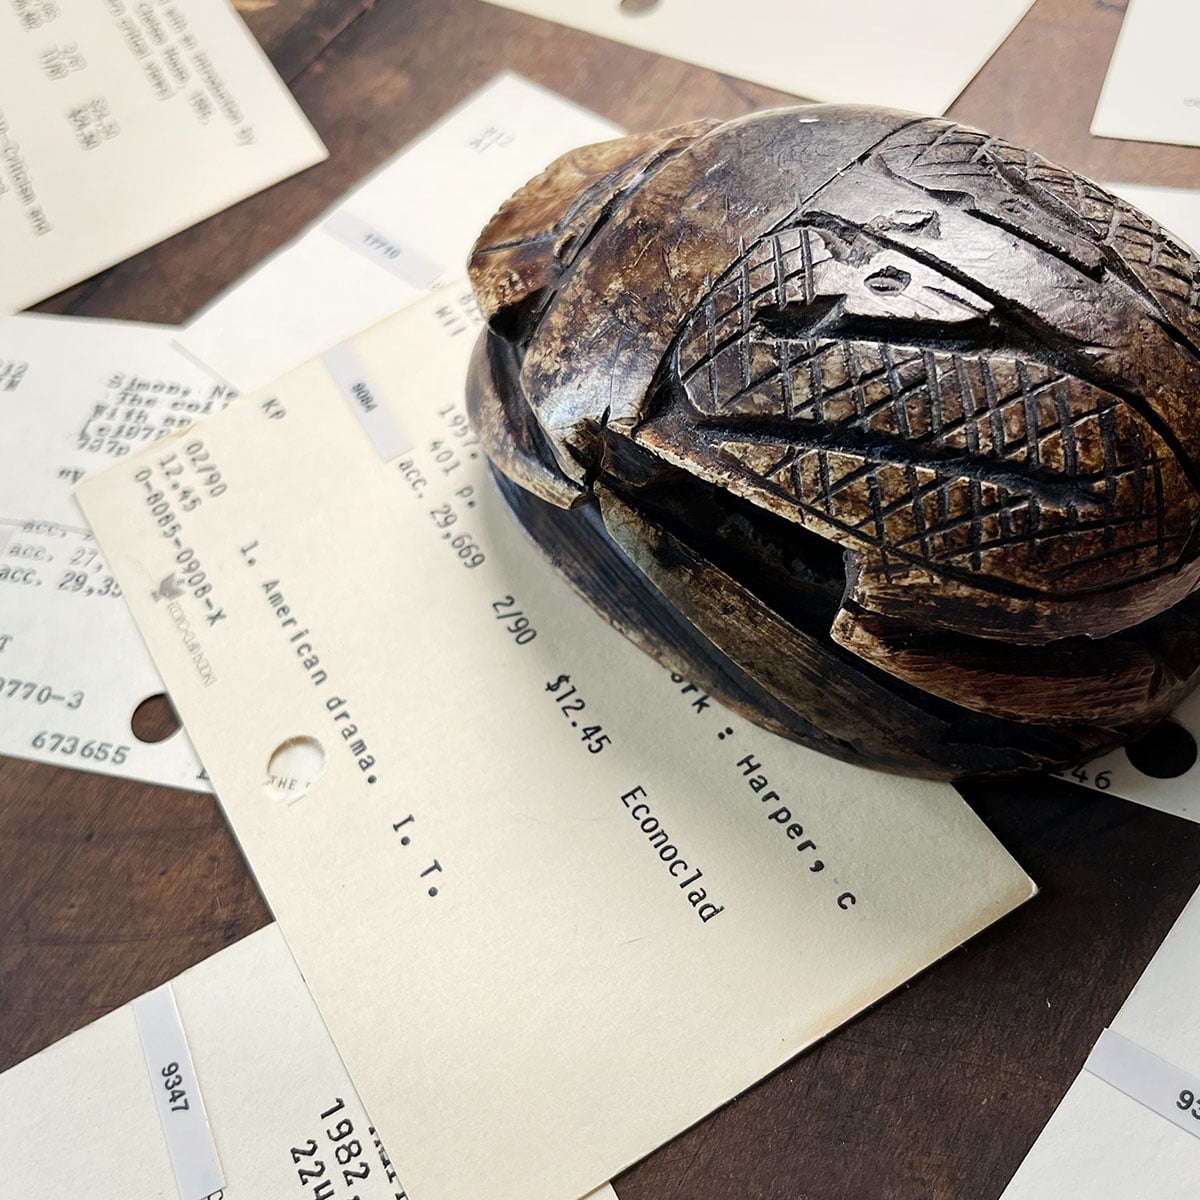
Vintage Curiosities & Quiet Oddities
Vintage curiosities and quiet oddities, gathered over time—catalog cards, small paper
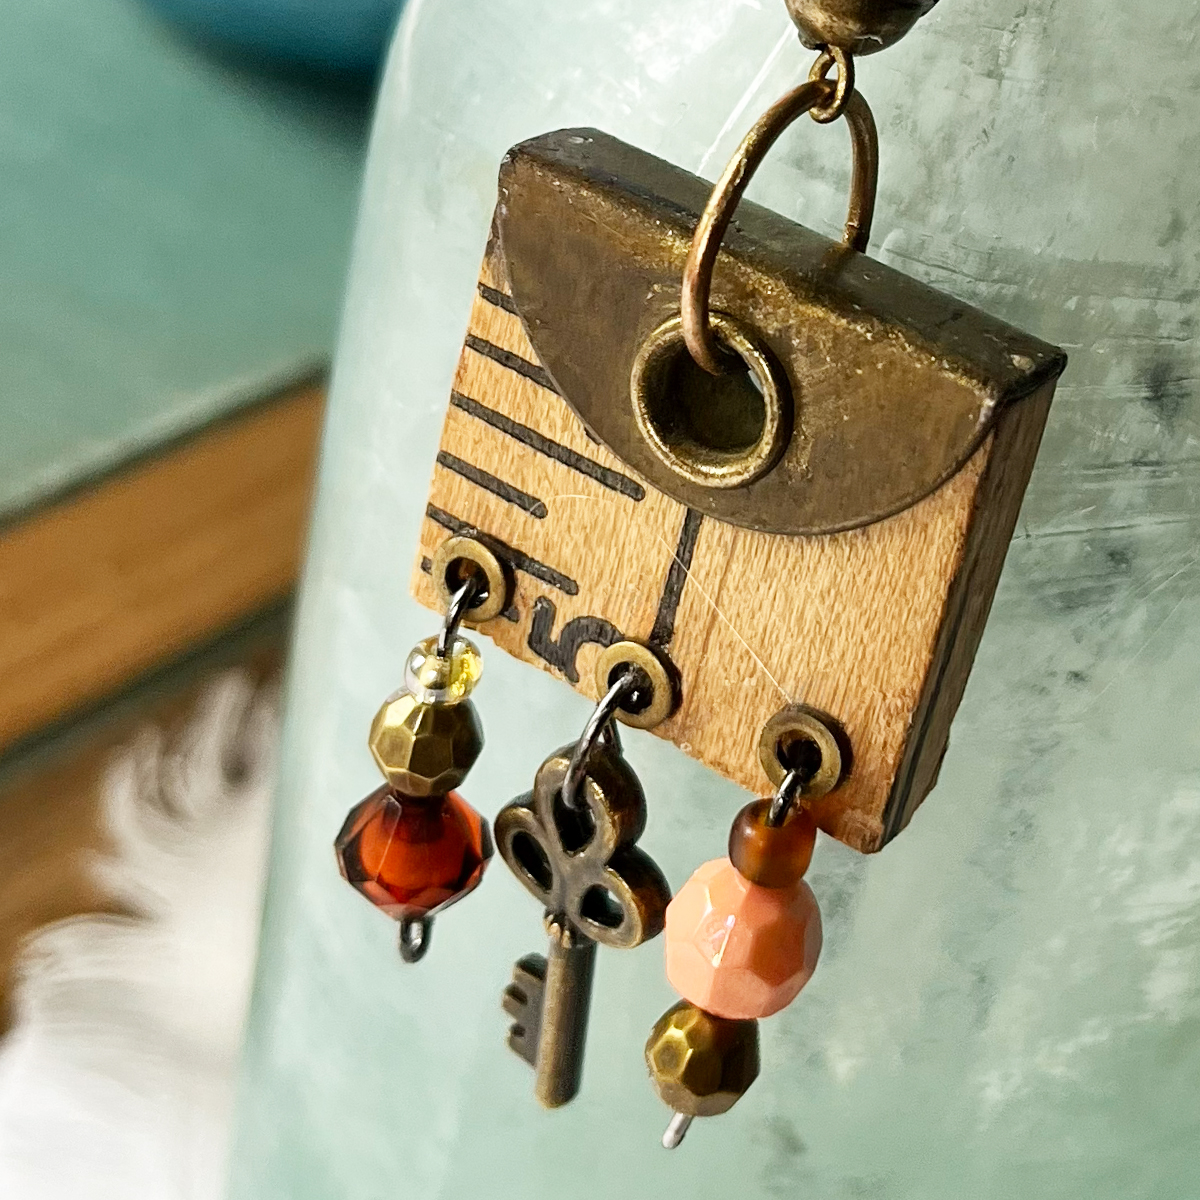
Creative Repurposed Yardstick & Ruler Crafts
If you love vintage yardstick and rulers, check out these fun
8 DIY Wood Sign Ideas – Easy Cricut Projects
A collection of beautiful signs that you can make with your
10 Creative Ways to Upcycle & Display Vintage Tins
Get ideas and easy DIYs to upcycle vintage tins to bring
 Hi, I’m Dawn, a graphic designer, mom and weekend crafter! Join me on my adventures! I always have something new and inspiring going on. Learn more about me