Use these DIY Envelope Instructions to make envelopes to fit any greeting card size.
Whether you made a card or printed one of our Free Printables, you can use these guidelines to make an envelope.
++++++++
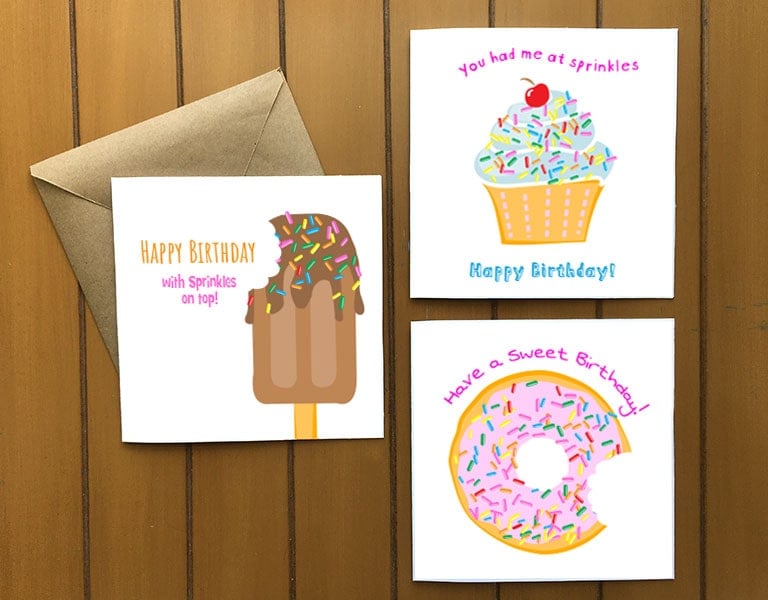
Happy Birthday with sprinkles on top! Read More: Free Printable Birthday Cards
|
++++++++
How to make a DIY Envelope
This is not an exact science but I’ve made several envelopes by using this measurement guideline:
If you card is a rectangle: Make an envelope by cutting a square piece of paper that measures 3″ larger than your cards longest side.
For example, if your greeting card is 5″ x 7″, you would use a 10″ x 10″ square piece of paper for your envelope.
If your card is square: Make an envelope by cutting a square piece of paper that measures 4″ larger.
For example, if your card is 7″ x 7″ then you need a square sheet of paper that measures 11″ x 11″.

++++++++
Free Printable Card along with two more designs! |
++++++++
The birthday card shown below is one of our free printables. The folded card size is 5″ x 5″ so I started with a 9″ x 9″ square piece of paper. I used craft brown paper but you could use any paper you have on hand – patterned or colored paper.

++++++++
Learn how to make handmade seed paper! Read More: DIY Seed Paper Favors
|
HANDMADE GIFT IDEAS:
- How to Make an Accordion Photo Book
- Make a Candy Bouquet For Dad – Free Printable Tags
- DIY Felt Air Fresheners – Free Templates
- Make Sparkly Paper Beads From Old Magazine Pages
++++++++
Advertisement


 Hi, I’m Dawn, a graphic designer, mom and weekend crafter! Join me on my adventures! I always have something new and inspiring going on. Learn more about me


