
Learn how to make graduated pony bead bracelets with a simple, summery look. These easy bracelets come together with pony beads and colorful elastic cording in whatever colors you like.
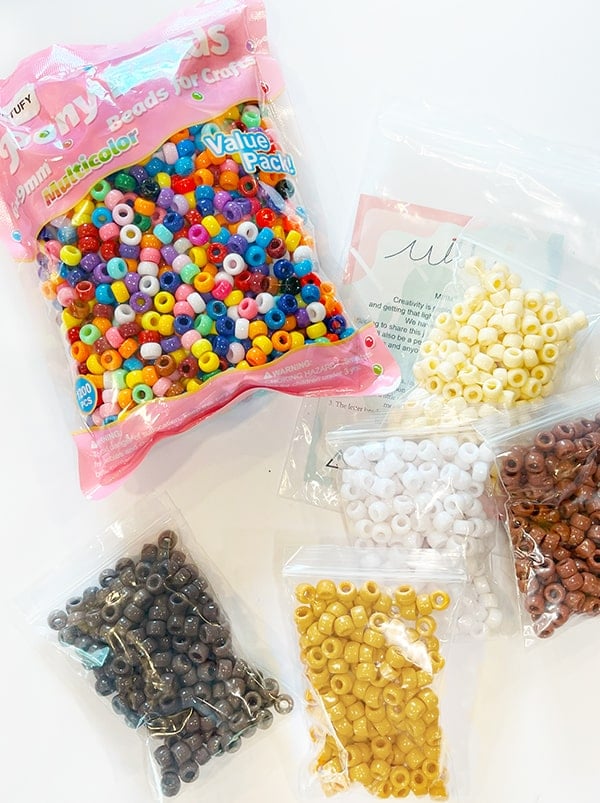
Supplies
- Pony beads (multicolor and brown on Amazon)
- Elastic stretch cord
- Decorative spacer beads (optional)
- Scissors
- Tape
Graduated Pony Bead Bracelet DIY – Video

How to Make Graduated Pony Bead Bracelets – 4 Easy Steps
STEP 1:
Start by cutting two pieces of elastic cord about 22″ long. Tape them to your work surface, leaving a couple of inches of extra cord at the top past the tape. Slide your first bead to the center of one cord then take the other cord and feed it through the same bead but in the opposite direction.

STEP 2:
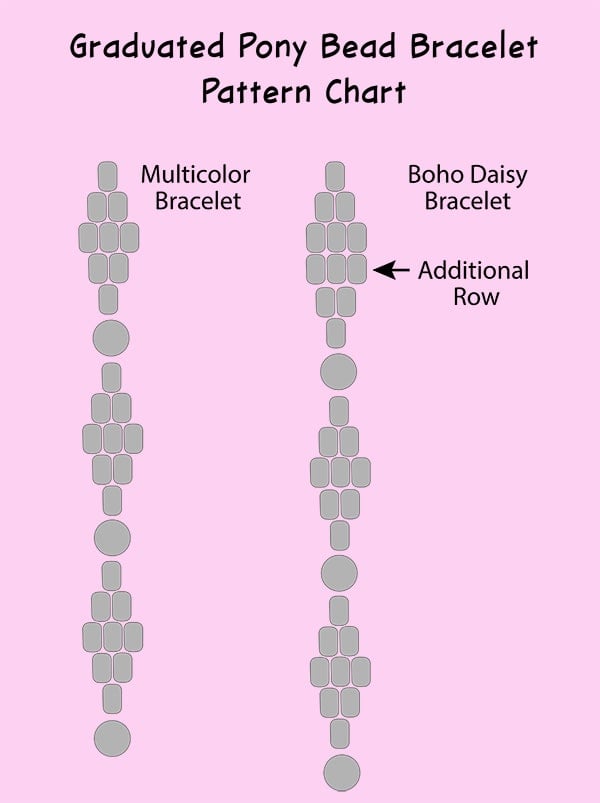
Next string two beads onto one of the cords then feed the second cord through the two beads in the opposite direction. Push the bead up as you go and repeat this process—below is a chart with patterns to follow. Check out the video above for more details!

STEP 3:
Add a spacer bead between each graduated bead set, if desired, and repeat the pattern until the bracelet reaches your preferred length.
For reference: My wrist measures 6.5 inches, and for the boho daisy bracelet I added one extra row of three beads. Use the chart below as a guide, or create your own pattern.

STEP 4:
Finish by tying all of the cords together with two overhand knots. Snip away any excess cording. Check out the video above for more details!
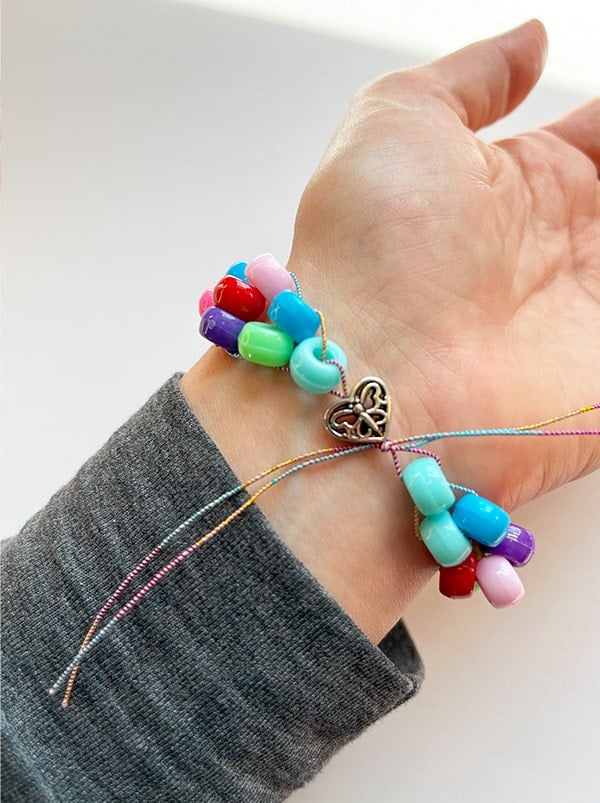
Multicolor Pony Bead Bracelet


 Hi, I’m Dawn, a graphic designer, mom and weekend crafter! Join me on my adventures! I always have something new and inspiring going on. Learn more about me