Mother’s Day Altoid Tin DIY – Free Printables

This post may contain affiliate links. Please read our disclosure policy for more information.

Square feature image of a decorative tin that says 'totally fabulous mom' on it with pick flowers and one on the side with makeup and a mirror on a white background.

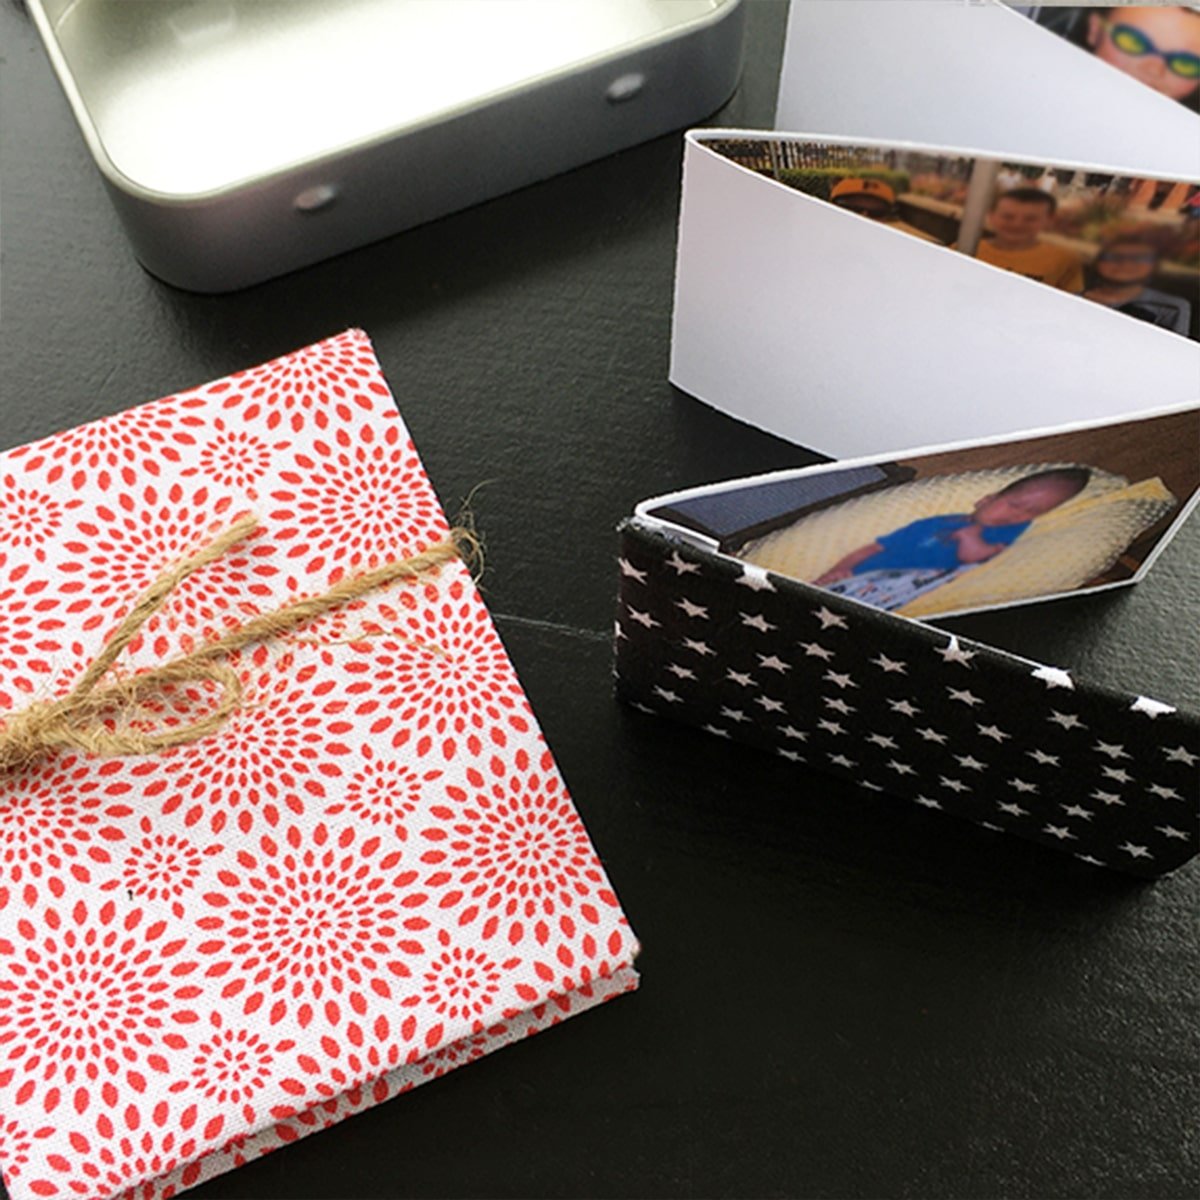
Create a simple Mother’s Day keepsake using an Altoid tin that Mom or Grandma will love. You can use tins you already have on hand or purchase plain, non-embossed ones for decorating. Once finished, fill the pocket-sized tins with travel-size makeup, small mementos, or a handmade photo book—this accordion photo book tutorial works especially well.

Supplies

Mother’s Day Altoid Tin DIY – 6 Easy Steps

STEP 1:

Spray paint your tin if you like, or buy gold tins here on Amazon. Let dry completely before continuing.

Start by spray painting your tin gold inside and out. Let dry completely before continuing.

STEP 2:

Download the free cover art in the supplies list above and cut it out along the edges.

If using the Free Floral Art for your tin's cover, download, print and cut the art out first.
Print and cut the cover art.

STEP 3:

Use your tin to trace the shape to fit your cover. Place your tin in the center, trace on the reverse side with a pencil, and cut out.

Next use your tin to trace on the floral art. I traced on the reverse side with a pencil.
Hold your tracing up to the light to make sure the art is centered the way 
you'd like it before cutting it out.

STEP 4:

Glue the Floral Art on by applying Mod Podge to the top of the lid and a little over the side to accommodate any overhang. Smooth any overhang down making sure all edges are completely glued down.

Glue the Floral Art on by applying Mod Podge to the top of the lid and a little over the side to accommodate any overhang. Smooth any overhang down making sure all edges are completely glued down.

STEP 5:

To finish, evenly coat your lid art with Dimensional Magic using a brush or foam applicator to protect your cover art. One thin, even coat will do. Let dry before continuing.

Note: Dimensional Magic may look milky but it will dry completely clear.

Next evenly coat your lid art with Dimensional Magic with a brush or foam applicator. Let dry before continuing.

STEP 6:

Line the inside of your tin with felt or decorative paper and add a small keepsake.

 I used a fine point marker to trace the felt for the bottom inside of my tin.
Felt used on the inside bottom of the tin.
This is the inside of the finished tin.
The inside of my finished tin.
Decorative Gift Tins PIN1 - Pinterest Pin to share.
Star divider used has two hand drawn lines with a star in the center, used as a content break and signals new or different content below. This doodle style illustration is in a medium charcoal gray.

– MORE TO EXPLORE –

Accordion Photo Book + Sparkly Paper Beads + Paris-Inspired Crafts

Square feature image of an accordion photo book, one open and one closed on a black background.
Square feature photo of a finished bracelet made with handmade paper beads.
Hatbox turned side table with metal hairpin legs. This feature photo shows the wooden hat box painted white with a stencil: Antiquities Rue Lafayette on it in a flea market booth style with french style mugs and a small ornate ceramic white jewelry box.
Square feature image of an accordion photo book, one open and one closed on a black background.
Accordion Photo Book DIY
Square feature photo of a finished bracelet made with handmade paper beads.
Sparkly Paper Beads
Hatbox turned side table with metal hairpin legs. This feature photo shows the wooden hat box painted white with a stencil: Antiquities Rue Lafayette on it in a flea market booth style with french style mugs and a small ornate ceramic white jewelry box.
Paris-Inspired Crafts

Leave a Reply