
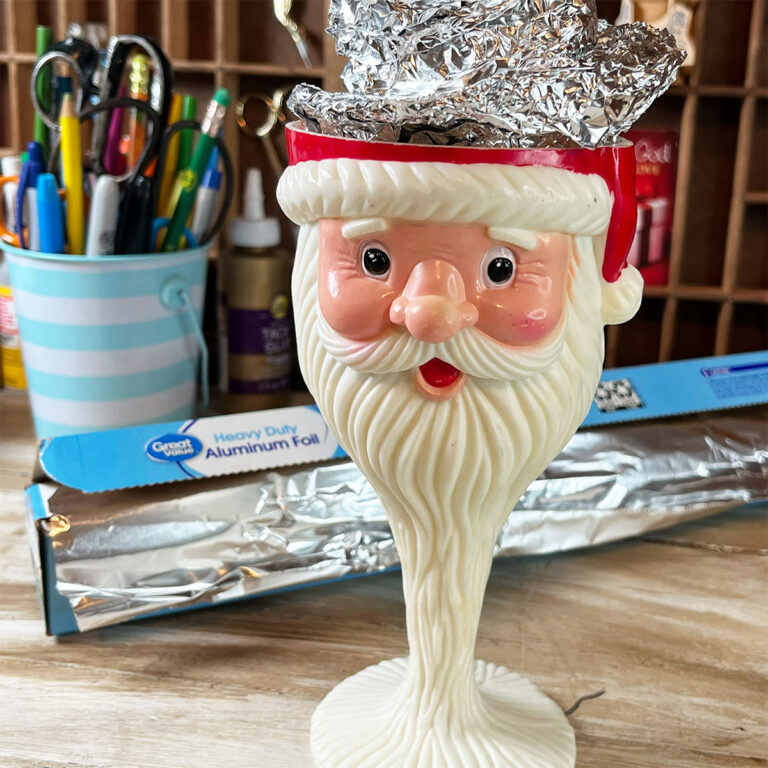
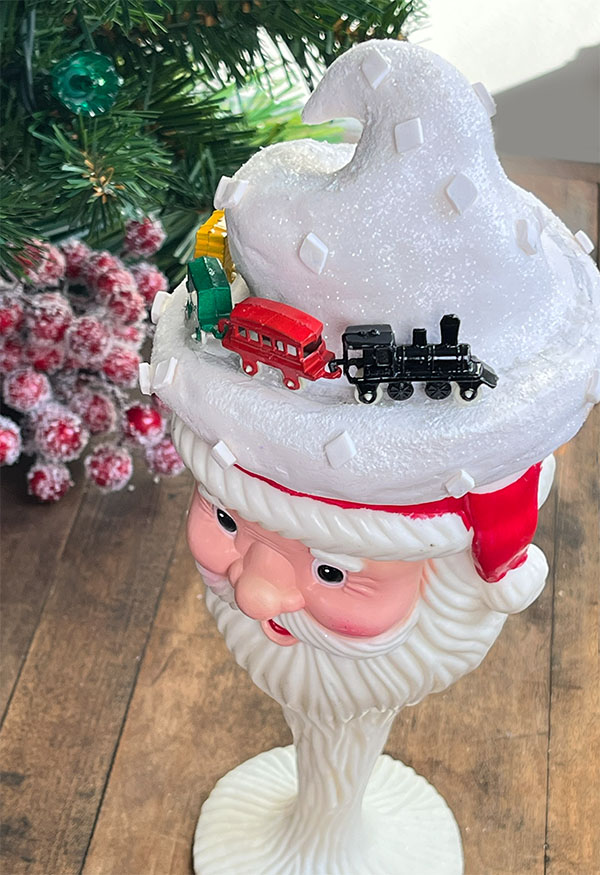
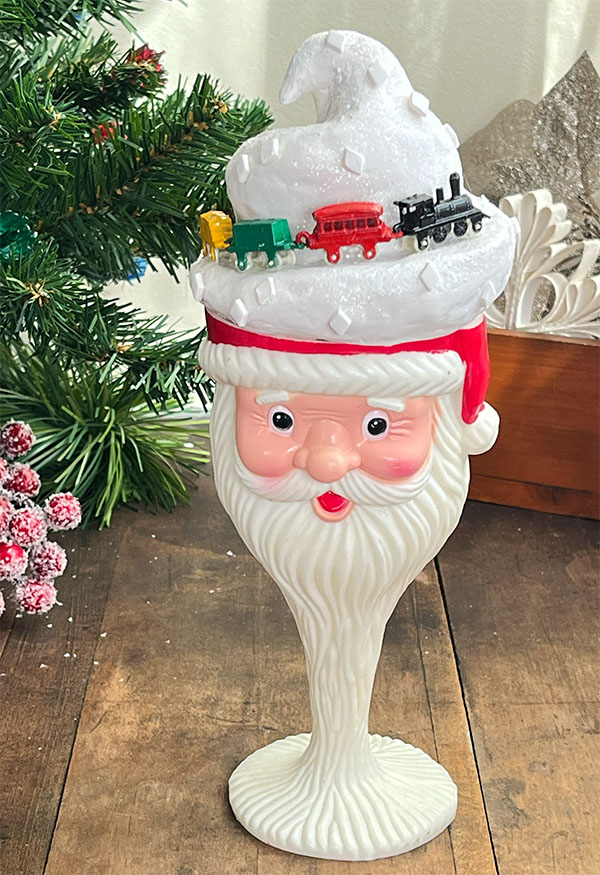
Turn a Santa mug or other holiday container into a whimsical DIY Christmas diorama. My little scene started with a vintage plastic Santa goblet and a miniature train. I added a snowy, soft-serve-looking mountain made from polymer clay to bring it all together. It’s a little over the top, but I think that’s part of its charm! Take a look at how it all came together.
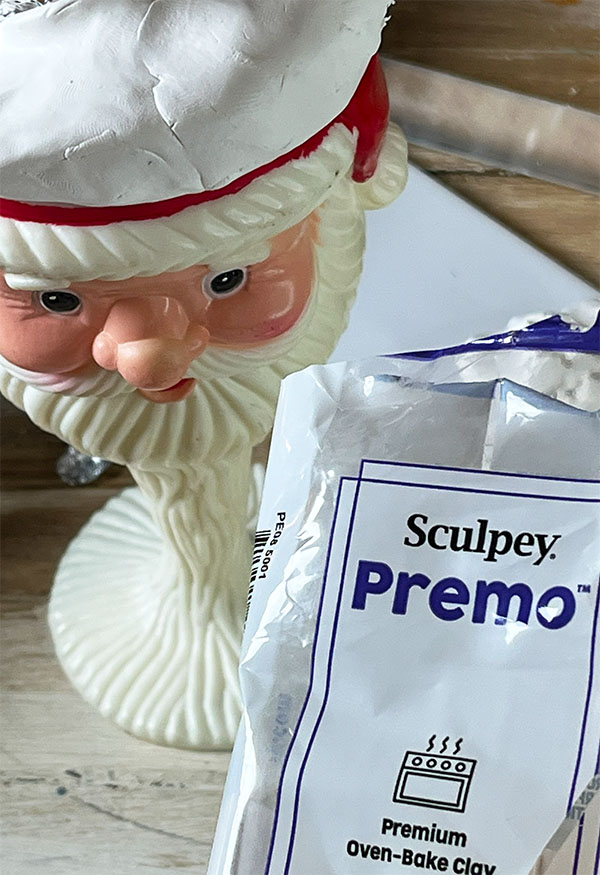
Supplies
- A Santa mug or other holiday container
- Oven-bake polymer clay (I used Sculpey Premo)
- Aluminum foil
- Clay rolling pin
- A smooth tile or other non-porous surface for rolling clay
- Cornstarch (not necessary but helps with sticking)
- Oven-safe baking dish or parchment paper-lined baking sheet
- Acrylic paint, glitter, or other decorative embellishments
- Miniature train or other small Christmas decorations
How To Make A Clay Mountain Diorama
STEP 1: Shape the Aluminum Foil
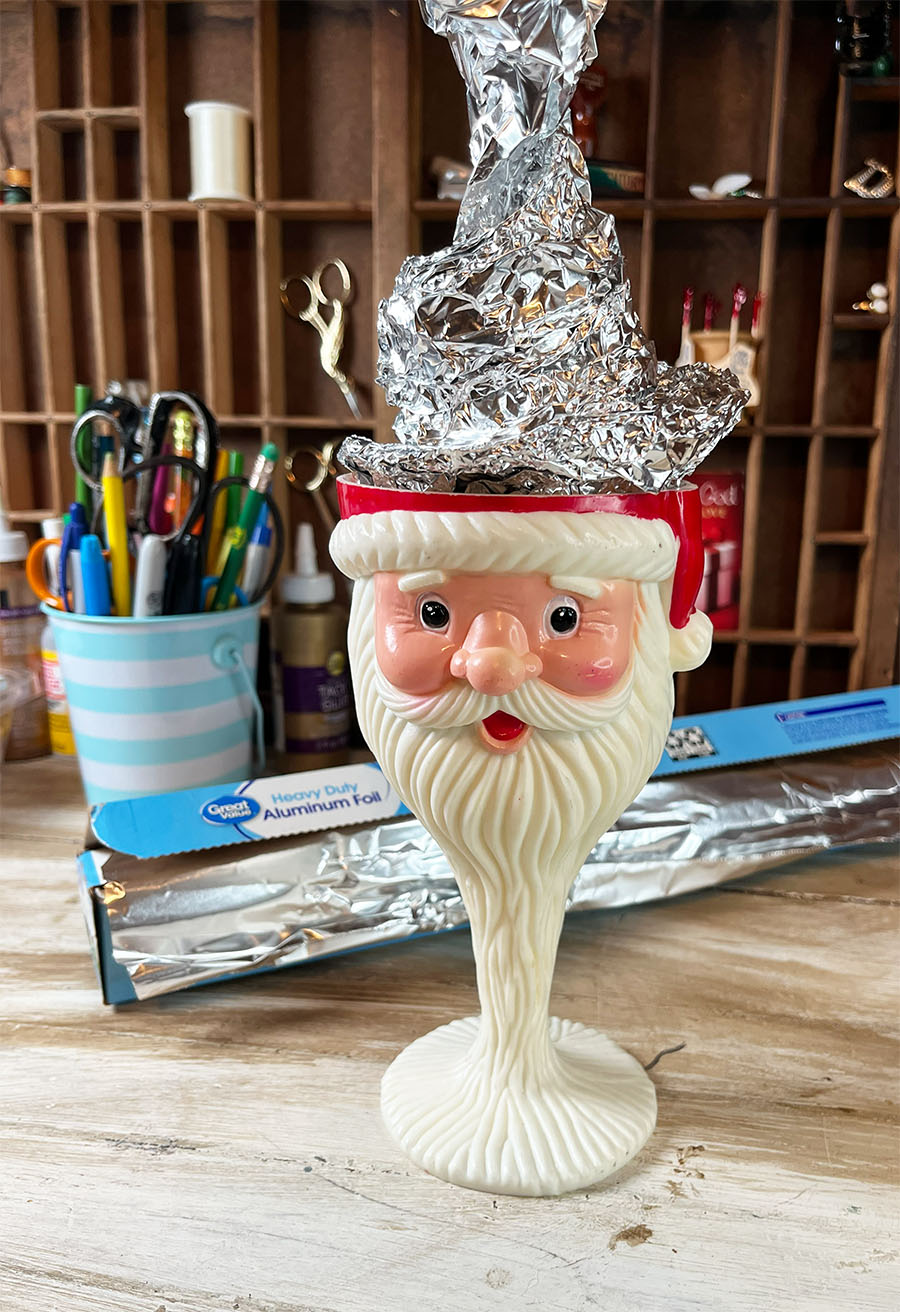
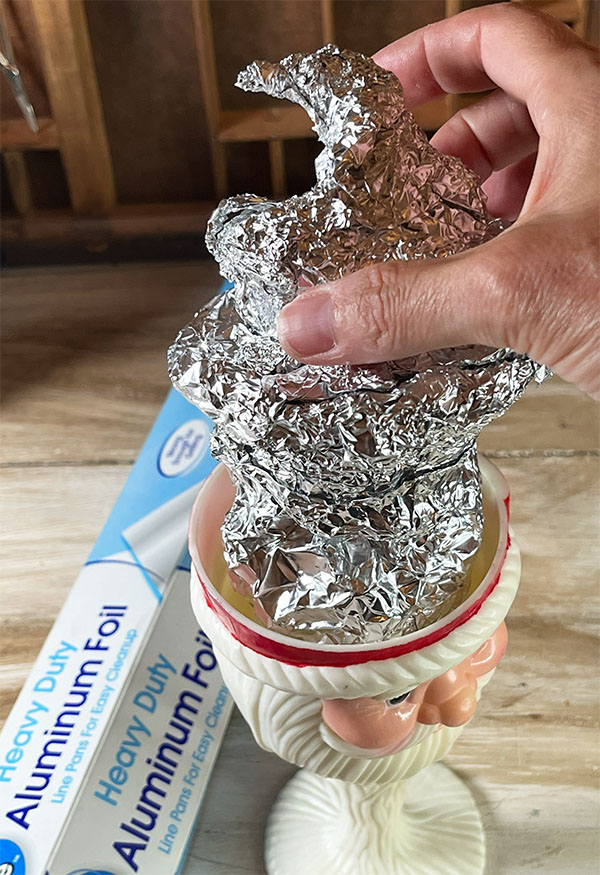
Start by loosely shaping aluminum foil into your desired form. Don’t worry about getting it perfect right away. At this stage, you’re simply establishing the width and height of your mountain.
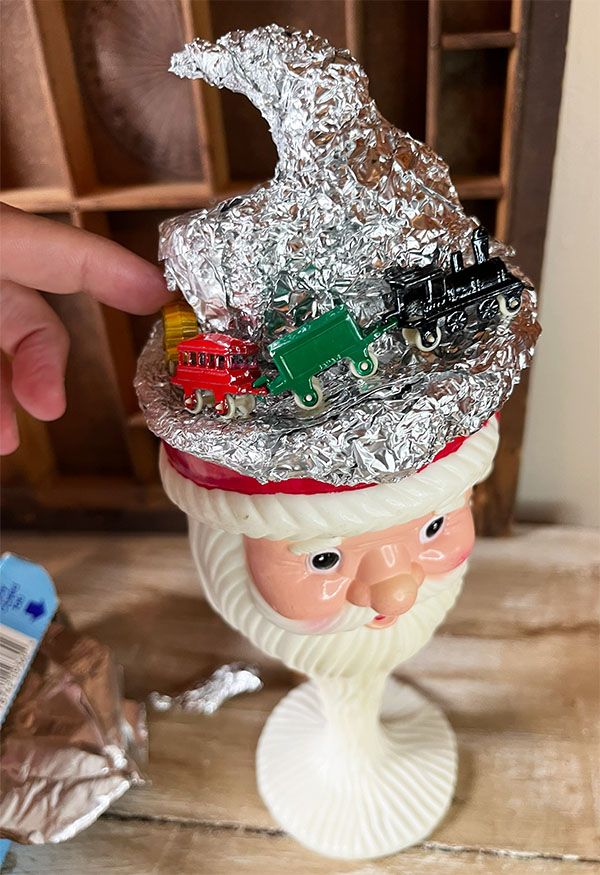
Add and compress more foil where needed to build up the shape. I added extra layers to create wider ridges for my miniature train to sit on.
Tip: Using aluminum foil as the base keeps larger clay projects lightweight and saves a considerable amount of oven-bake clay.
STEP 2: Check the Fit
Once you’re happy with the shape, test that the foil base still fits inside your container. I also checked that the ridges were wide enough for my miniature train to sit on.
Make any adjustments to the foil before adding the clay.
STEP 3: Cover the Foil with Clay
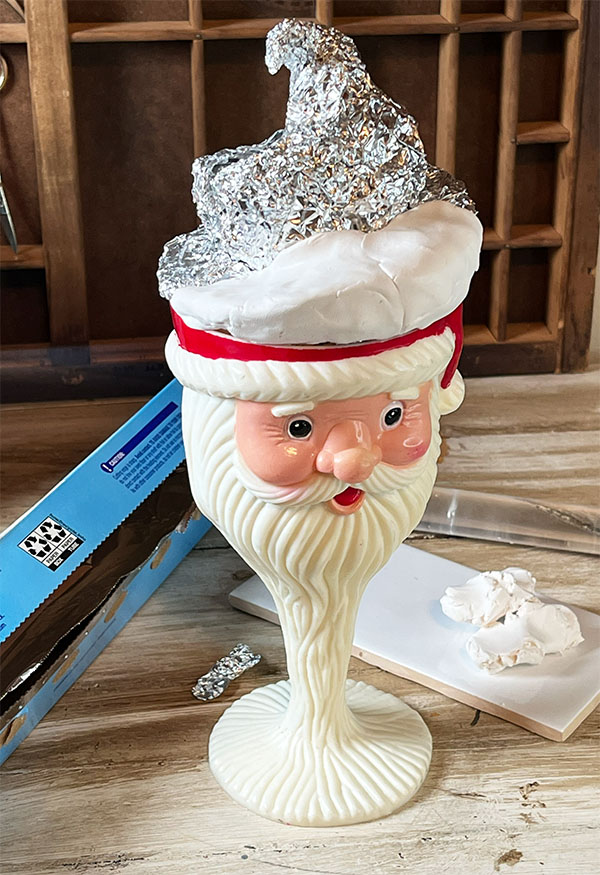
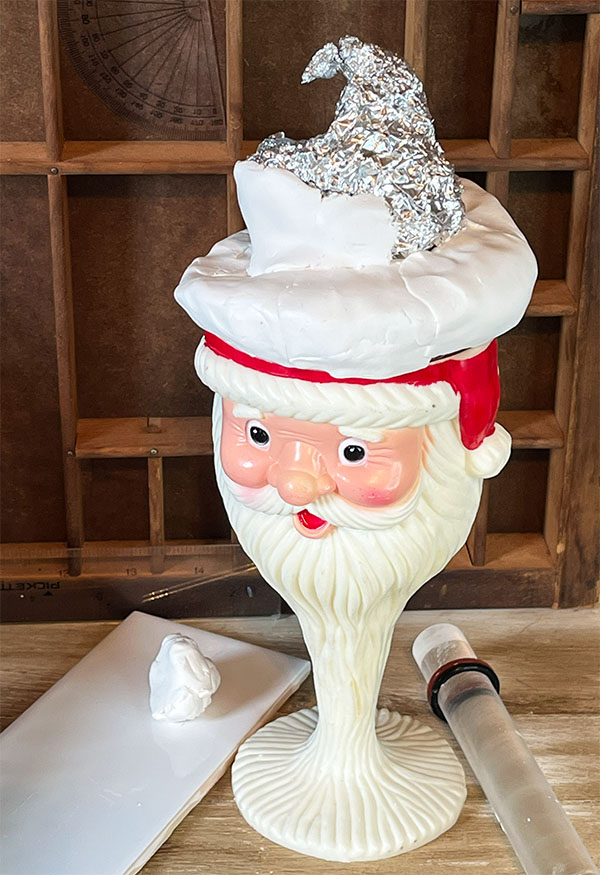
Once you’re happy with the overall shape, condition the polymer clay, roll it out, and begin covering the foil base with thin sheets of clay. If the clay sticks to your rolling surface, a light dusting of cornstarch can help.
I used a clay roller with thickness guides to keep the clay fairly even (less than ¼ inch thick) and worked from the bottom up, adding and blending pieces as needed.
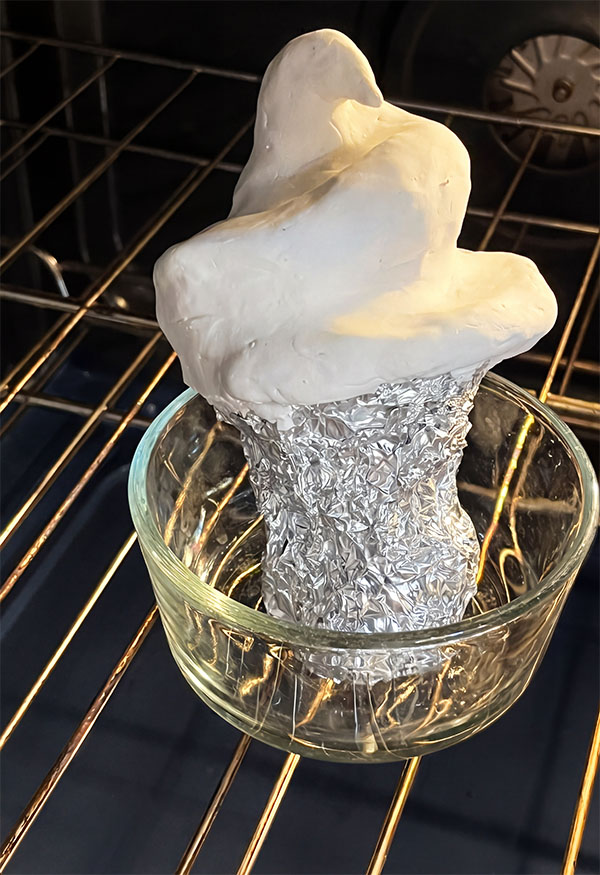
The aluminum foil stays inside the sculpture and is baked along with the clay in the next step.
STEP 4: Bake The Clay & Foil Sculpture
Carefully remove the sculpture from your container and bake according to the directions on your polymer clay package.
Important: My vintage Santa goblet is plastic, so it cannot go into the oven. The aluminum foil, however, stays inside the sculpture during baking. It provides support for the clay mountain and forms the base that will eventually be hidden inside the goblet.
Allow the clay to cool completely before handling or decorating.
STEP 5 — Add the Finishing Touches
I used light gray acrylic paint to add subtle train tracks along the mountain, then glued on a few small polymer clay diamonds for decoration. To finish, I brushed tacky glue along the snowy edges and sprinkled on white glitter for a little sparkle.

Valentine’s — Handmade Keepsakes & Paper Treasures
A collection of Valentine’s Day handmade ideas featuring paper treasures, handmade
8 Clever Repurposed Tart Tin Crafts
Tart tins aren’t just for baking! Check out these beautiful and
No-Sew Woodland Felt Animals – Free Patterns
Make these adorable no-sew woodland felt animals to string as garland,
How to Make Tiny Wooden Houses Using Scrap Wood
Make these adorable tiny wood houses using scrap wood and wood
 Hi, I’m Dawn, a graphic designer, mom and weekend crafter! Join me on my adventures! I always have something new and inspiring going on. Learn more about me