Try these no-sew appliqué techniques to decorate t-shirts, pillows, tote bags, canvas sneakers, and more!
Cut out designs by hand or with a cutting machine. Below are all the details and free patterns to inspire your next project!
No-Sew Appliqué Technique #1: Fusible Interface
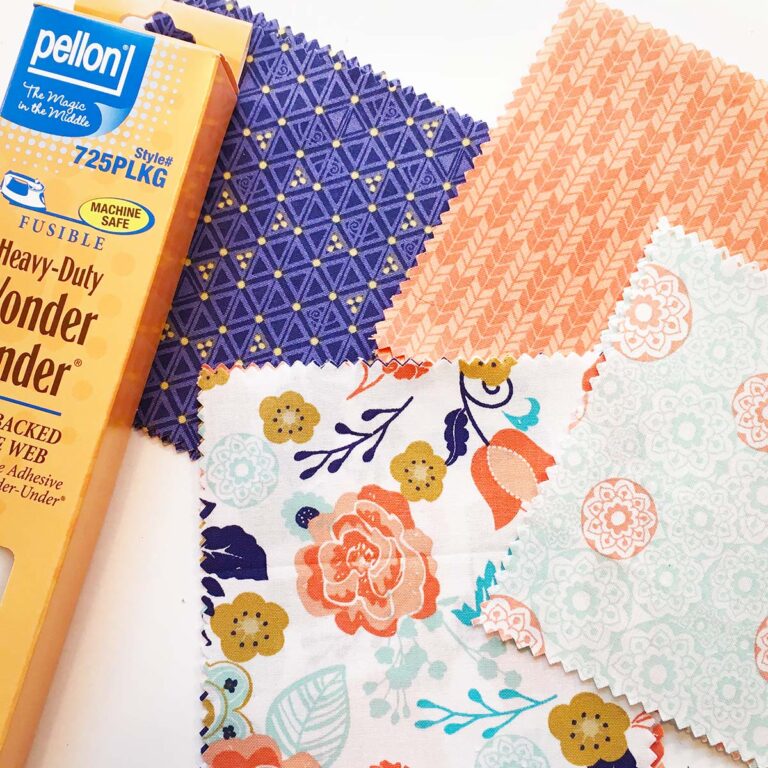
Use fusible interface to give fabric appliqués body and reduce fraying of raw fabric edges.
Fusible interface, also called fusible web, is made from polyester and bonds to fabric by pressing it with an iron. You can buy interfacing in different weights with adhesive on one or both sides.
No-Sew Appliqué Technique #2: Fabric Glue
Fabric glue is great for gluing tiny details. I’ve been using Gorilla Fabric Glue, but there are many other brands available. It dries clear and flexible. It also sets quickly and holds well.
The packaging mentions that it is washer and dryer-safe. I haven’t washed any pieces that I’ve used fabric glue on. Do a test before making t-shirts, canvas sneakers, or other wearables that require washing and drying.
No-Sew Appliqué Technique #3: Mod Podge Fabric
Mod-Podge Fabric is so easy to use. Once applied, it keeps raw fabric edges from fraying. Just apply Mod-Podge Fabric to the back of your fabric with a paintbrush and adhere it to your fabric! Mod-Podge Fabric is washable and great for tote bags and more.
Projects to Try
Snowflake Pillows
Make these beautiful snowflake pillows using a paper-backed fusible web with a double-adhesive like Pellon Wonder Under.
For this project, I ironed the rough side of the Pellon Wonder Under interface to the back of cotton buffalo check fabric and cut the snowflake shapes using my Cricut Maker.
After cutting, I peeled the paper backing off and ironed it to my pillow. For iron settings and time, follow the directions on the back of the package. Download the Snowflake SVG and PDF Pattern Files here.

Thanksgiving Wall Art
This fun Thanksgiving letter sign was made with cotton quilting fabric fused with Pellon Wonder Under. Then I ironed the fabric letters directly onto poster board!

Woodland Felt Animals
These cute no-sew felt patches were assembled with fabric glue. They’re easy to make and great for decorating gifts, journals, and wearables. Find the full woodland animals felt tutorial and patterns here.

Love & Hearts Zipper Pouches
This no-sew fabric appliqué zipper pouch is made by cutting simple appliqué shapes from cotton fabric (by hand or with a cutting machine) and adhering them to a canvas zipper pouch using Mod Podge for Fabric. The fabric pieces are coated on both the back and top, drying clear to create a washable, no-sew appliqué finish. Download the free SVG art here to cut these designs out using your cutting machine.


RELATED IDEAS


 Hi, I’m Dawn, a graphic designer, mom and weekend crafter! Join me on my adventures! I always have something new and inspiring going on. Learn more about me