This cheery pineapple welcome sign is the perfect decoration for any entryway or enclosed porch area. Make one for yourself or give it as a housewarming or wedding gift!
I love how this sign came out even after my stencil snafu…more on that below. I shaped the tall pineapple leaves out of inexpensive wood shims from the hardware store and went with a colorful ombre look using wooden hearts. Of course, use any colors that make you happy and will match your decor!
Get the easy instructions and free ‘Welcome Type SVG’ in the list of supplies below.

Supplies
- 12″ x 16″ wood board (I found mine at Walmart but you can also find something similar here on Amazon)
- 1-inch natural unfinished wood hearts (here’s a link to the ones used in this DIY)
- 5 wood shims
- Wood glue
- Acrylic paint
- Paintbrushes (a chip brush and a small angled brush)
- An X-Acto precision knife
- A sanding block (60 or 80 grit)
- Vinyl ‘Welcome’ lettering (optional) Click here to download the Free SVG file.
++++++++++
Summer just got sweeter with these fun pineapple crafts! Read More: 10 Sweet Pineapple Crafts You Have To Try |
++++++++++
How to Make A DIY Pineapple Welcome Sign – 3 Easy Steps
Step 1:
Before painting and assembling, I recommend arranging your wood elements onto the board to determine placement.
Place the shim wedges with the thinnest part at the top– this will be the part you’ll cut later to look like a pineapple leaf.
I also left space at the bottom to add the word ‘Welcome’ which I cut out of black permanent vinyl with my Cricut Maker. This is optional and you can download the same file from the supplies list above. If you just want the wood pineapple art, move everything down a little on your board to better fill the space.
Blunder Side Note: I originally tried to stencil ‘Welcome’ onto my board and it was a disaster! My board is made of rough cut wood and paint spread underneath my stencil. I painted over my horrible stencil work with a white wash and applied permanent vinyl instead. It was an easy fix but I thought I’d mention it in case you are using the same rough cut board.

Step 2:
Cut the top of each shim to look like a pointed leaf. You’ll be cutting the thinner end of the shim wedge.
Place three longer shims in the back and two shorter ones on top. My tallest shim is the center one.
To cut leaf tops, use an X-Acto knife and score the thinner end of the shim into a pointed shape. Then, snap off any excess by hand.
Don’t worry about getting perfect edges, any roughness can be sanded away…see the next photo.

++++++++
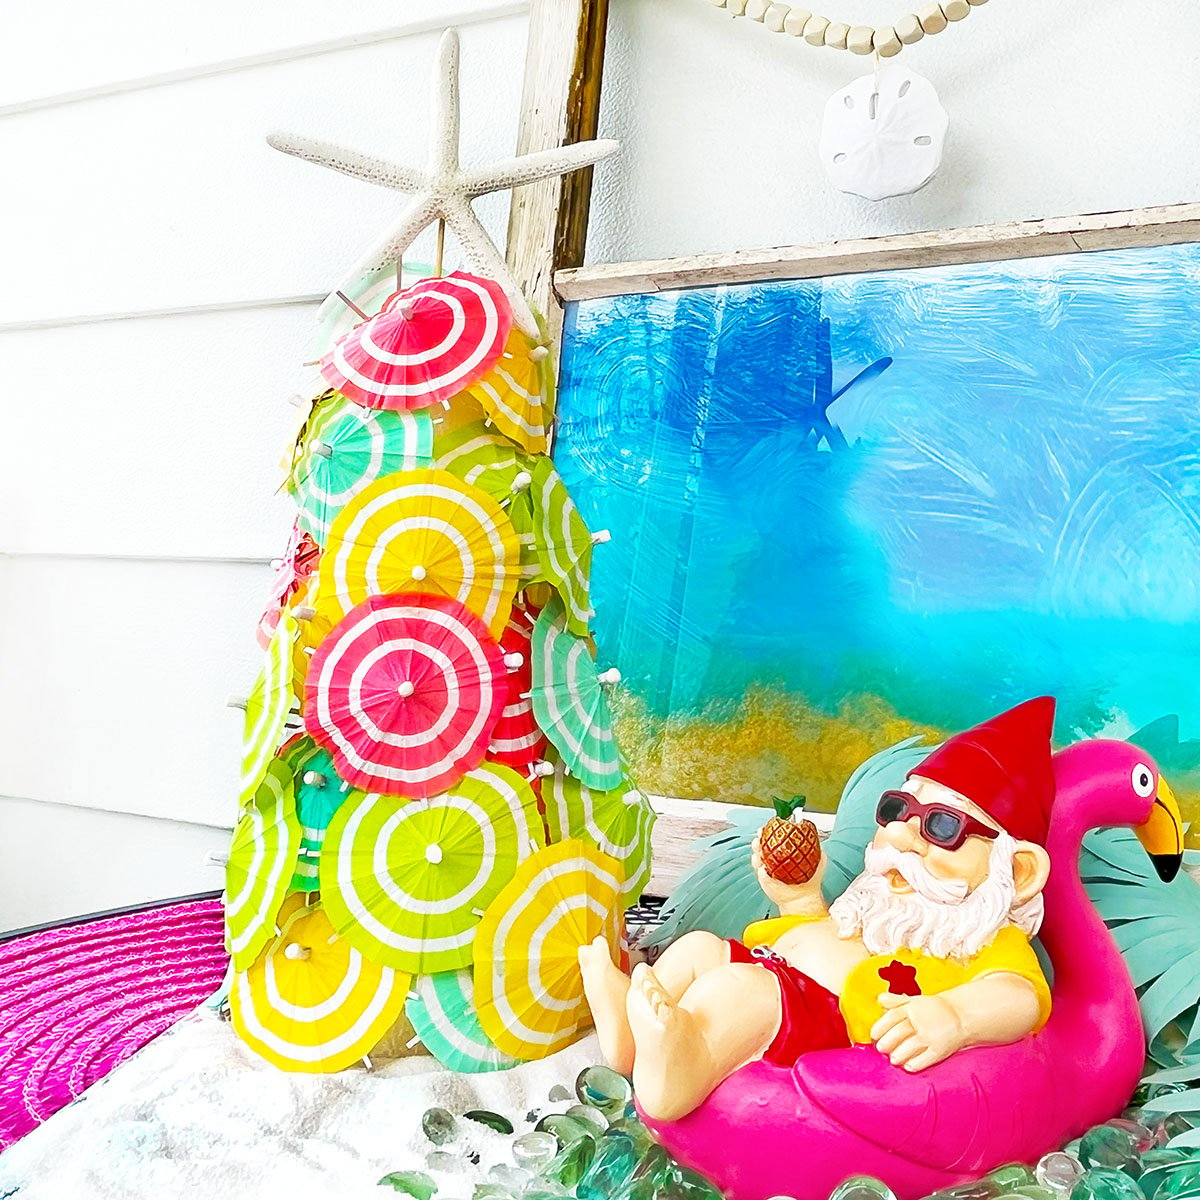
Make a festive Cocktail Umbrella Christmas Tree! Read More: DIY Drink Umbrella Christmas Tree |
++++++++
Next, use a sanding block to sand down any sharp edges or points.


Step 3:
Paint your pineapple pieces and let everything dry. Then glue each piece down with a good amount of wood glue. Put a few heavy books on top while drying.


++++++++
Feeling Berry Good 21 designs for paper crafts, sublimation and cut vinyl projects. Shop: Strawberry SVG Bundle
|
MORE HOME DECOR IDEAS:
- Frying Pan Planter Upcycle With A Patina Finish
- DIY Heart Shaped Succulent Magnets
- DIY Garden Mushrooms Using Thrift Store Glassware
- How to Make Marbled Solar Mason Jar Lights
++++++++
Advertisement
Watch A Video
Link to the full tutorial here –> Farmhouse-Style Hula Hoop Shelf DIY


 Hi, I’m Dawn, a graphic designer, mom and weekend crafter! Join me on my adventures! I always have something new and inspiring going on. Learn more about me


