
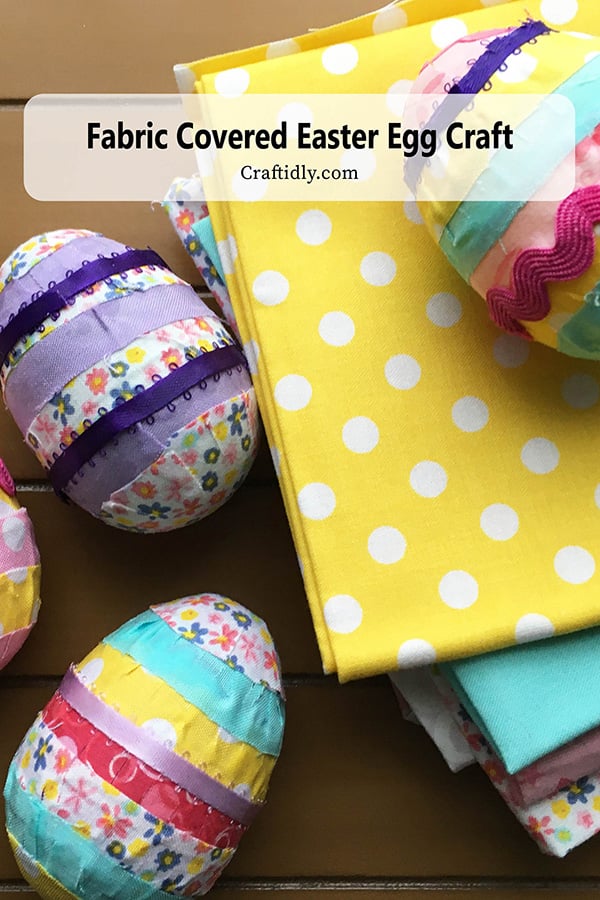
These cheerful, scrap fabric-covered Easter eggs are easy to make and perfect for tiered trays, wreaths, or used as a decorative bowl filler.

Supplies
- Cotton fabric
- Craft (Tacky) glue
- 3-inch or larger plastic Easter eggs
- Ribbon
- Scissors
- Clear tape
Helpful Tips When Making Scrap Fabric Easter Eggs
- Don’t worry about perfection—once the ribbon is added and the glue dries clear, everything comes together.
- Snip small slits in the fabric to help it wrap smoothly around the egg shape.
- Use solid satin ribbon rather than sheer ribbon for best results.
- Embellish with buttons, sequins, or other small accents if desired.
- Expect a little tackiness from the glue while working.
How To Make Scrap Fabric Eggs – 5 Easy Steps
STEP 1:
First, you’ll need to tape your plastic egg closed with clear scotch tape.

STEP 2:
Next, cut your fabric into 1/2-inch wide strips, long enough to wrap around your egg once with overlap. Then snip slits along one side as shown below. This will help the fabric wrap around the egg shape better.

STEP 3:
Start gluing your fabric strips in the middle of the plastic egg using tacky glue. Don’t worry about the glue being white, it will dry clear!

STEP 4: Cover the Ends
To cover the ends by cutting a circle of fabric with slits toward the center. Use tacky glue to glue the fabric circles to the top and bottom.


STEP 5:
Add ribbon as a finishing touch to your eggs. Here, I used pink zig-zag ribbon and yellow and purple satin ribbon from my craft bin. You could also decorate your eggs with colorful buttons or sequins!

– FOR THE SEASON –
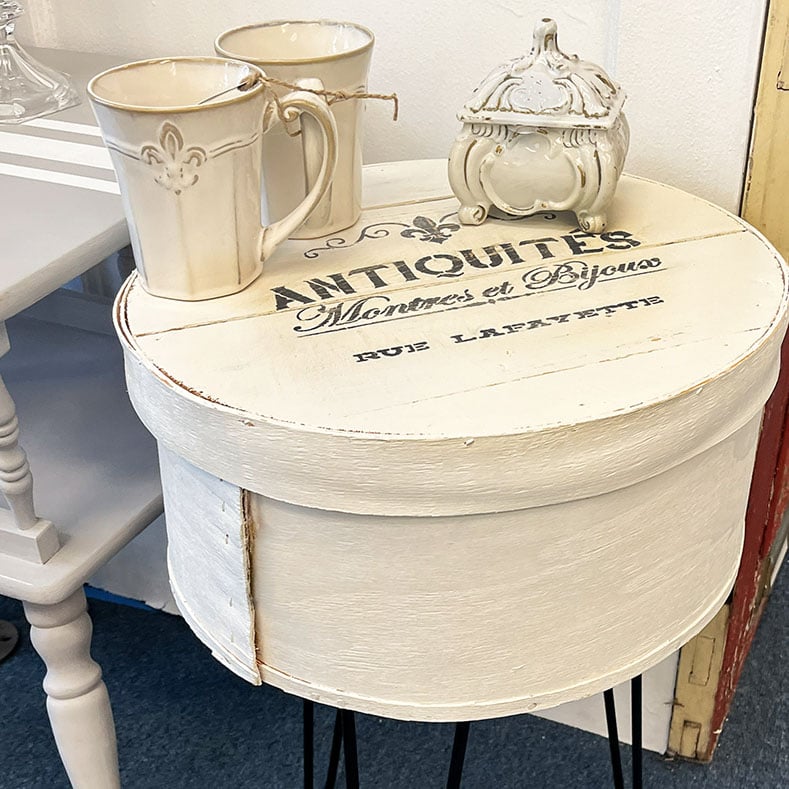
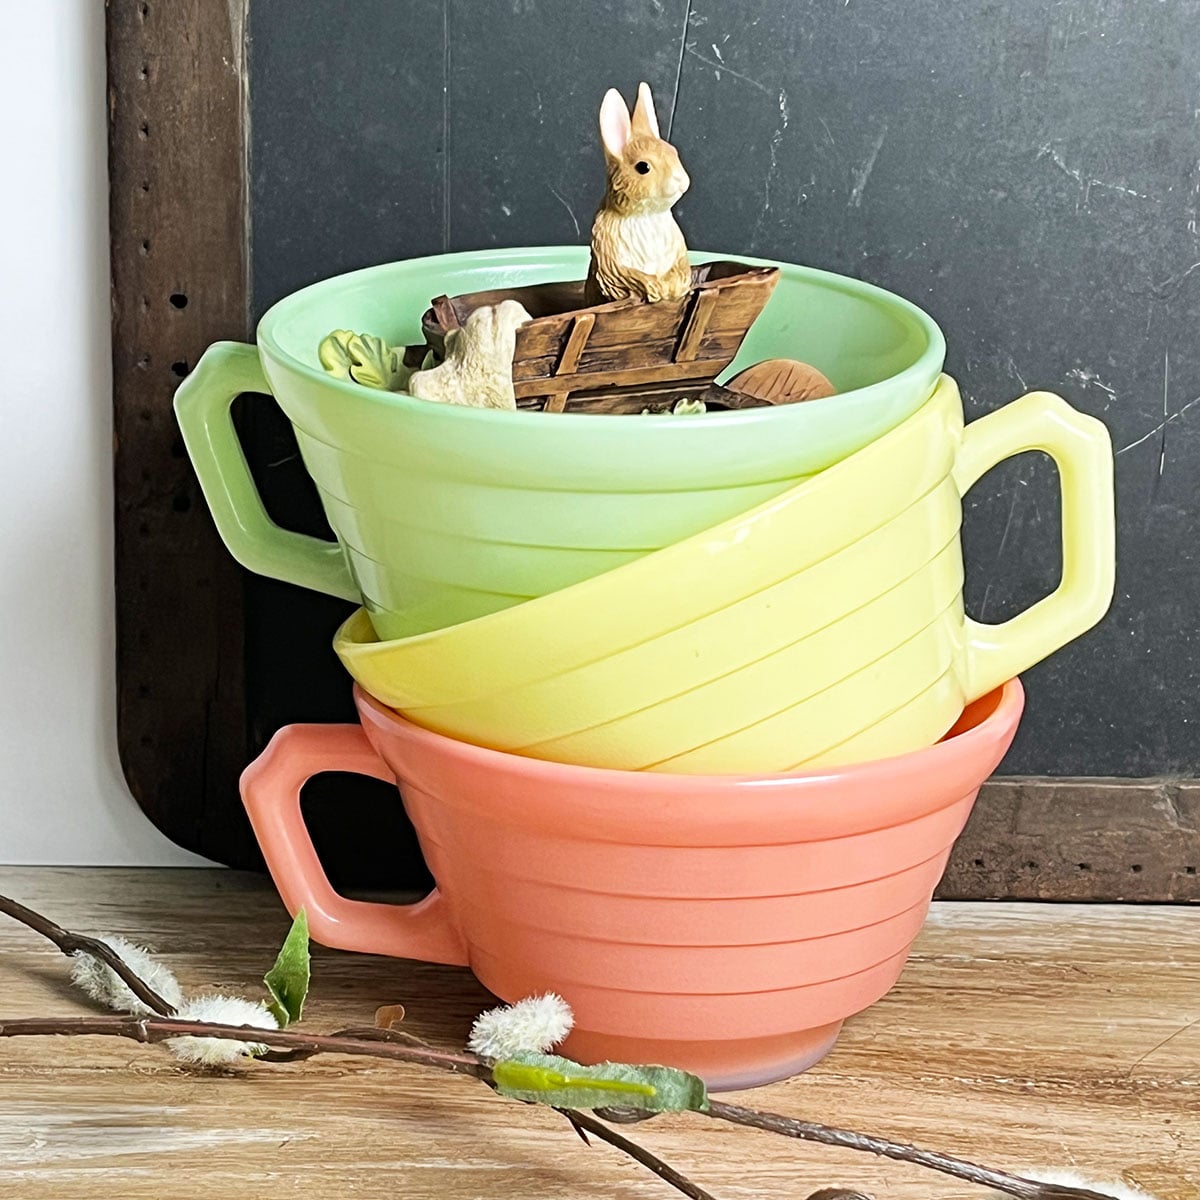
Paris-Inspired Crafts + Vintage Easter Decor + Spring Crafts

 Hi, I’m Dawn, a graphic designer, mom and weekend crafter! Join me on my adventures! I always have something new and inspiring going on. Learn more about me