
Repurpose a few wooden spindles—or purchase new ones—to make charming, vintage-inspired carrots for spring.
Supplies

- Wood spindles (mine are 8 and 9 inches long)
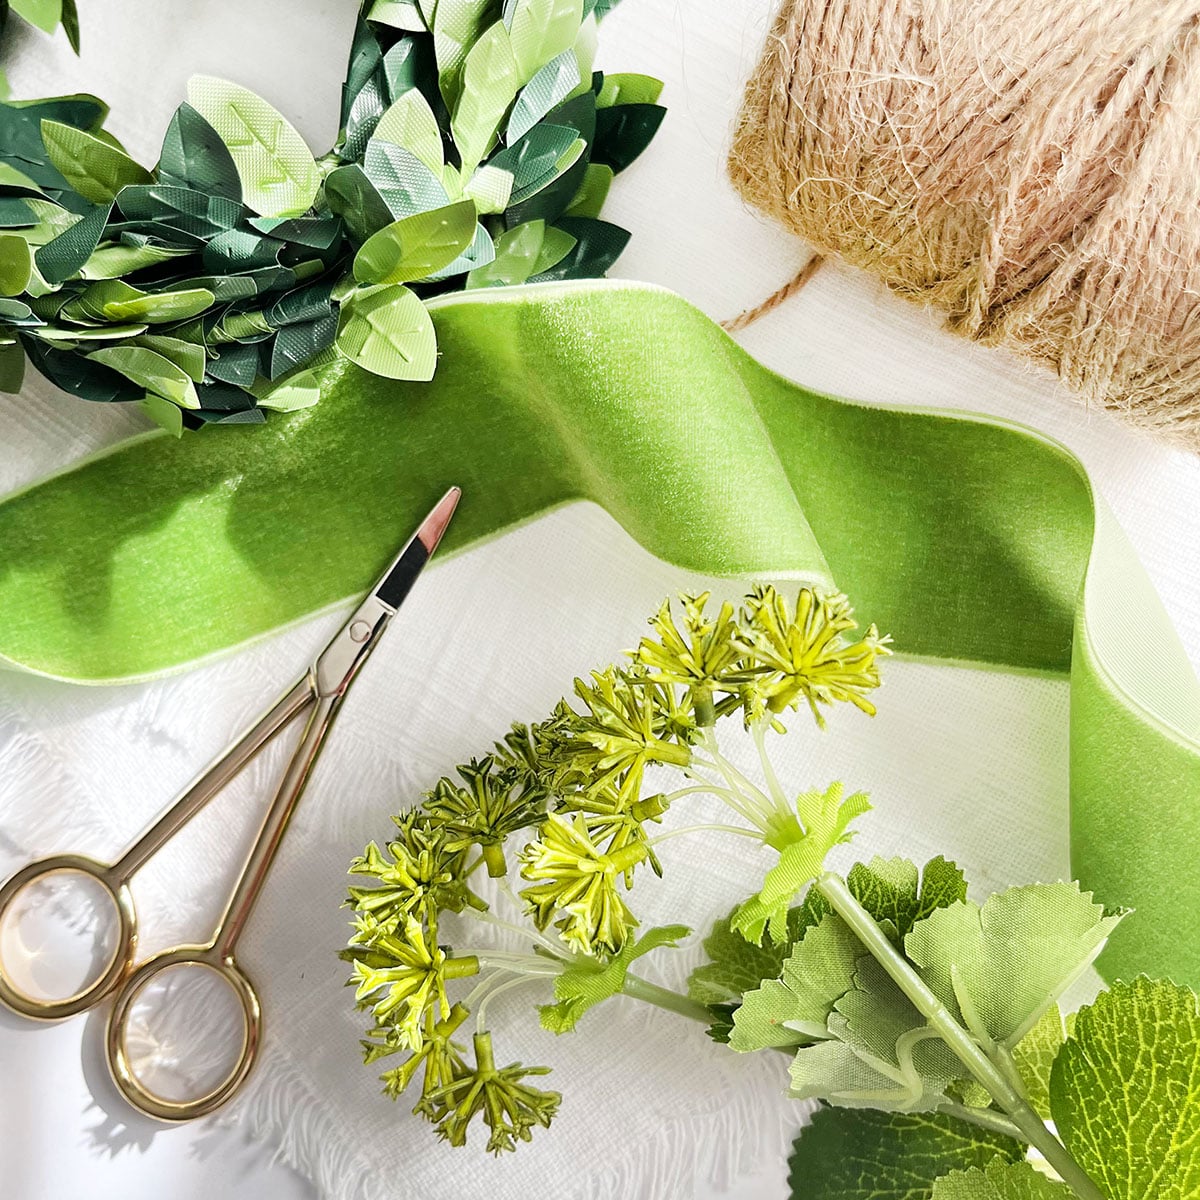
- Greenery (here is a link to the artificial rosemary used in this DIY)
- A drill and a small drill bit, and a vice grip (more on that below)
- Orange paint
- Paint brushes
- Light grit sandpaper (optional)
- Wire cutters
- A hot glue gun
How to Make Wooden Spindle Carrots – 3 Easy Steps
STEP 1:
Start by drilling a hole into the top of your dowel about 1/2-inch deep to glue greenery into. Don’t make the width of the hole too big, it should be just big enough to fit the stems snuggly. Here, I used two sprigs of artificial rosemary and a 9/64 drill bit.
Tip: Use two cellulose sponges to protect your spindle from damage when using a vice grip.

STEP 2:
Lightly sand the spindles or coat with a primer if needed, then paint them using any orange paint you have on hand, such as chalk paint, acrylic, or spray paint.
Note: Use caution when sanding older spindles, as they may have been painted with lead-based paint. If you’re unsure, avoid sanding.

It took two coats of paint to achieve the orange color shown. The paint used was formulated for glass, which may have required an extra coat. The second coat was applied with a chip brush, adding a subtle textured finish (see photo below).
Tip: Let the finished spindle carrots dry on a non-stick surface, such as waxed or parchment paper.

STEP 3:
With the paint dried, use wire cutters to cut a sprig of greenery, then hot glue it to the top.


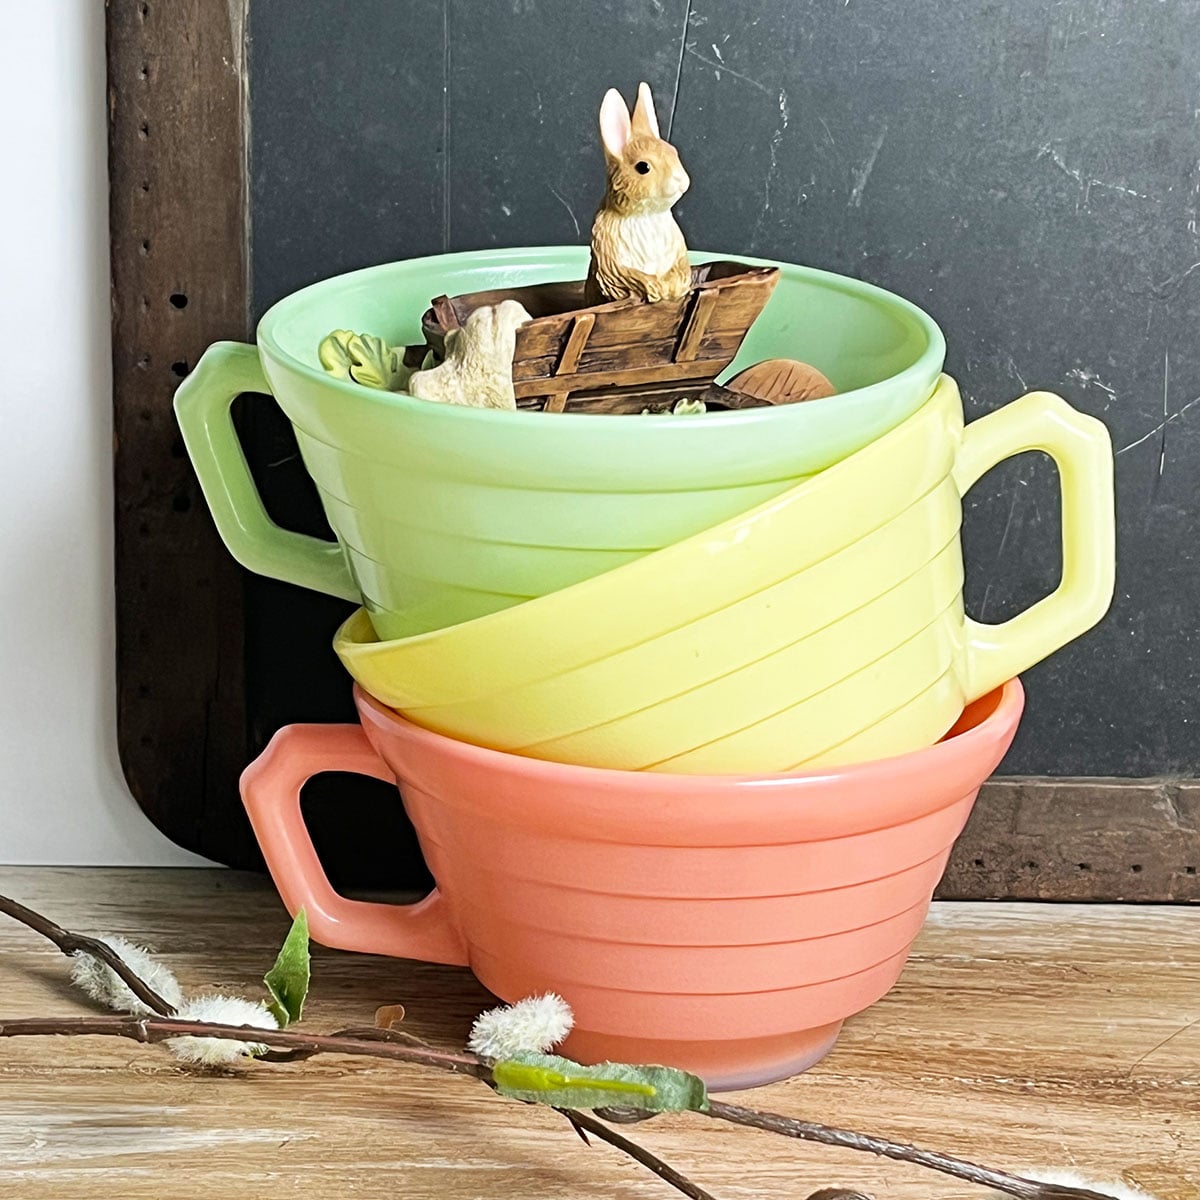
Here’s another photo of my finished carrot bundles. I did sand a few spots on each carrot to give them that vintage-worn look. I love how they came out and can’t wait to take them over to my antique booth.


RELATED IDEAS

 Hi, I’m Dawn, a graphic designer, mom and weekend crafter! Join me on my adventures! I always have something new and inspiring going on. Learn more about me