Beautiful Fall crafts for your tiered tray.
Decorate a tiered tray for Fall with these easy craft ideas! Make everything from a cute mini paintbrush scarecrow to farmhouse signs. Before getting started, be sure to measure your tiered tray and adjust the size of these crafts to fit!
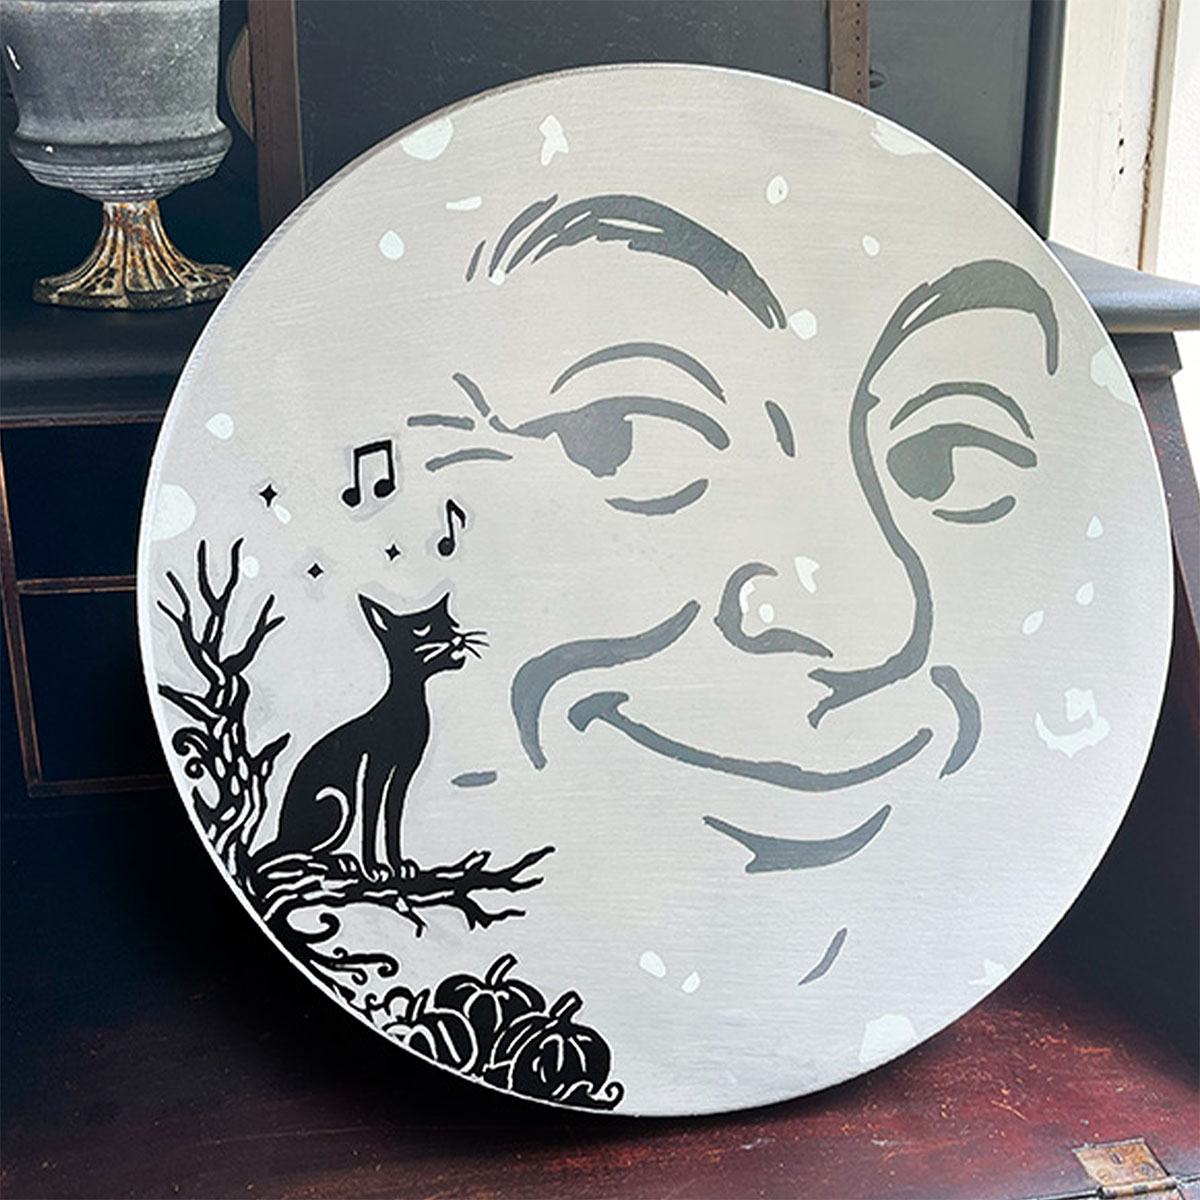
1. Fall Mini Cutting Board Sign
Grab a small charcuterie board to make this cute Fall Mini Cutting Board sign. Decorate it with a wood slice or wood round painted pumpkin, and add lettering from the dollar store or craft store. I found this charcuterie board at Target. It’s 5″ wide x 10″ tall.

2. Thumbtack Studded Pumpkins
Bling out foam pumpkins with metal thumbtacks. You can use spray paint or chalk paint mini foam pumpkins white (if needed). Next, push thumbtacks or decorative upholstery tacks into your pumpkin to create a design.

3. Wine Cork Frame
You’ll need about 30 wine corks (more or less depending on the size of your tiered tray) to make this free-standing picture frame. Just hot glue the corks together and add twine or ribbon to hold a photo or Fall message. If you need a little inspiration, download, and print these Free Fall Printables.

4. Pumpkin Candy Jar
To make a pumpkin candy jar, cut the top off of a small foam pumpkin and glue it to a mason jar lid (or a small salsa jar as I did here). Fill it with candy and add it to your fall tray or to give as gifts.

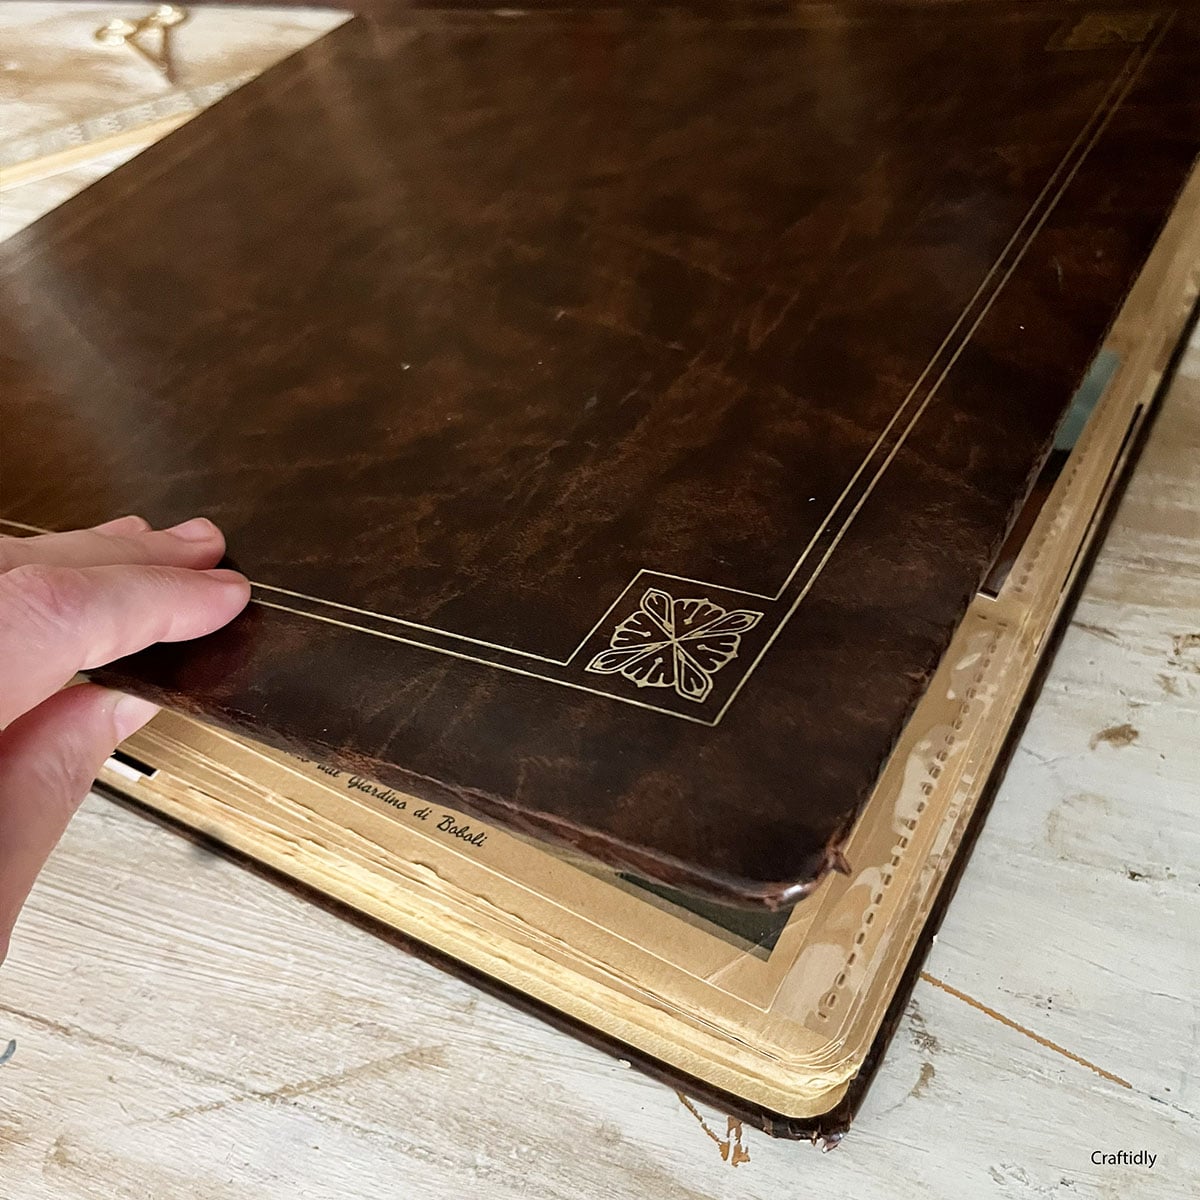
5. Mini Fall Leaves Topiary
This fall leaves topiary is a mini version of a slightly larger topiary that I made for a table centerpiece. To give this smaller topiary a fall feel, I decided to wrap the Styrofoam base with pages from an old book. Find the full Fall leaves topiary tutorial here.

6. Paintbrush Scarecrow
Grab your hot glue gun and a few supplies to make this cute paintbrush scarecrow. Here I used a 2.5-inch chip brush from the hardware store, a 1-inch (flat-sided) wood bead for the nose, 2.5-inch wide burlap ribbon for the hat— wrapped around the front and glued at the back. Last, I added a few raffia sprigs underneath the hat. Optional: finish with wood bead garland and any decorations you like.

7. Decorative Caramel ‘Pumpkin’ Apples
Craft small foam pumpkins into cute caramel apples that are perfect for a fall tiered tray! Find the full caramel ‘pumpkin’ apples tutorial here.

8. Thread Spool Garland in Fall Colors
Grab some old wood spools or buy a few new ones here to make this cute garland. Just wrap a few thread spools with fall-colored yarn and string onto twine with wood beads between. Make tassels out of twine and yarn to decorate the ends.

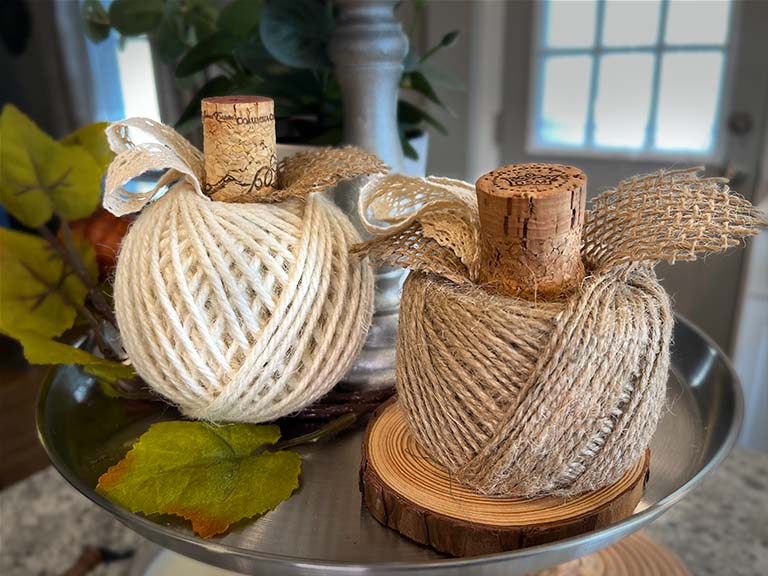
9. Ball of Twine Pumpkins
This fall-tiered tray DIY couldn’t be easier. Add a cork to the center of a ball of twine and decorate with ribbon and leaves.
10. Pumpkin Spice Sachets
These sachets smell wonderful and make a great addition to any tiered tray. Find the full pumpkin spice sachets tutorial here.

11. DIY Word Blocks
These rustic word blocks are perfect for fall tiered trays and small shelves. Mix and match seasonal words, then swap them out as the seasons change. Find the full DIY and templates here.


 Hi, I’m Dawn, a graphic designer, mom and weekend crafter! Join me on my adventures! I always have something new and inspiring going on. Learn more about me